Before I start listing expensive photography equipment, I should mention that I have dedicated cameras and lenses for other photography. You can probably get similar results using a decent phone camera, but I haven’t done enough product photography with a phone camera to be able to give advice there. Some of the info here will be helpful with a phone camera, some will be more useful with a SLR-style camera.
Equipment
Light tent – The first thing that comes to mind when someone asks me how to take better 3D print photos is “get a light tent”. The exact model of light tent doesn’t matter too much, they’ll all behave fairly similarly for photographing 3D printed plastics (I’ll post later about the differences between the ones I’ve tried). What does matter is size, i’s easier to use one that’s significantly larger than the object you’re photographing so the background doesn’t show up. For objects up to 6″ (15cm) in size, the 24″ light tent* I use works great. It’s not as good for significantly larger items and you’ll often see parts of the light tent in the background when I photograph larger objects.
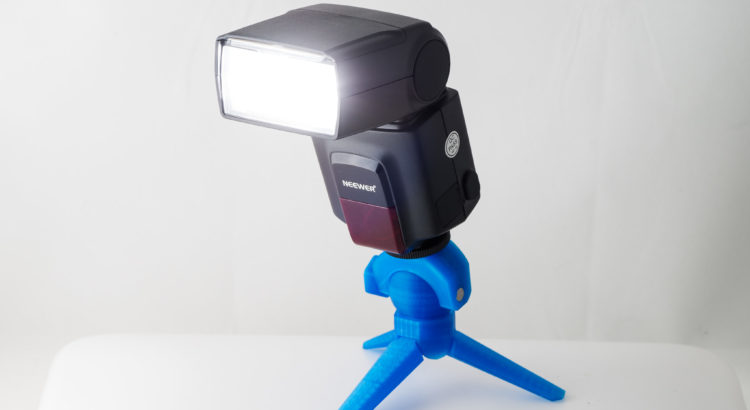
Flashes – I like using simple manual flashes that can be configure manually. Two flashes gives you plenty of control, though I occasionally use a third. I would recommend using identical flashes since it makes it easier to set up the relative light levels and the light color will be consistent. I use two Neewer TT560 Flashes*, I think they work better than expensive flashes for this application. They’re cheap, turn on and off automatically, can be triggered with infrared, and setting the light levels is simple.
Flash Trigger – An IR flash trigger is the easiest way to set off the other flashes, but has some range line of sight limitations. I have also used Cactus Wireless Triggers*, they’re more reliable, don’t need line of sight to the IR trigger to work, but constantly replacing the batteries was a hassle. I can’t find the exact model I’m using, but I wouldn’t recommend it anyway. I had to add extra IR filters to avoid red highlights in my prints, and it completely drains batteries if you forget to turn it off.
Soft boxes, umbrellas, ring flashes, grids, etc – There are a lot of other tools out there that I’m not going to get into, but just want to mention them in case you want to look into other options. I rarely use lighting tools beyond the light tent and flashes.
Lens – It’s best to use a macro or close focus lens, ideally something that is doesn’t have too much chromatic aberration. I mostly use use old stock, manual focus, apochromatic Voigtlander* lenses.
Camera – I use a Pentax K-01* but the camera doesn’t matter much. Oddly enough, it seems to cost more now than when I bought it back in 2012. Live view and focus peaking are good features to have, and I prefer using the LCD over a viewfinder when using a tripod. This is also one of the times I prefer shooting in fully manual mode (manually set aperture, shutter speed, and ISO).
Tripod – If you’re doing landscape photography, I’d recommend investing in an expensive high end tripod. For indoor flash photography, almost anything will work ok. Tripod stability doesn’t really matter when using purely flash lighting, it does matter when doing long exposures.
Backdrop – You can use anything as a background, but here are a few of my favorites
- matte translucent white plastic – Very resistant to finger prints and scratches, very easy to work with which is why it’s what I use more often than not.
- brushed aluminum sheet – Hard to get a clean shot on as it accumulates scratches and fingerprints very easily, but it creates a nice blurry reflection.
- glossy white plastic – If you want a sharp reflection, glossy white acrylic works well.
Dust Blower – These are great for removing dust from prints before taking pictures.