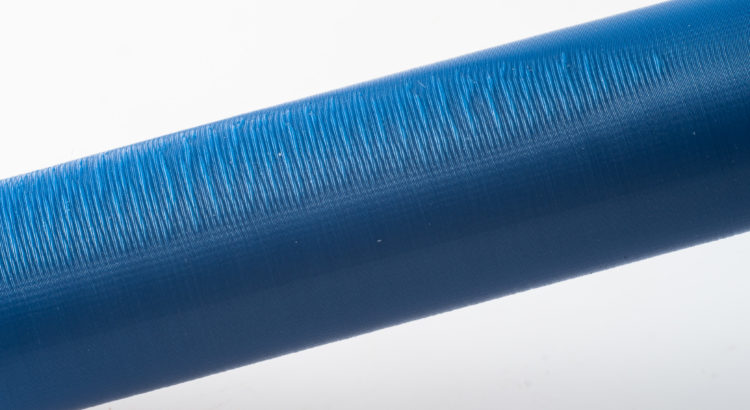
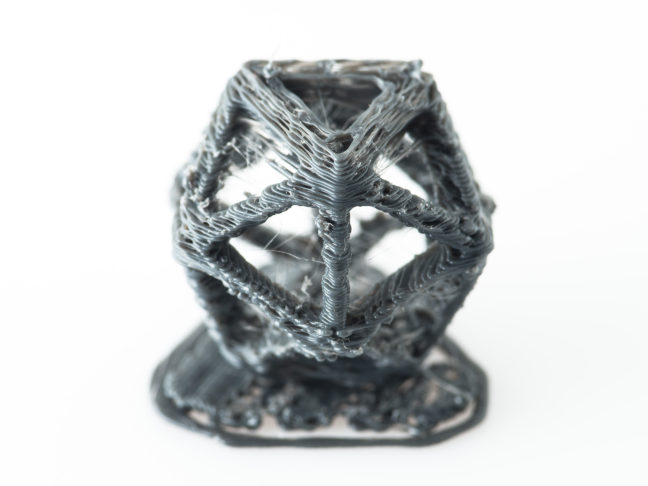
This picture shows the kind of printing failure that frequently results from a poorly designed cooling duct. Most of the cylinder printed fine (still tuning this printer), but the part in the wind shadow of the cooling duct was still malleable when the next layer was added, causing the layers to buckle and bulge instead of stacking properly.
Mods
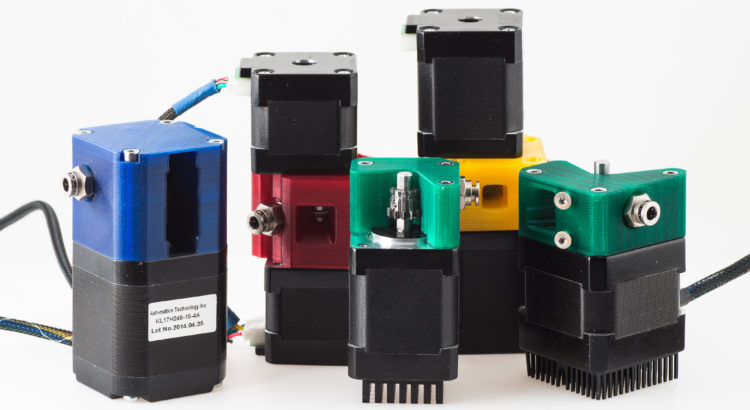
6 Dual Drive Bowden Extruders
I just uploaded a few bowden extruder designs that I’ve been testing. They are all dual drive, direct drive, print in a single piece, and none of them have a quick release mechanism for the filament (I usually load and unload filament using gcode scripts).
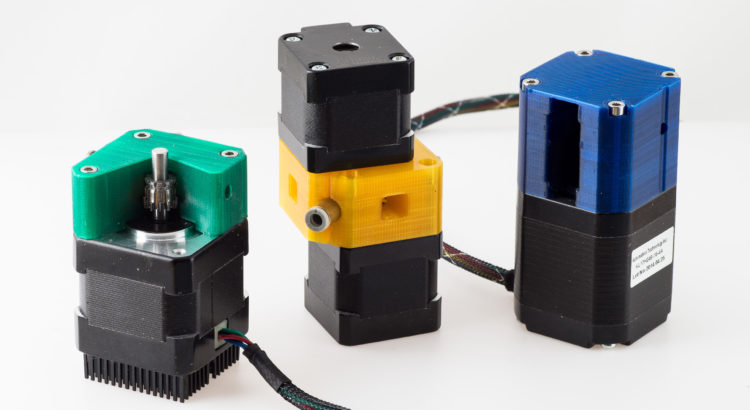
Calibrating Extruder Grip
I’ve been experimenting with several new dual drive extruder designs for the latest printer I’ve been building. Every time I make a new iteration, I have to recalibrate the gap or tension setting on the extruder. Here are the steps I take to calibrate each iteration, which may want to try if you print one of these designs.
Tiko Part 5: Part Cooling
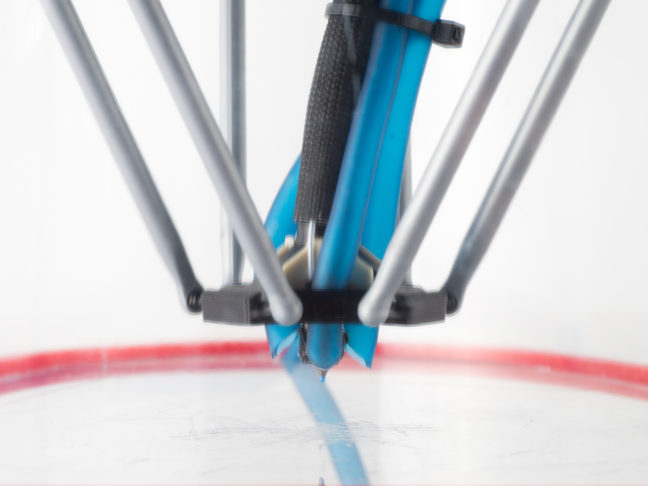
I’m always surprised when a 3D printer designed around printing PLA comes without a part cooling fan. Though less so in the case of the Tiko, given the pricepoint. If you’ve seen some of my extruder designs, I prefer printing with a lot of airflow, the more the better (as long as you have control over it). So here’s one way to add part cooling to the Tiko.
Tiko Part 4: Fixing the Motor Mounts
I’ve heard many times over that to test backlash in a printer you can grab it by the nozzle and wiggle it around (with the nozzle cold of course, but with the motors powered up). Ideally nothing moves, but when I tried that with my Tiko there was a disconcerting amount of motion. The motion came primarily from two sources, the motor mounts and the flexible delta rods. The movement from the rods at least offered up a bit of resistance so I expect those to be only an issue at higher speeds, but the movement in the motor mounts offered almost no resistance.
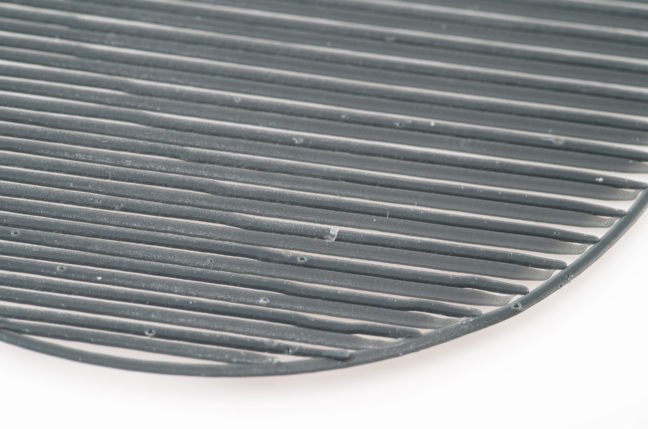
I assume this is the source of many of the unexpected motion I sometimes see from my Tiko, the jumping to the side when moving the nozzle up and down, the shifting when trying to print a straight line. You can see some of the shifts in the raft print above, the nozzle will be printing a straight line and it will shift to the side. Interestingly you can also see some craters in the filament, that’s what happens when you don’t store your filament properly and it absorbs moisture (I’ve mostly been testing unspooled leftover filament that wasn’t stored properly). I store all of my open filament spools in watertight bins and with rechargeable desiccant, but you can read more about that here,
Tiko Part 3: Reinforcing the delta arms
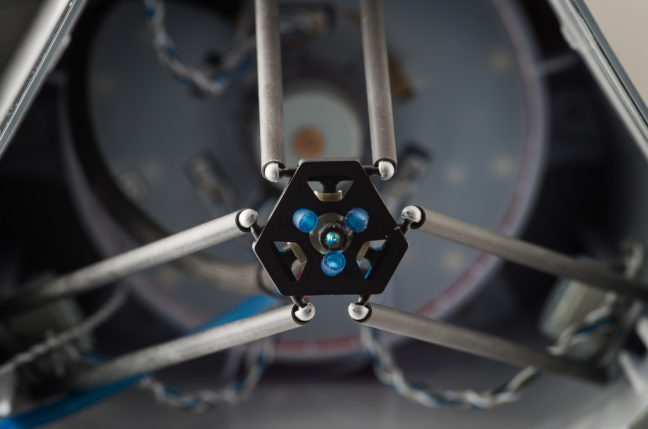
I added some epoxy tubing to reinforce the the delta arms on my Tiko. The tubes are approximately 200mm long and have an inside diameter of 0.219 inches (5.56mm). You can get them from Tap Plastics, but you will need to cut them yourself (one 32.5″ rod can be cut down to 4 – 201mm rods for the Tiko, you’ll need 6).
Tiko Part 2: First Prints and Adjusting the Extruder Tension
My first prints with the Tiko was terrible (not unusual for a 3D printer), I used the default settings including the default temperature of 210°C and it was clearly too hot, making the test print come out a melted mess. No problem, I know how to fix that. So next I tried 190°C and it came out very underextruded. The clicking sounds made it clear that the something in the extruder system wasn’t keeping up.
