My first prints with the Tiko was terrible (not unusual for a 3D printer), I used the default settings including the default temperature of 210°C and it was clearly too hot, making the test print come out a melted mess. No problem, I know how to fix that. So next I tried 190°C and it came out very underextruded. The clicking sounds made it clear that the something in the extruder system wasn’t keeping up.

A bit more testing with feeding filament at different rates, the extruder was skipping even when extruding at 20mm/min. Checking out the bite pattern on the filament, it looked good, no signs of grinding at all (grinding is where a small crescent of the filament is cut out, because the extruder gear ground off a section of filament instead of feeding it), but the ridges were cut very deeper into the filament than I expected.
Tiko Extruder
If the Tiko extruder had enough torque I think the amount it was cutting into the filament would have been good, but with the extruder skipping, I figured I needed to reduce the extruder tension. I didn’t see an obvious way to do this so I figured I’d start by taking things apart (always a good way to start). Fortunately there are some detailed guides on Tiko’s website if you look in their FAQ under installation guides. You don’t even need any tools to remove the extruder motor. Btw, I really like those small lever arms for attaching the teflon tubing, hopefully they hold up better than the pushfit connectors I’m used to.
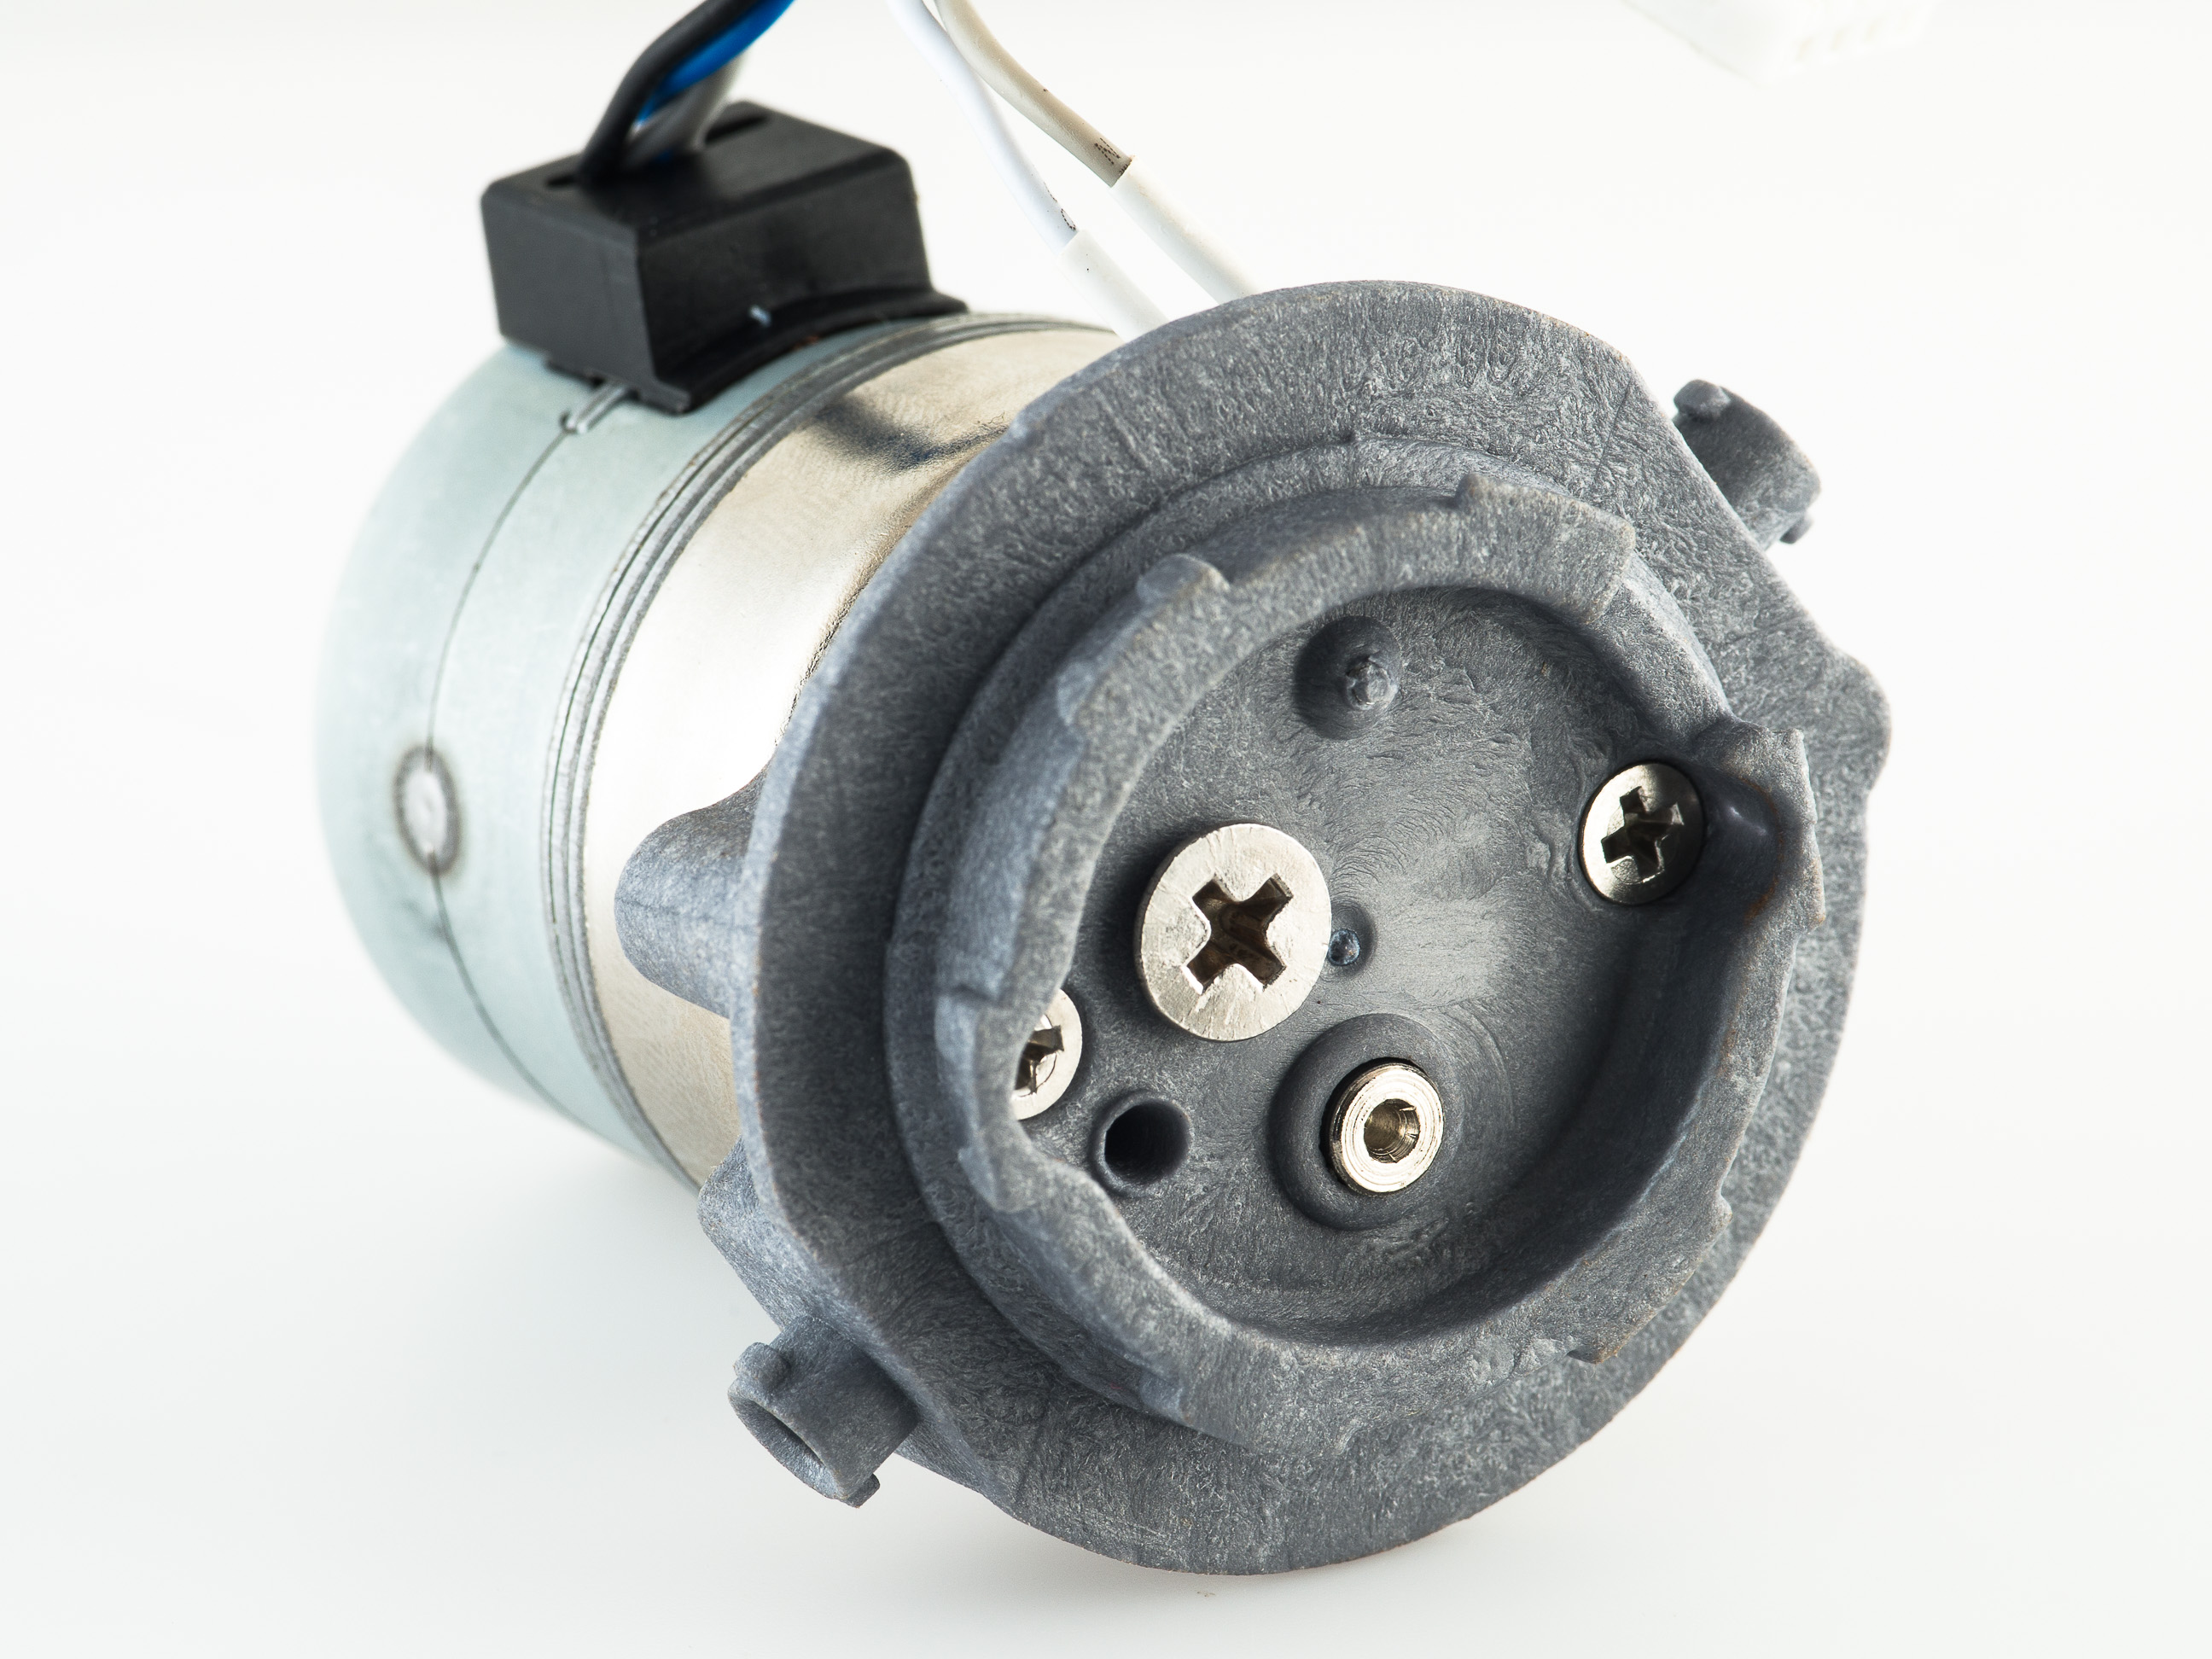
Checking out the extruder assembly, it looks like it’s using a geared stepper with a fixed width filament gap instead of a tensioning spring. The filament gap didn’t look like it was designed to be adjustable, so I backed out the flathead screw holding the bearing about 180 – 360° (it’s the largest + screw) so it’s only fully secured on one side. After putting everything back together and trying some more filament, the hack seems to have worked as the depth the extruder gear is biting into the filament decreased. When measured with calipers, the bite depth decreased by approximately 0.2mm. That should use less of the motor torque for biting into the filament and more of it for driving the filament down into the hotend. It probably increases the risk of filament grinding, but I haven’t seen any signs of this happening. I didn’t take pictures of the filament when I did the first test, but I took things apart again and tried to recreate it.
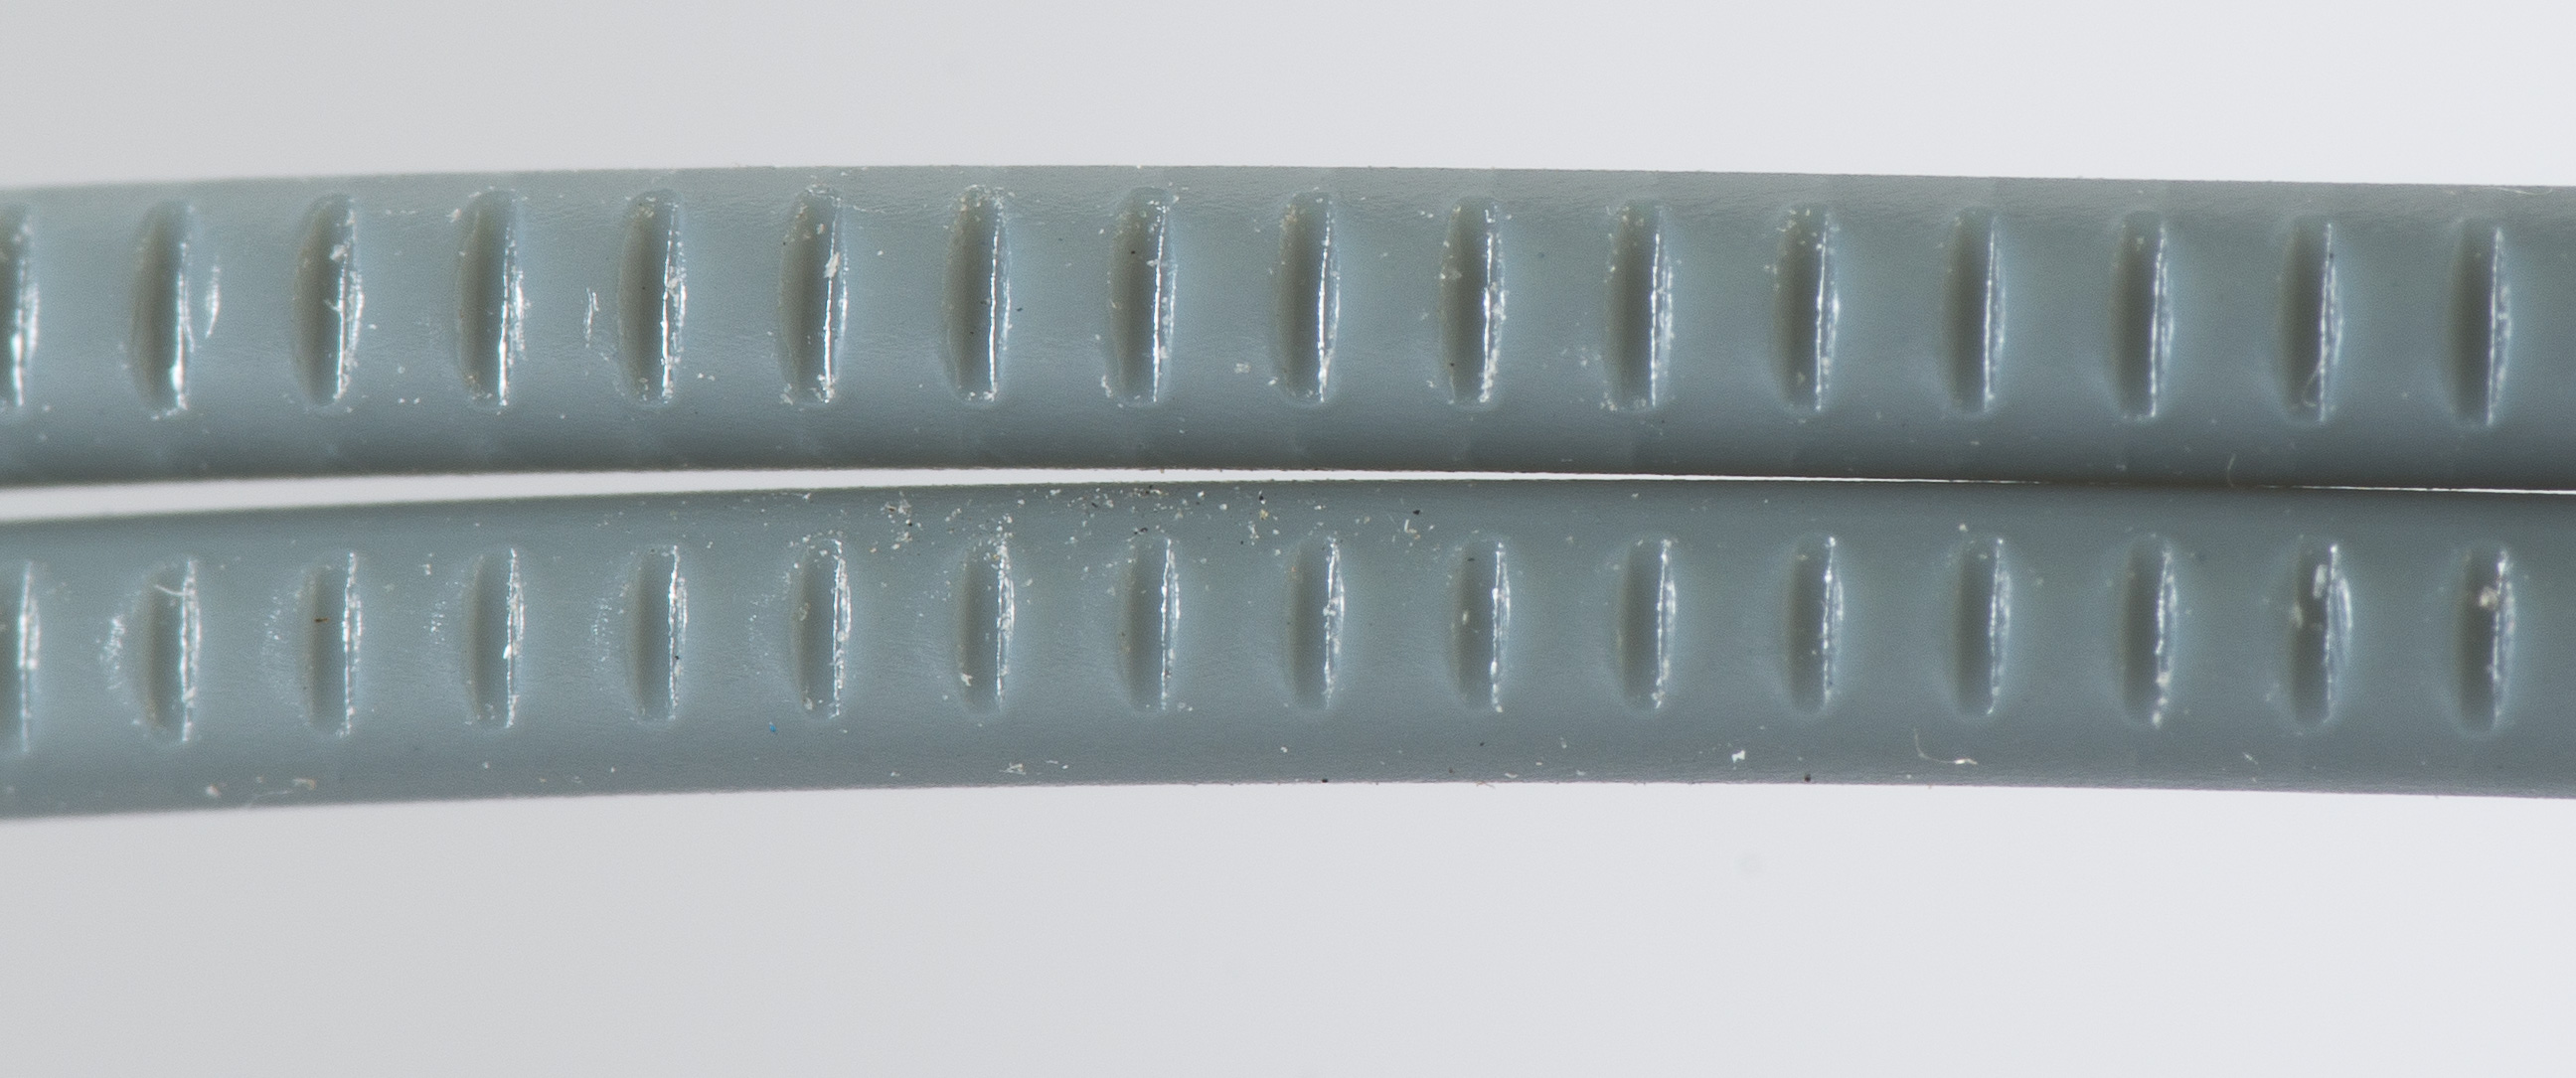
This picture shows filament with the bearing gear set in two different positions. The filament on top show what it looks like when the bearing screw is in contact with the chamfer, about a quarter turn from fully tight. With the lower filament, the bearing screw was backed out by 270° from the top position. The difference when measured with calipers is about 0.1mm. I don’t know what the optimal setting for the extruder is, but if you’re hearing the motor skipping, I’d try backing off the extruder bearing screw. If you see grinding marks on your filament and it isn’t feeding, I’d tighten it a bit. Backing off the two screws than hold the motor might work too, and keep the bearing and drive gear more parallel. But if you try that I’d put some threadlock on those screws, otherwise the extruder might fall off.
With this hack, my Tiko is printing better, more reliably, but it still has a way to go. Prints now look more or less like the one that came with the Tiko.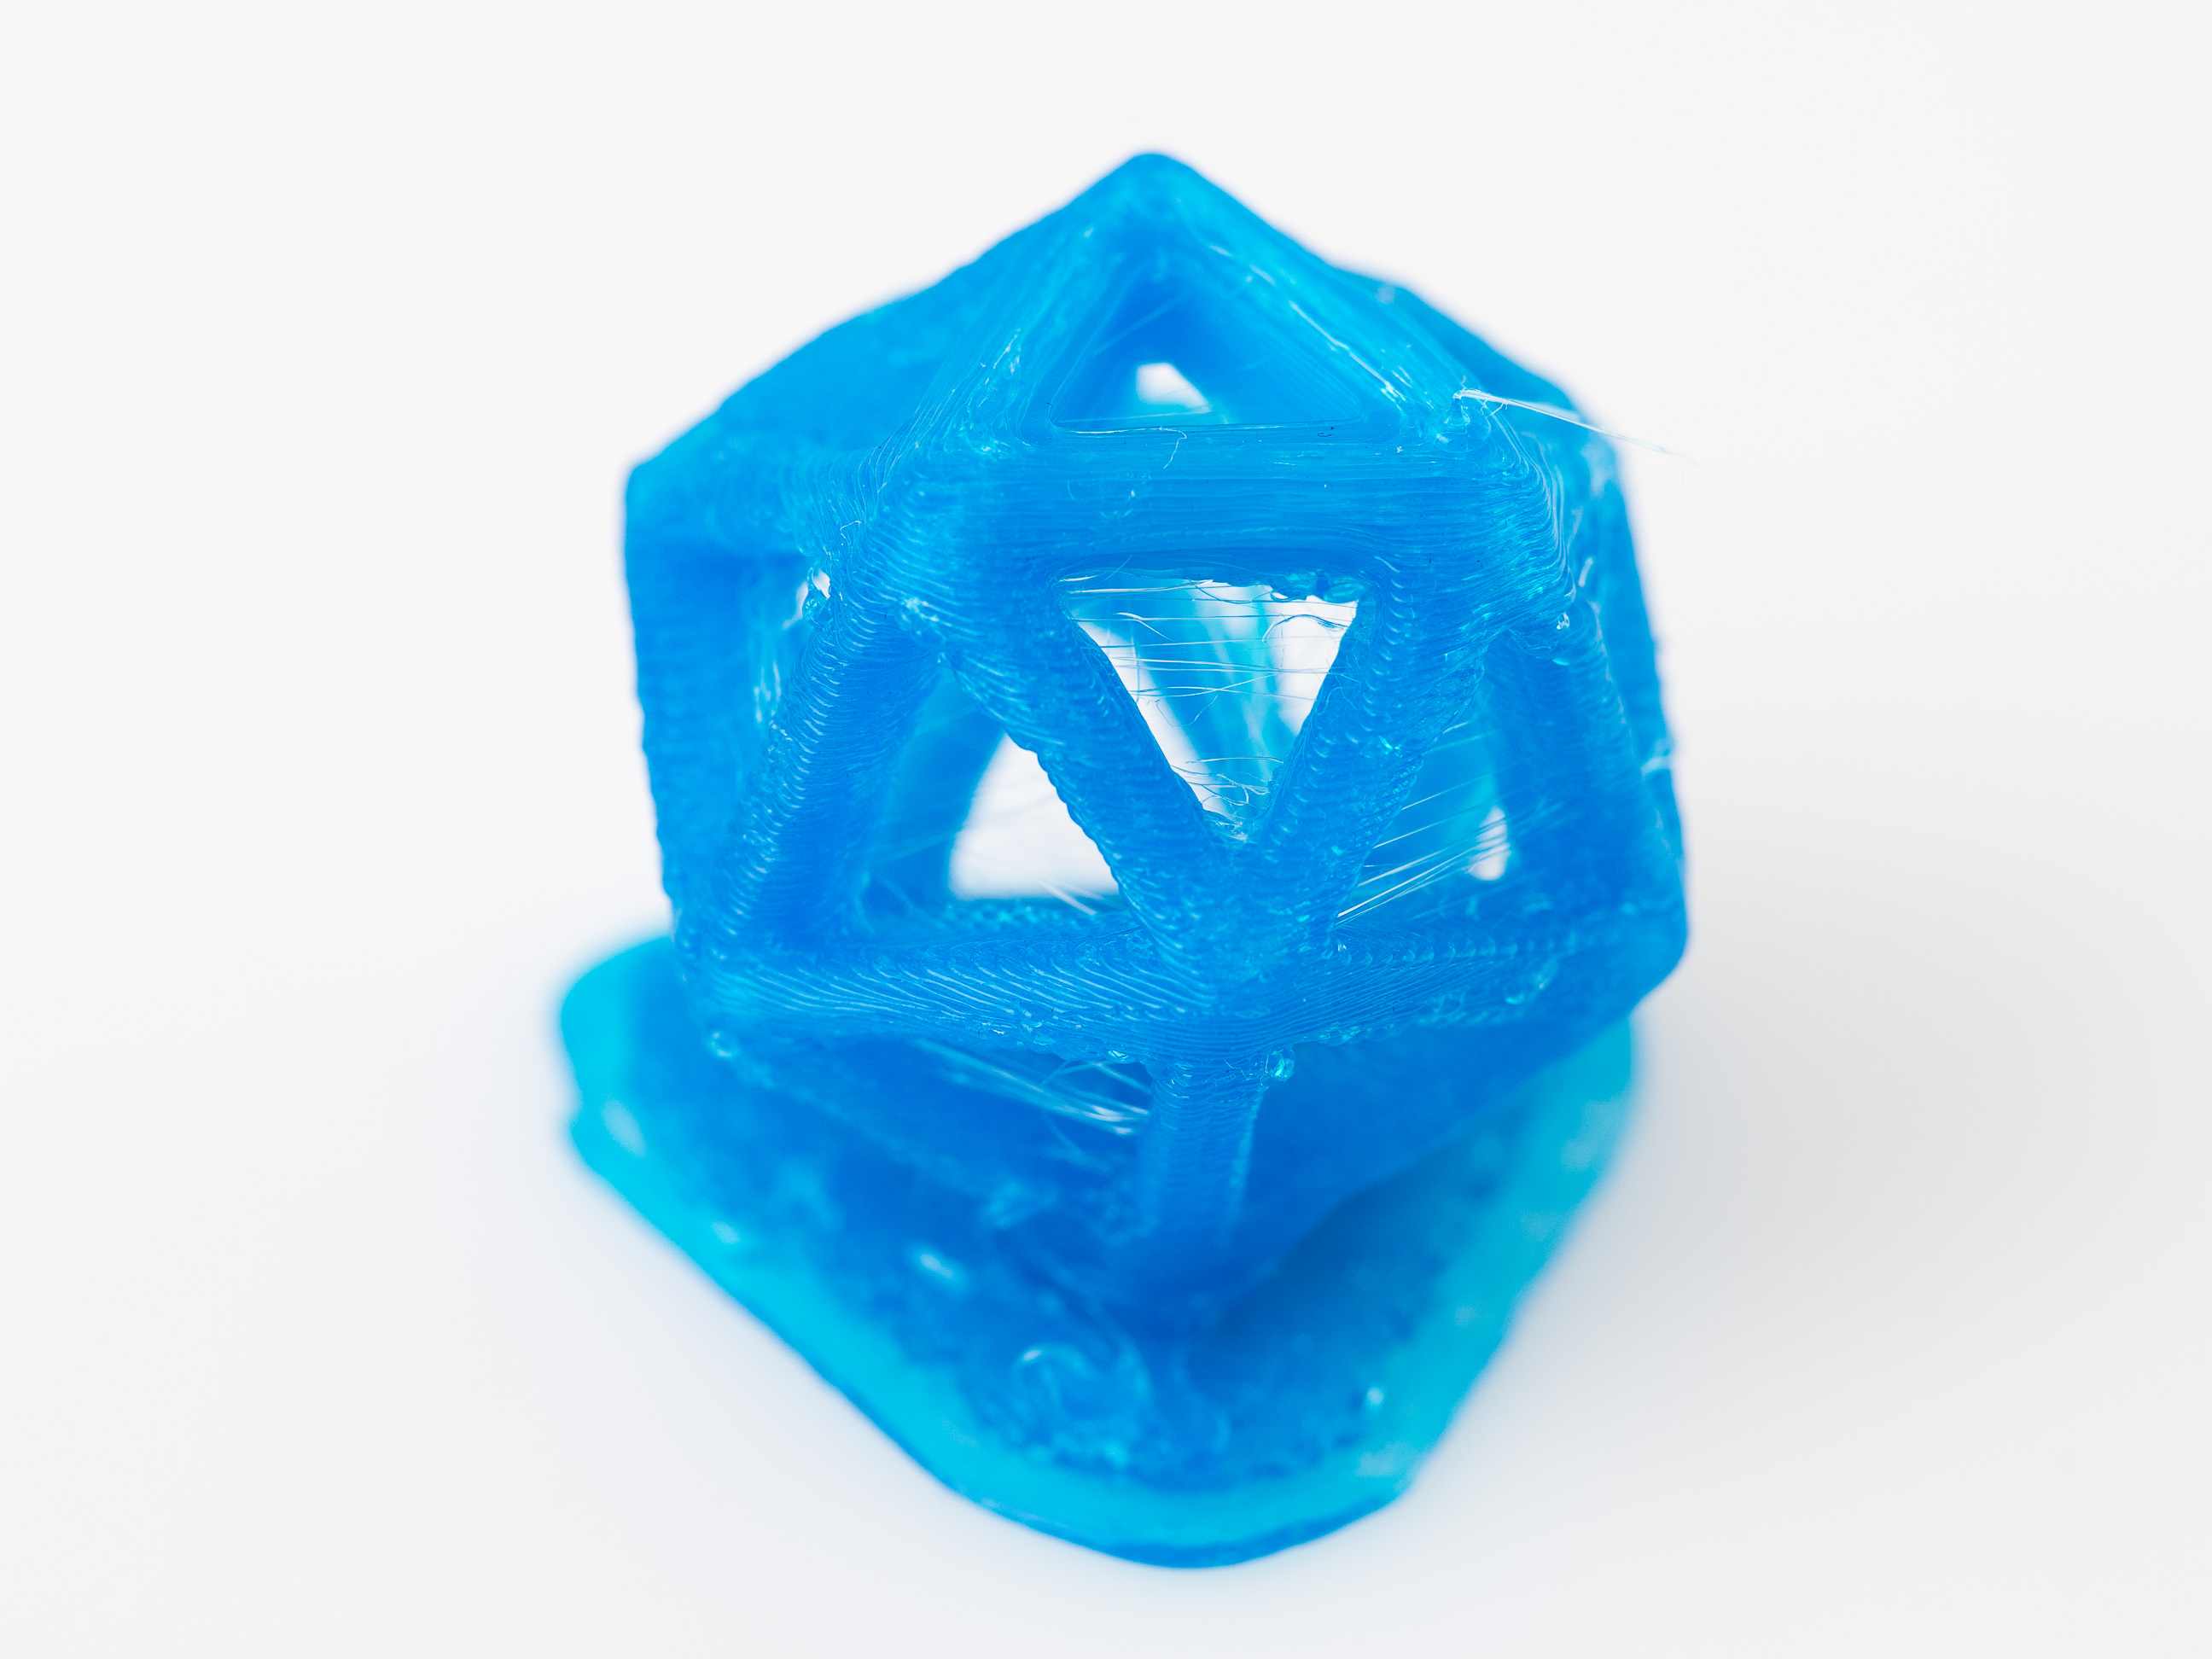
Extrusion Script
Before I realized the Tiko software had a manual extrude option hidden away under load filament (press load filament after the filament has already been loaded to access it), I was running tests by dropping gcode scripts into the Tiko interface. I’ve included it below in case anyone else finds it useful. It’s a bit more flexible and you can see exactly what’s happening. Just save it to a .gcode file, edit the parameters you want to change, drop it into the Tiko web interface, and “print” it.
G28 ; home
M109 S200 ; turn on nozzle heater and wait
G1 Z80 F900 ; move down a bit
G92 E0 ; zero the extruded length
G1 E30 F60 ; extrude the filament
G92 E0 ; zero the extruded length
M104 S0 ; turn off nozzle heater
G28 ; home
; make sure the previous line ends with a newline
In the line that starts with M109 S200 is the temperature of the hotend, it will wait for it to heat up before continuing. The E30 in G1 E30 in the middle is the amount of filament to extrude, and F60 on that line is the feedrate, how fast to extrude the filament. That last line is there because my Tiko won’t parse a line that doesn’t end in a newline, the comment isn’t necessary, but it helps ensure the newline above it is copied.