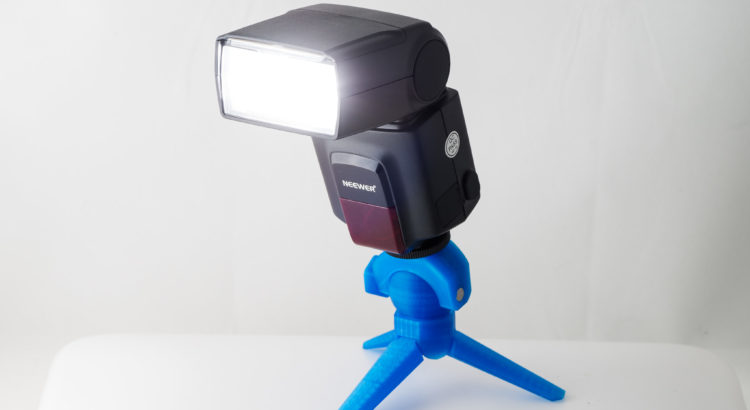
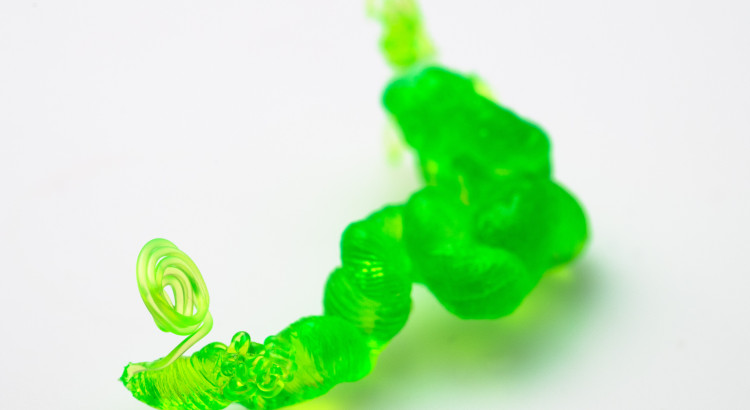
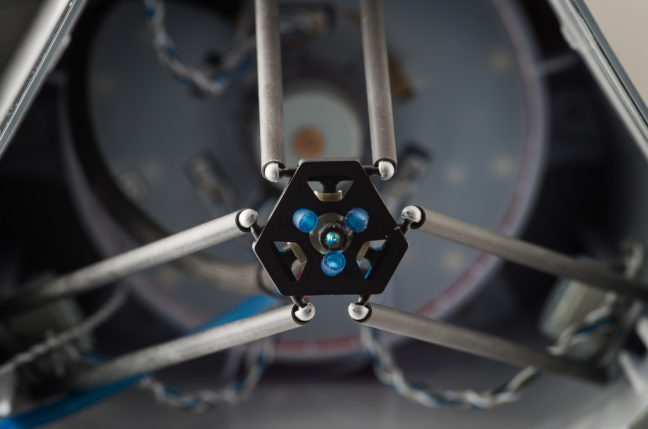
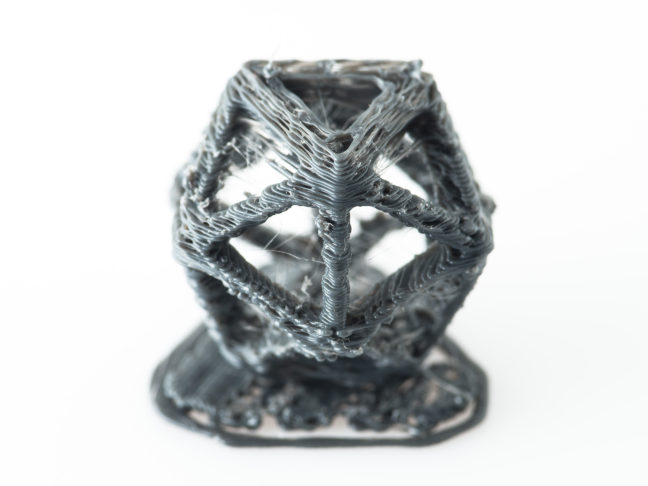
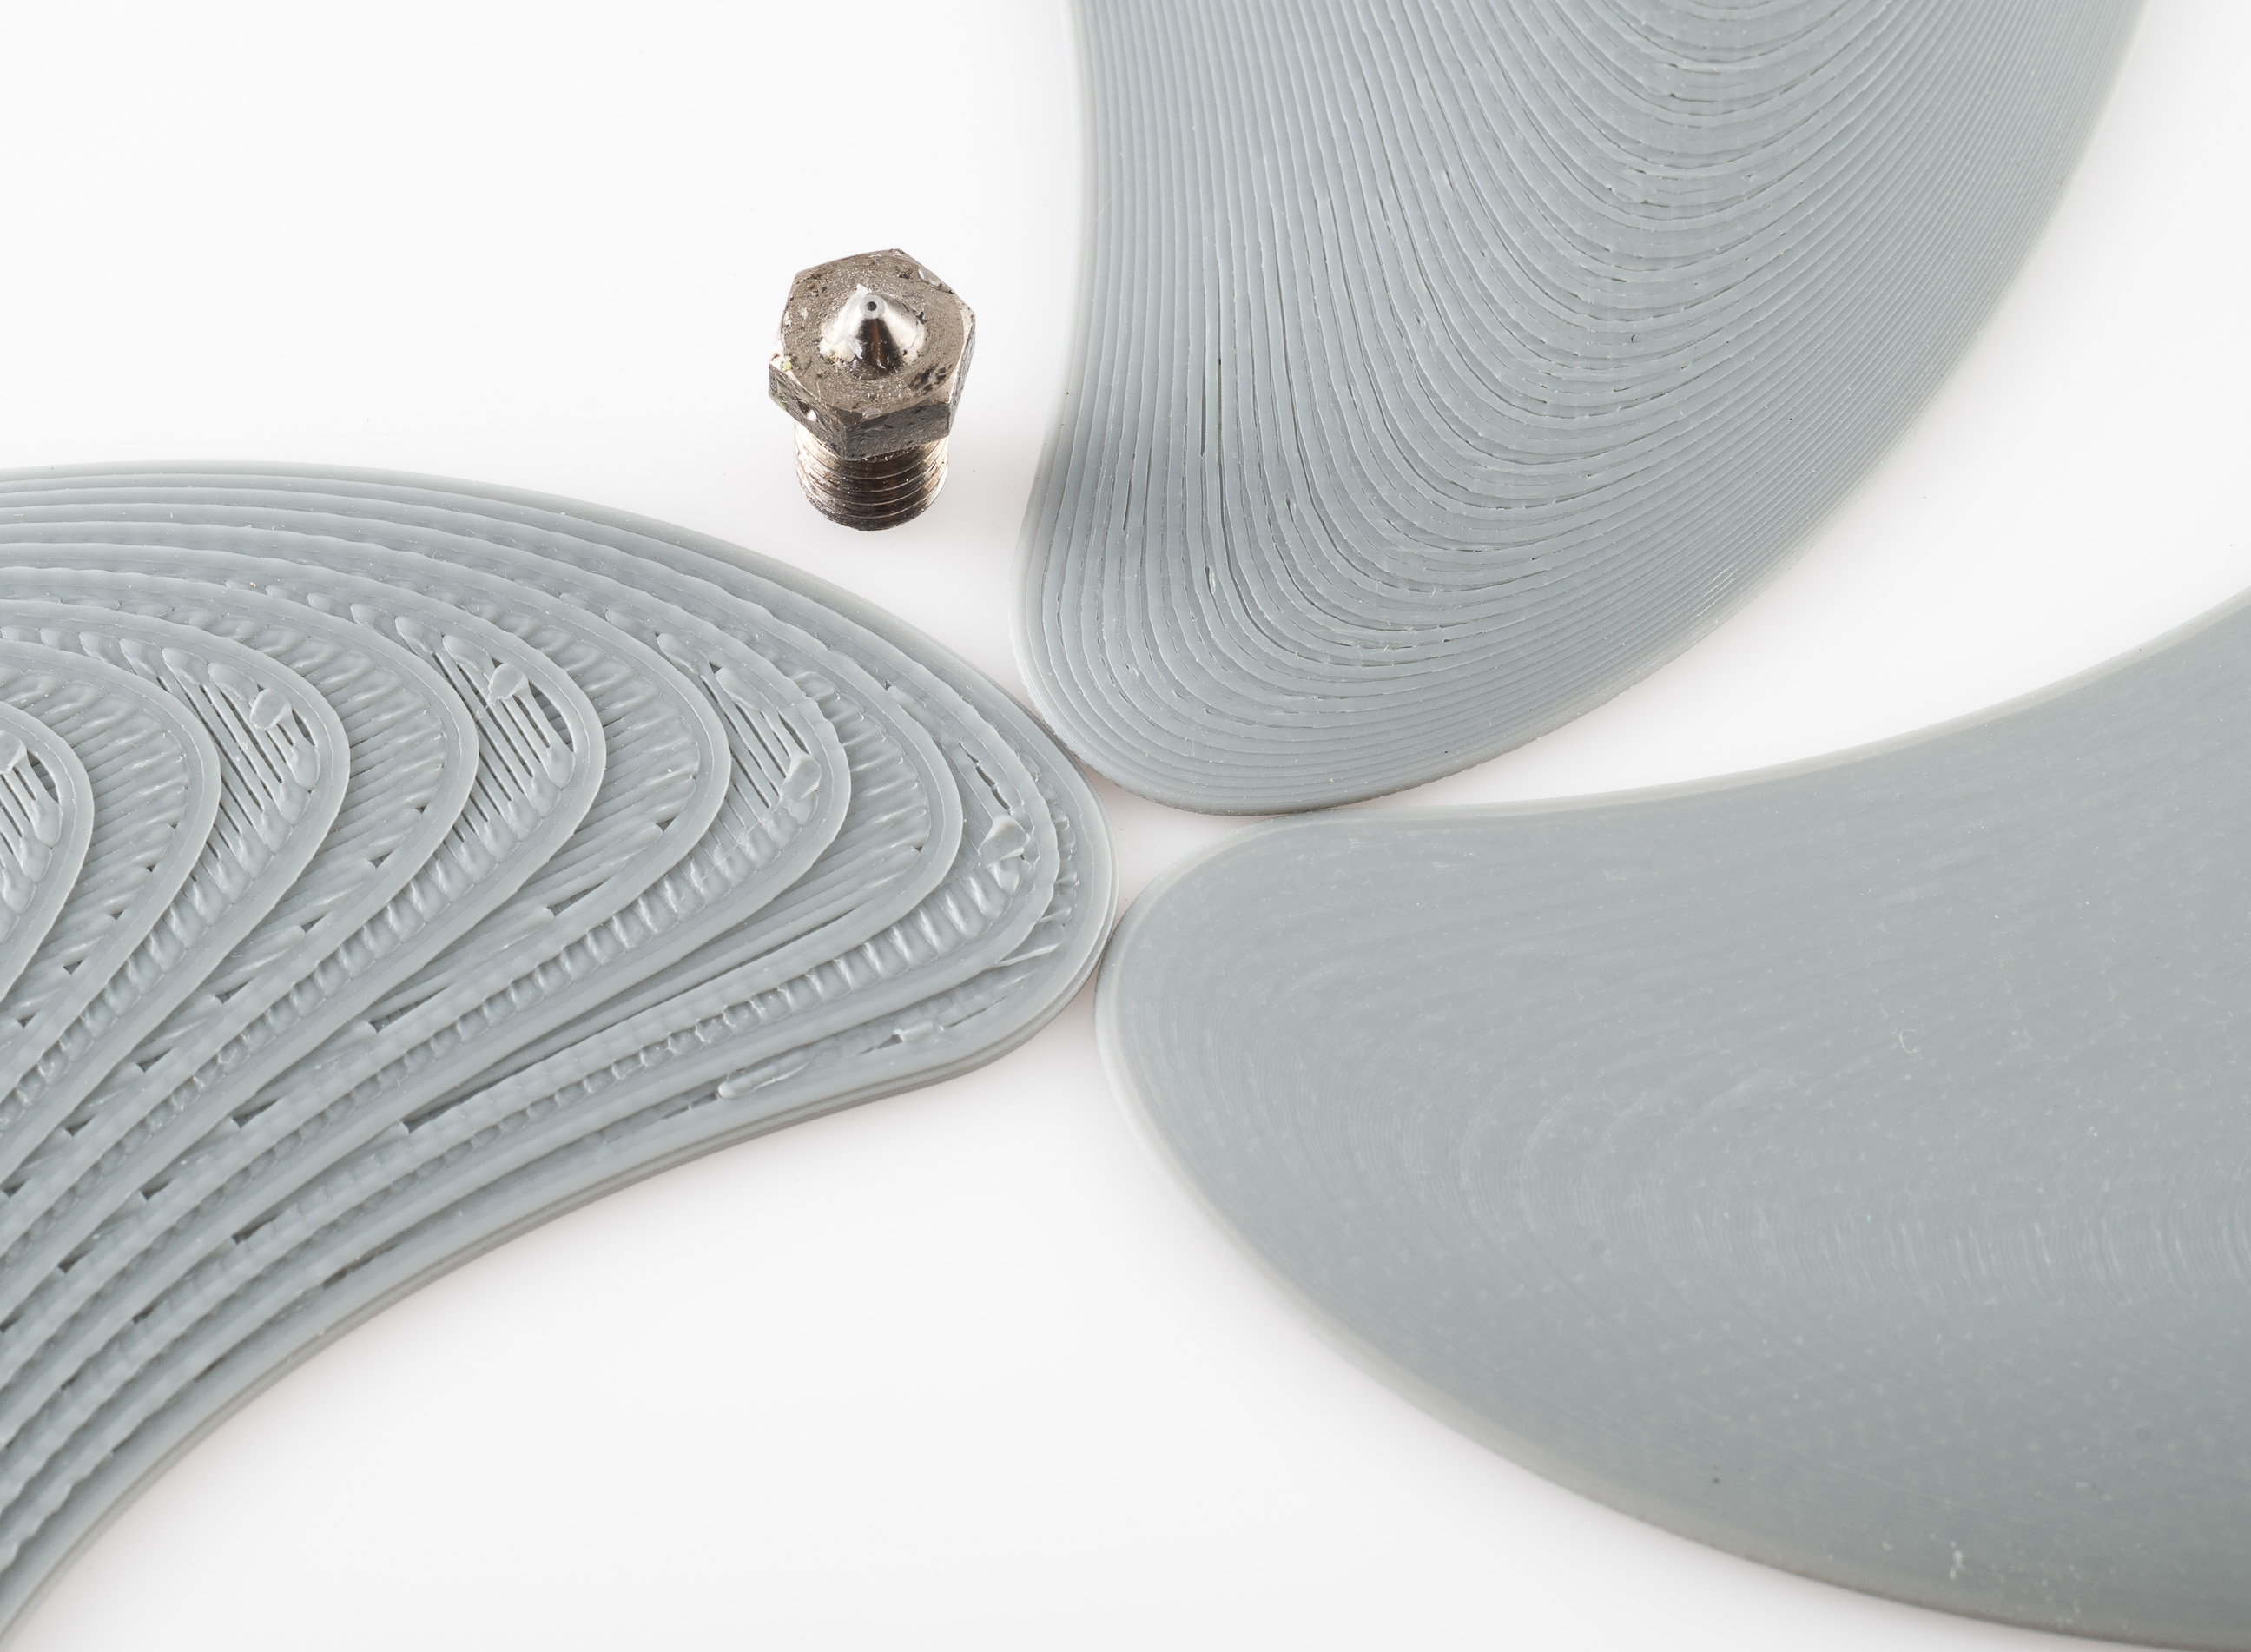
Before I start listing expensive photography equipment, I should mention that I have dedicated cameras and lenses for other photography. You can probably get similar results using a decent phone camera, but I haven’t done enough product photography with a phone camera to be able to give advice there. Some of the info here will be helpful with a phone camera, some will be more useful with a SLR-style camera.
Tips and Techniques
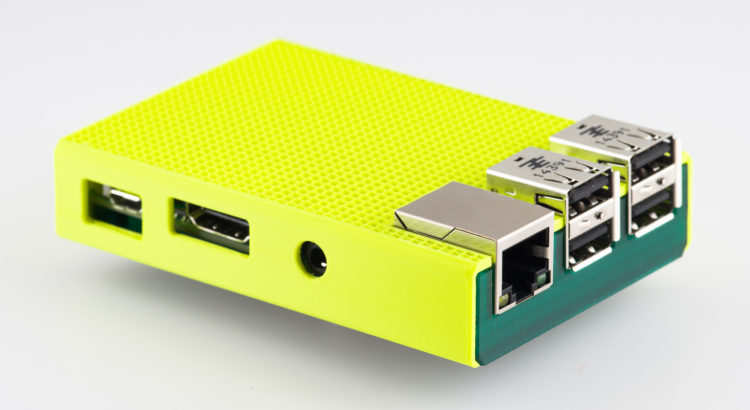
Photographing 3D Prints 1 – Overview
I’ve been asked many times about how to take good photographs 3D prints, and it’s always hard to answer in a brief format. Just like giving advice with 3D printing, it’s hard to know what will be useful without knowing more about the hardware, software, experience, and intentions. Even in a longer format, photography is just too large of a subject to cover without skipping over a lot of important details. I actually started this post years ago, but every time I try to finish it, it just keeps growing. So I’m going to split it into sections, starting with the basics, and I hope to get to the rest someday.
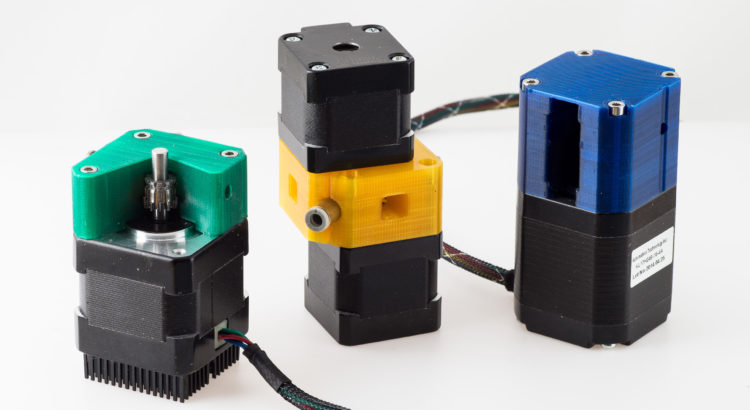
Calibrating Extruder Grip
I’ve been experimenting with several new dual drive extruder designs for the latest printer I’ve been building. Every time I make a new iteration, I have to recalibrate the gap or tension setting on the extruder. Here are the steps I take to calibrate each iteration, which may want to try if you print one of these designs.
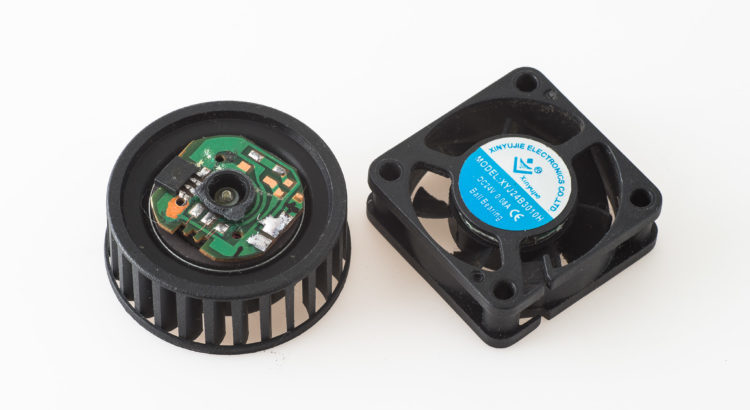
3D Printer Failure 1 – Broken Fan Wiring
I’ve found wiring to be one of the most fragile parts of my 3D printers. Fans can often fail where the wires are connected to the PCB, which can be particularly frustrating failure since there’s often limited clearance for soldering and most fans are welded together, making them difficult to disassemble. Fortunately, a bit of preventative reinforcement can significantly reduce the odds of a broken fan.
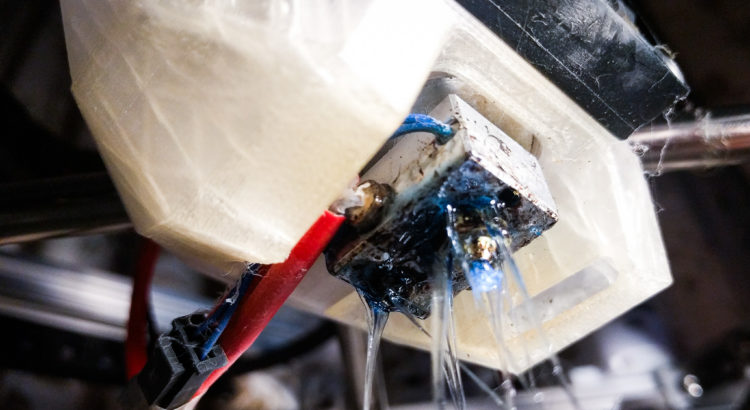
Printing Failure 4 – Detached Part (Stuck to Hotend Variation)
One of the worst things a detached print can do is attach to the heater block. This case wasn’t too bad, but I’ve seen pictures where the hotend is encased in a giant ball of plastic. If this happens, turning up the temperature of the hotend will make the plastic easier to remove, I usually set it high enough to soften the plastic, but lower than normal printing temperatures. A brass brush is also very useful for cleanup. Watch out for any wiring damage during cleanup, especially around the thermistor.
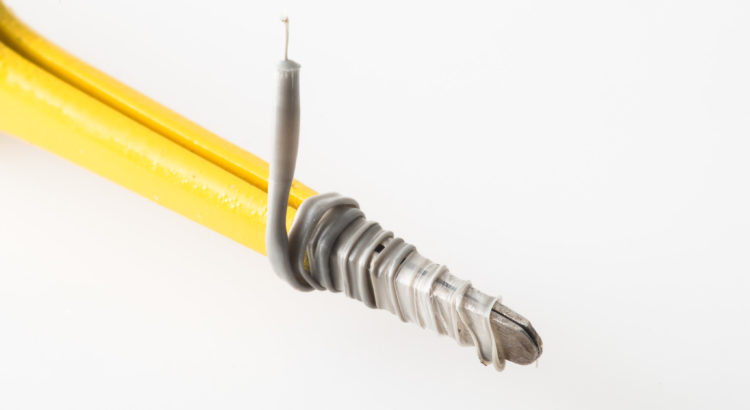
Swapping and Clearing Printer Nozzles
When I change nozzles on my printer (which I do often to switch between nozzle sizes), I usually remove any remaining filament in the nozzle. It helps keep the nozzle clean and reduces color and plastic contamination the next time you use the nozzle. The process is similar to doing a cold pull, but quicker if you’re already planning to change the nozzle.

Moisture in new printer filament
Almost all of the filament suppliers vacuum seal their filament with a desiccant packet pack to ensure your filament arrives dry and ready to use. That’s the theory, but I’ve noticed a few filaments arrive wet, with the moisture perfectly sealed in to ensure you have a poor first experience with the filament.
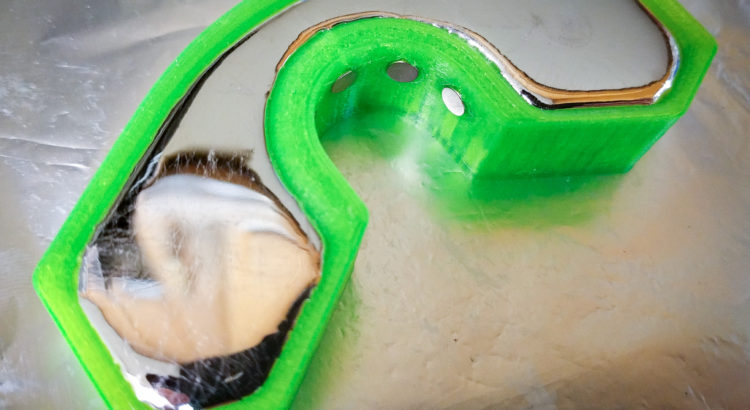
Metal Casting With a Plastic Printer
I’ve been wanting to try metal casting in printed molds for years, but never had a use for the heavy, low melt alloys that would work in a printed mold. When I saw this mod for anti-backlash weights by Pratyeka in the Tiko 3D forums, I figured I’d finally give it a try and ordered a block of metal.
Tiko Part 3: Reinforcing the delta arms
I added some epoxy tubing to reinforce the the delta arms on my Tiko. The tubes are approximately 200mm long and have an inside diameter of 0.219 inches (5.56mm). You can get them from Tap Plastics, but you will need to cut them yourself (one 32.5″ rod can be cut down to 4 – 201mm rods for the Tiko, you’ll need 6).
Tiko Part 2: First Prints and Adjusting the Extruder Tension
My first prints with the Tiko was terrible (not unusual for a 3D printer), I used the default settings including the default temperature of 210°C and it was clearly too hot, making the test print come out a melted mess. No problem, I know how to fix that. So next I tried 190°C and it came out very underextruded. The clicking sounds made it clear that the something in the extruder system wasn’t keeping up.
