This is the list of tools that I frequently use with 3D printing, both essential tools and some more specialized ones. Some of these tools may be specific to my setup (glass bed) and may not be needed with your printers. Many of these products will be more common in North America. There are affiliate links in here marked with an *. I earn a small commission on purchases made through these links if you place an order soon after you click it. Many thanks to all those who have ordered through these links.
1. Essential Tools
Part Removal
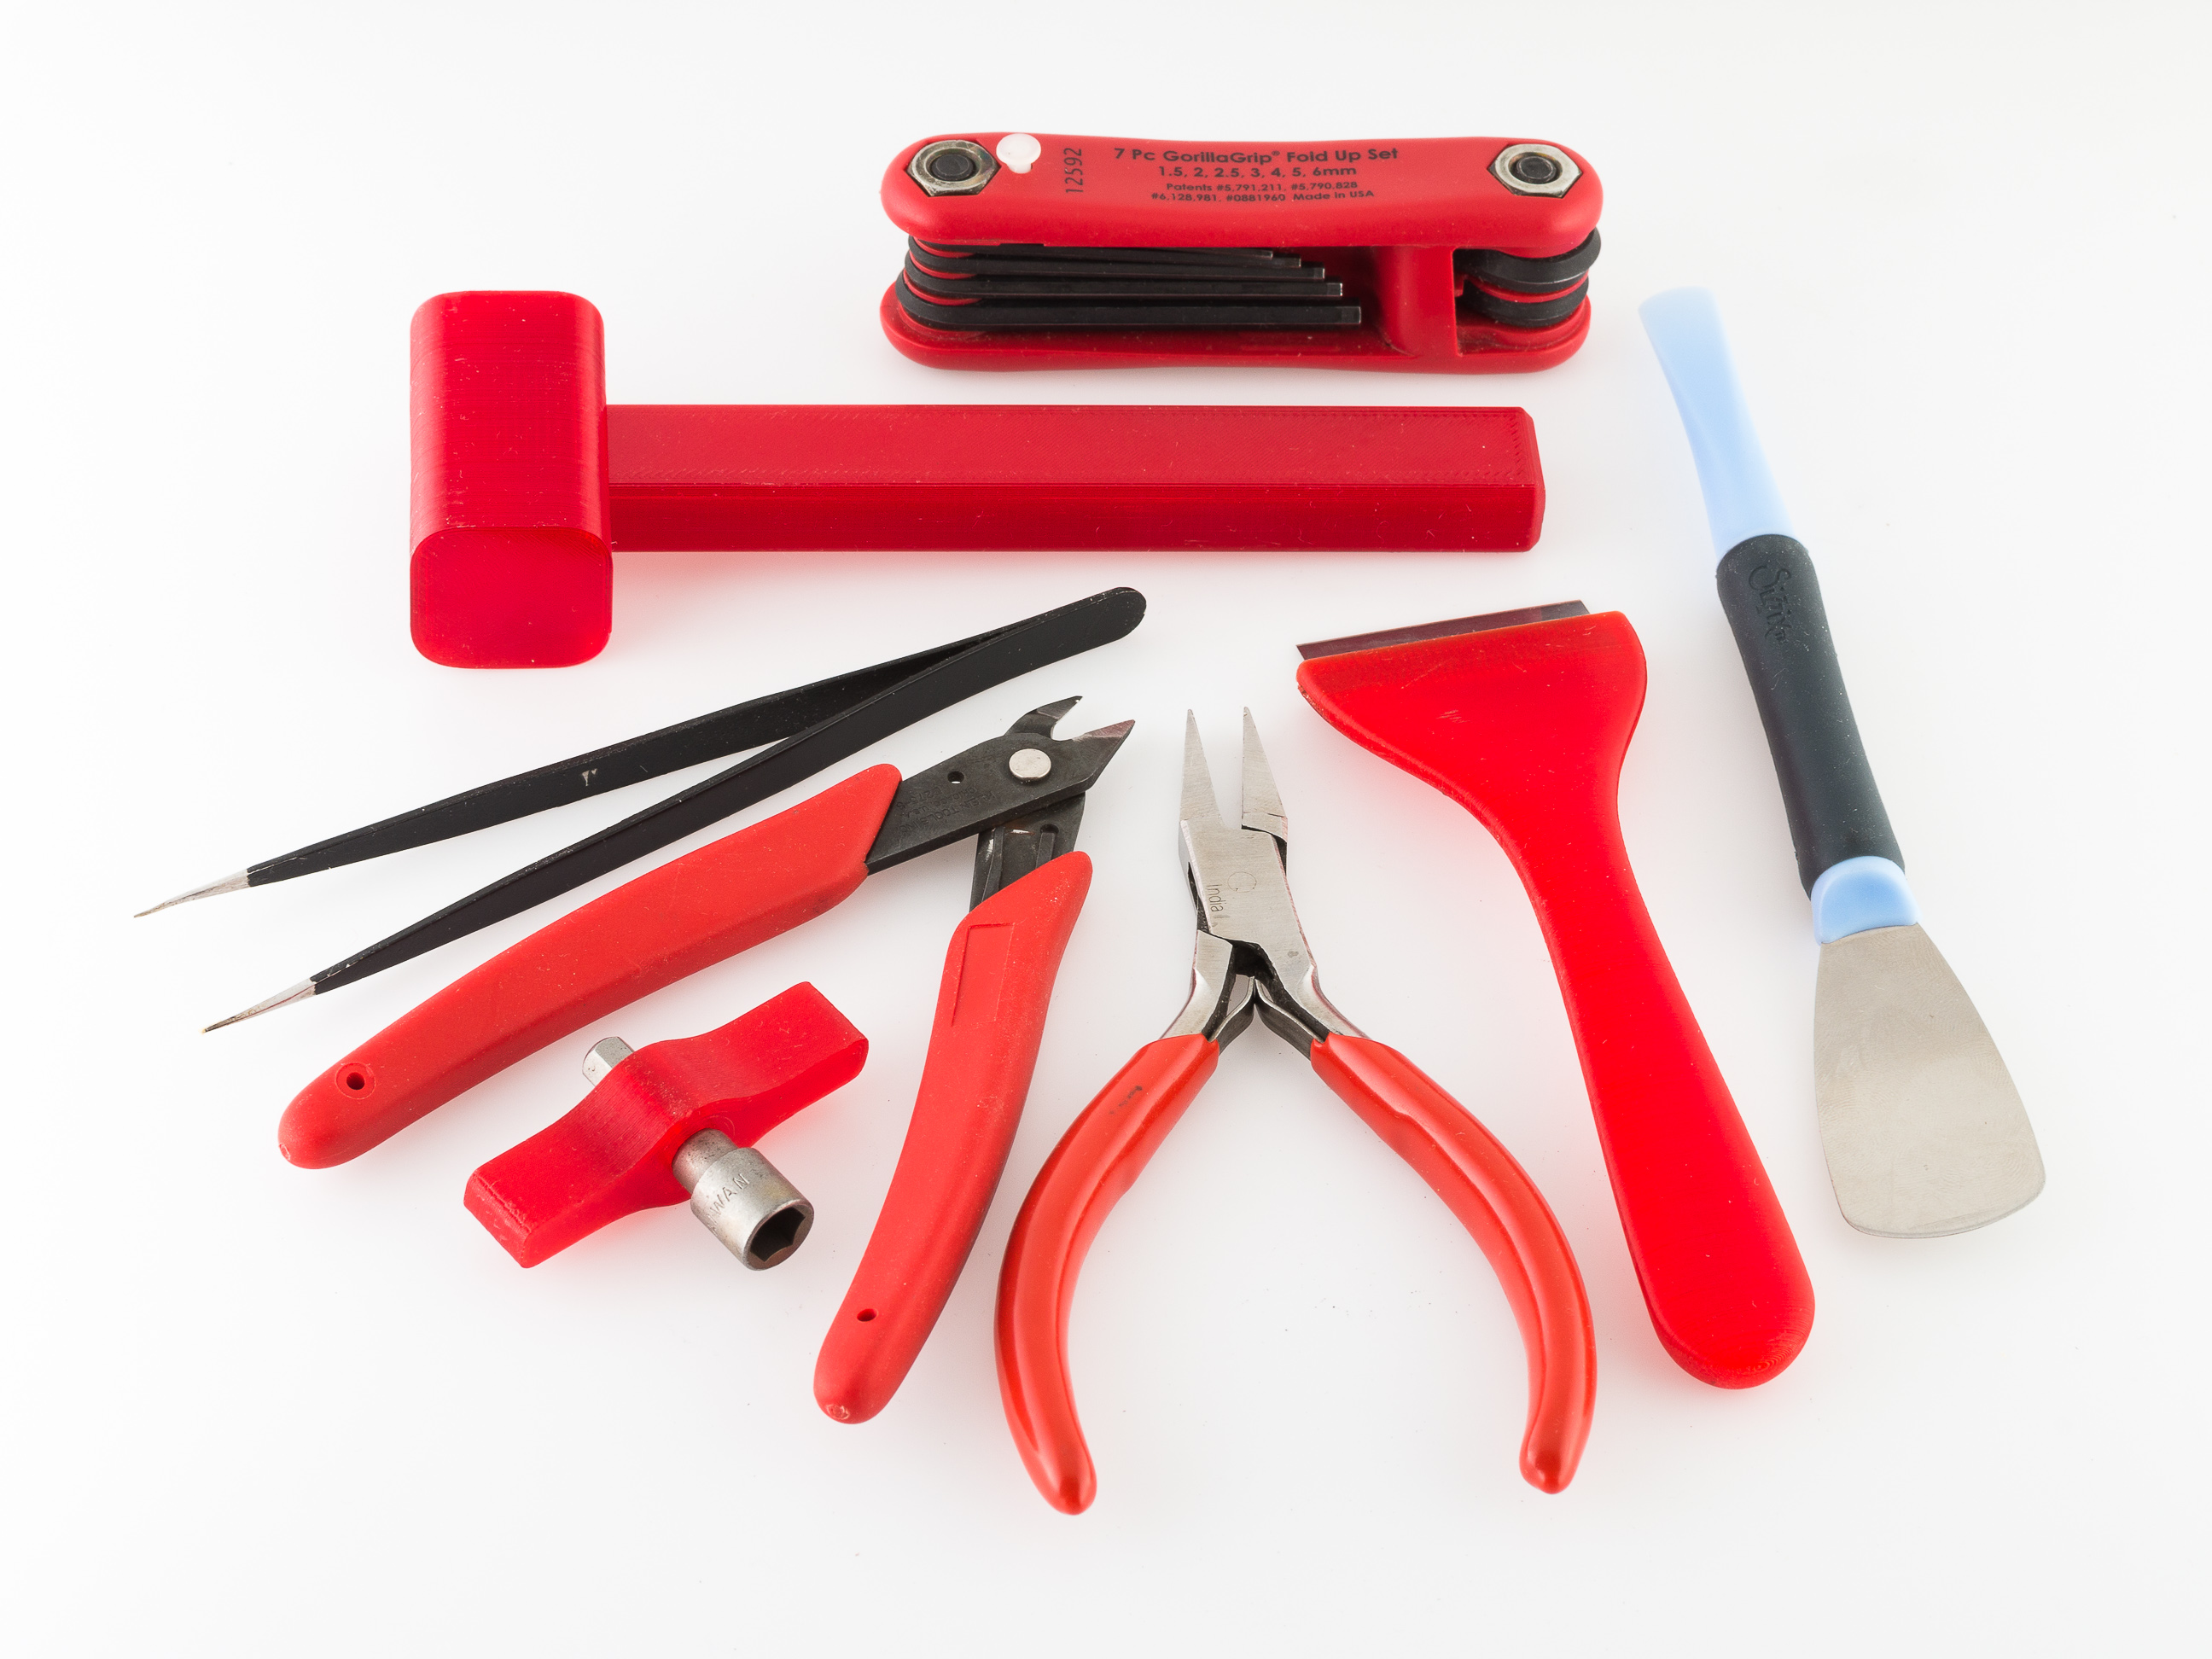
 Craft Spatula* – Useful for removing small parts from a glass build plate. I prefer the Sizzix spatula* which has a flat blade, but the Cricut version* is popular too. It should be sharpened along the top of the front edge so it can slide under the prints without damaging them. Good for removing smaller, fragile, or flat parts.
 Hammer – Also useful for removing parts from the build plate. A good knock will remove many parts from the build plate, and it’s the easiest way to remove some prints (mostly more solid pieces that are large enough to hit). I would recommend printing the hammer’s head in TPU to prevent damaging the parts when hitting them, a plastic head can mar the surface.
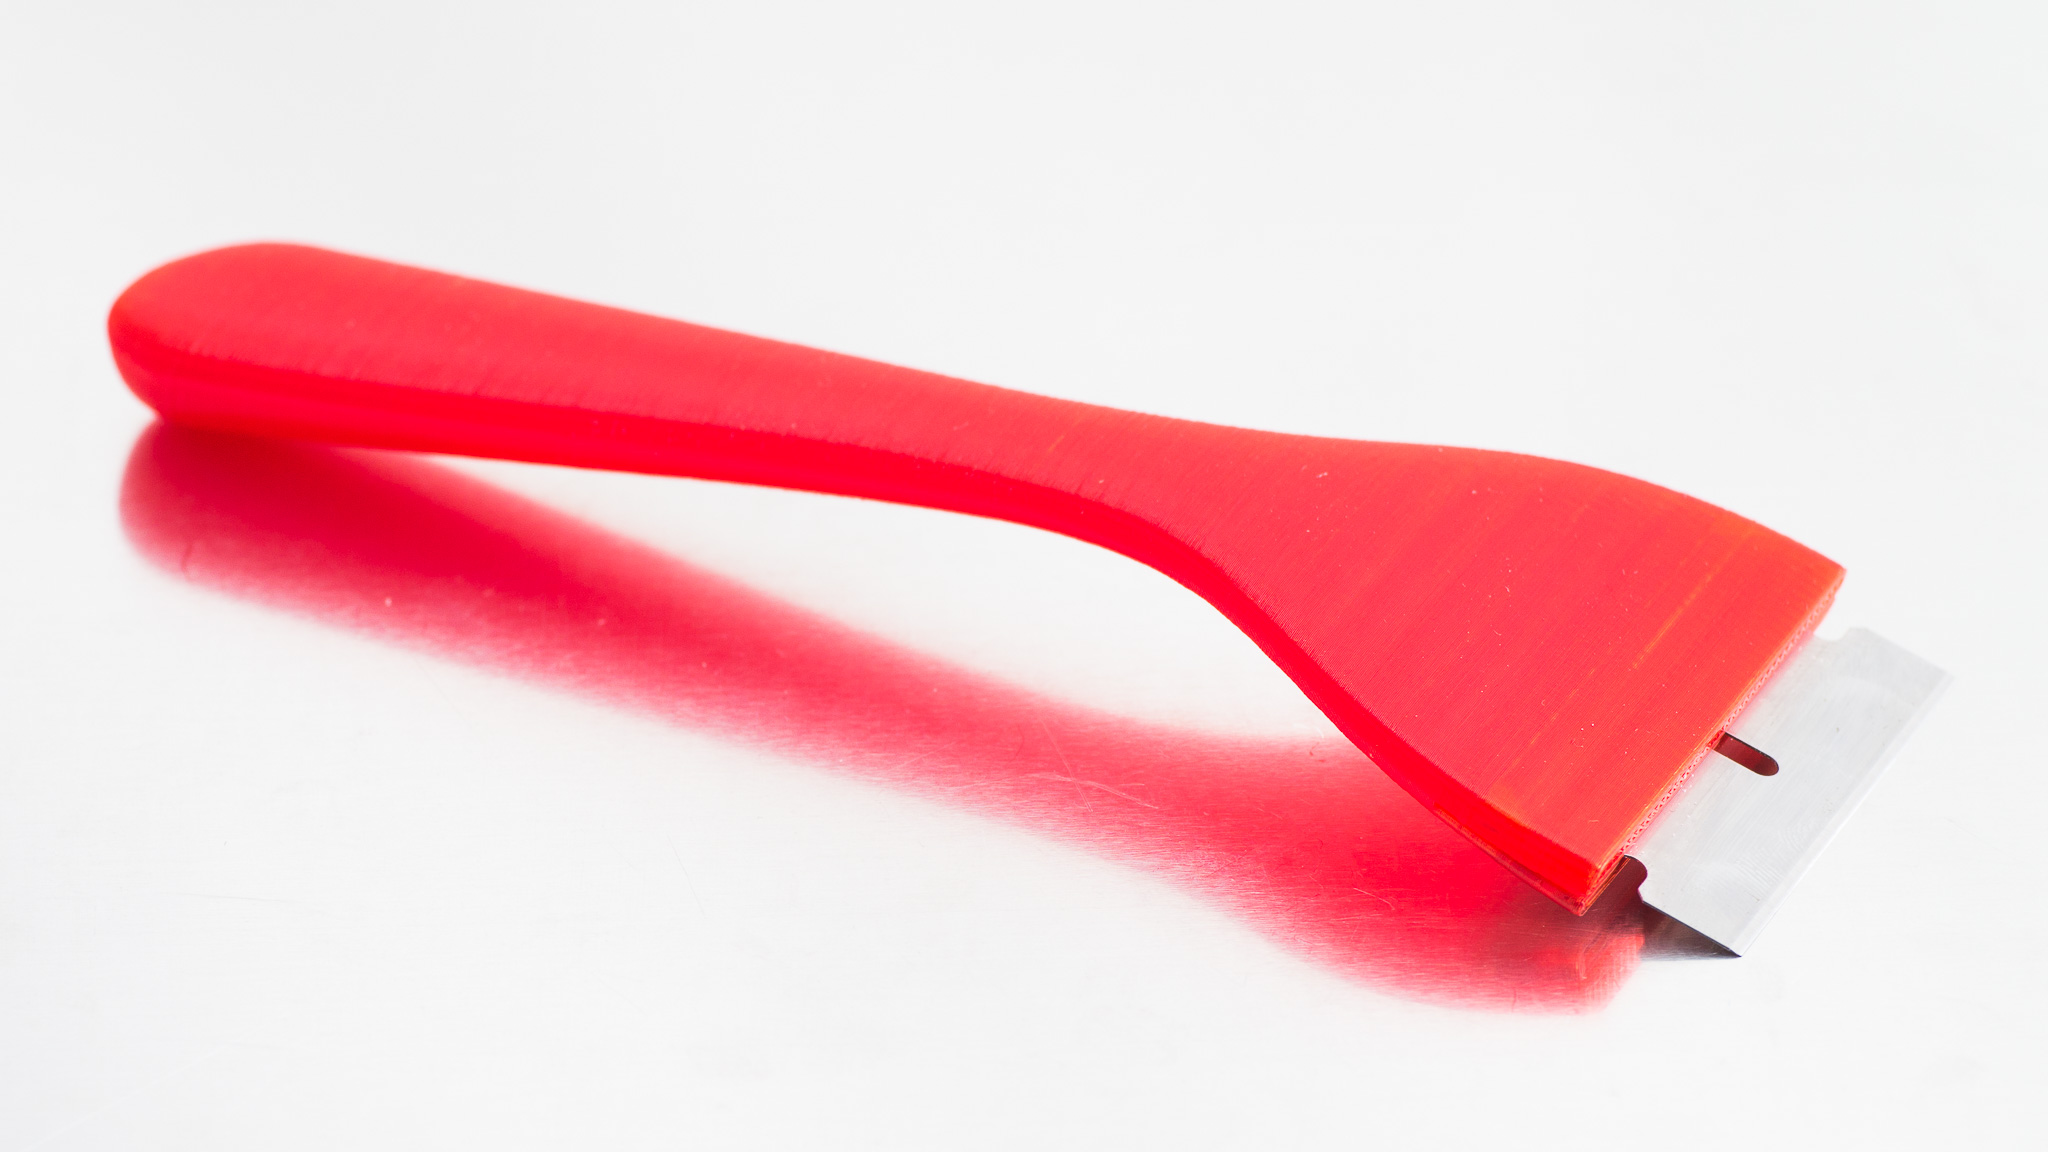 Razor Scraper – Quickly removes glue stick or hair spray from the build plate. Good for cleaning the build plate when you don’t want to remove or wash it. I sometimes use it to remove smaller parts from the build plate, but it’s more fragile than the Sizzix spatula.
Measurement
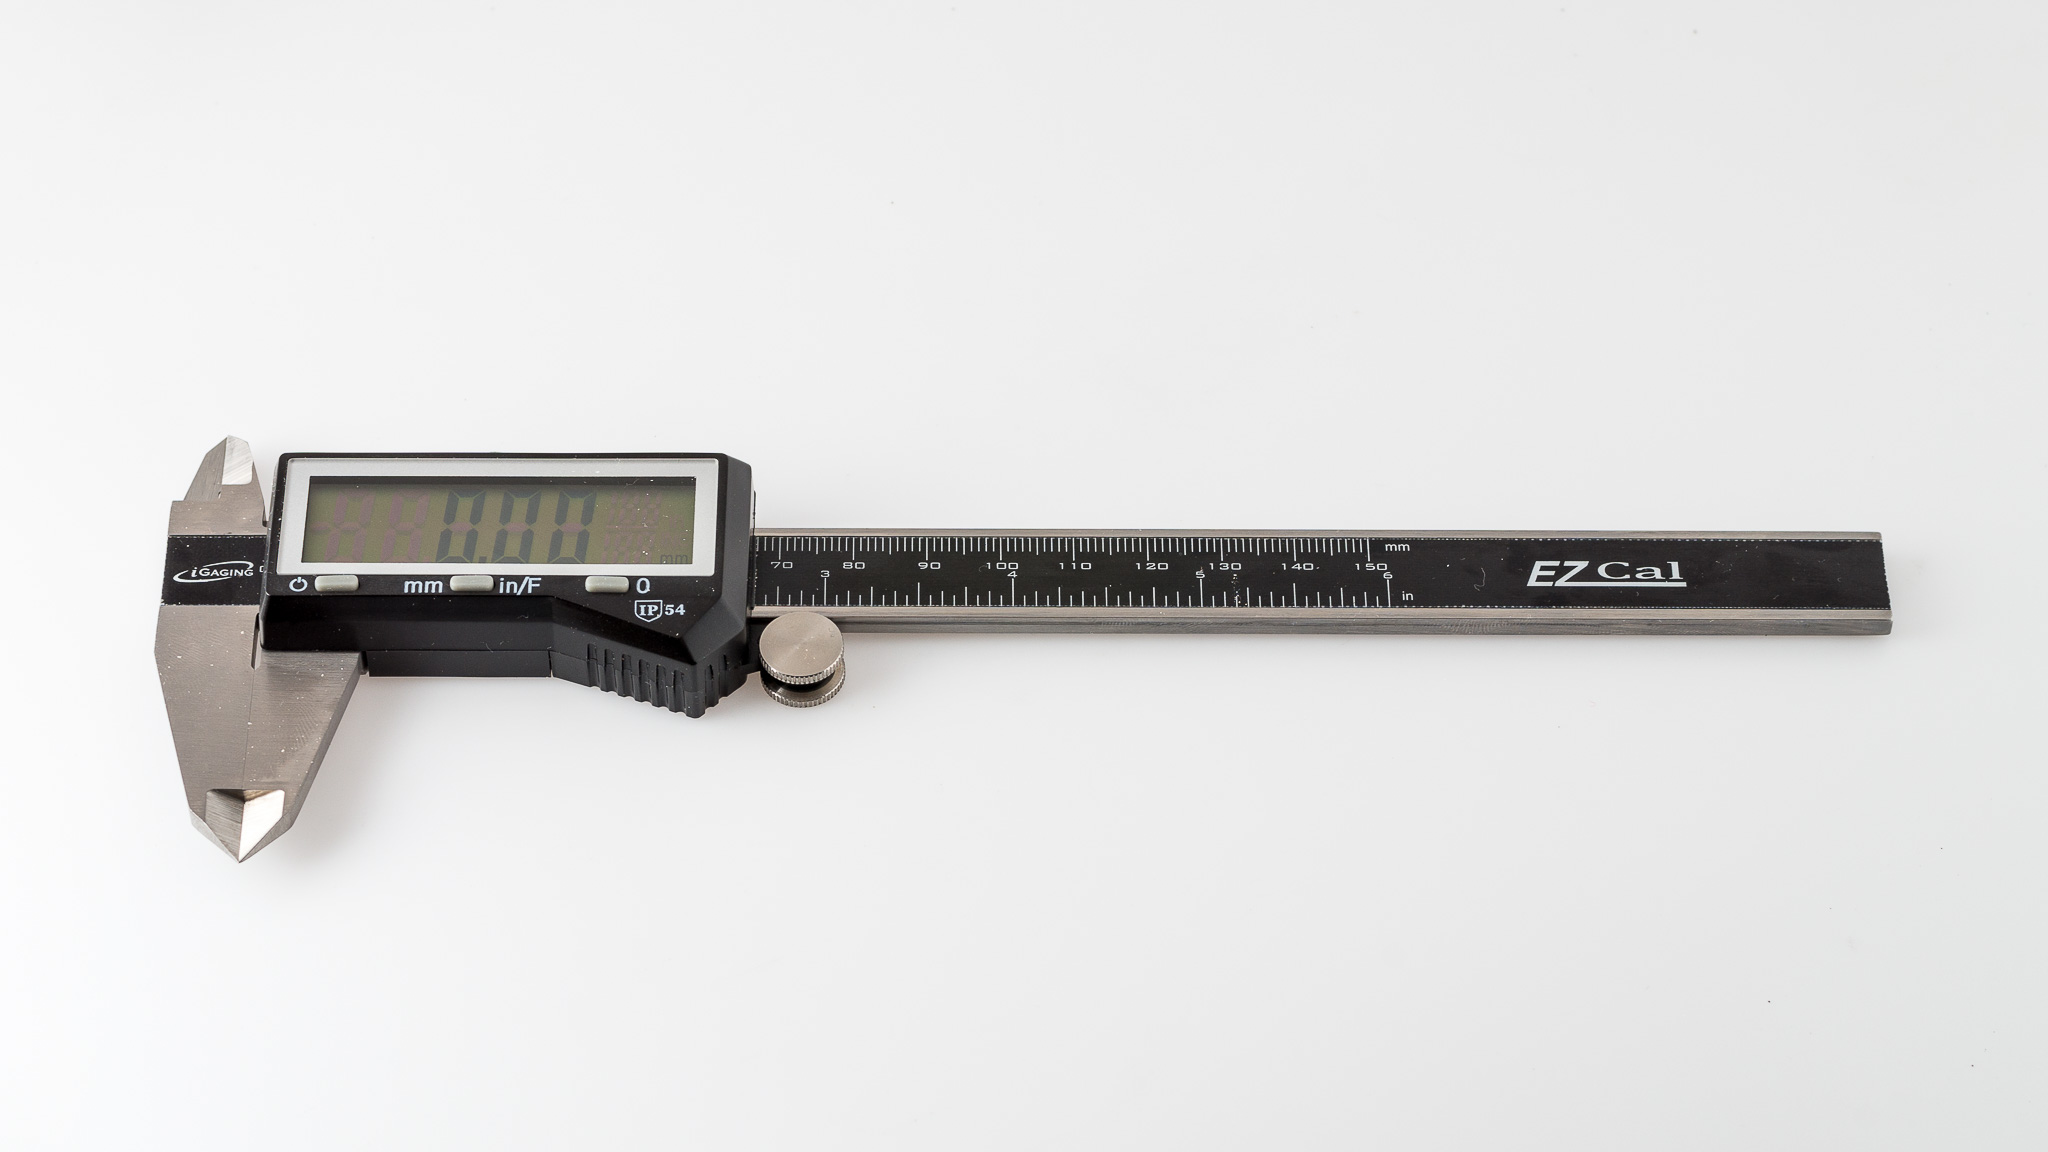 Digital Calipers* – I use these constantly. I started with a $10 set from Harbor Freight, which worked fine, but recently upgraded to a more expensive set from iGaging* (pictured above). This one has a large display that’s easier to read and can measure in imperial fractions. I’ve tried a few cheaper ones shipped from China that did not work well. I prefer models with autoshutoff to keep the batteries from being drained.
Maintenance
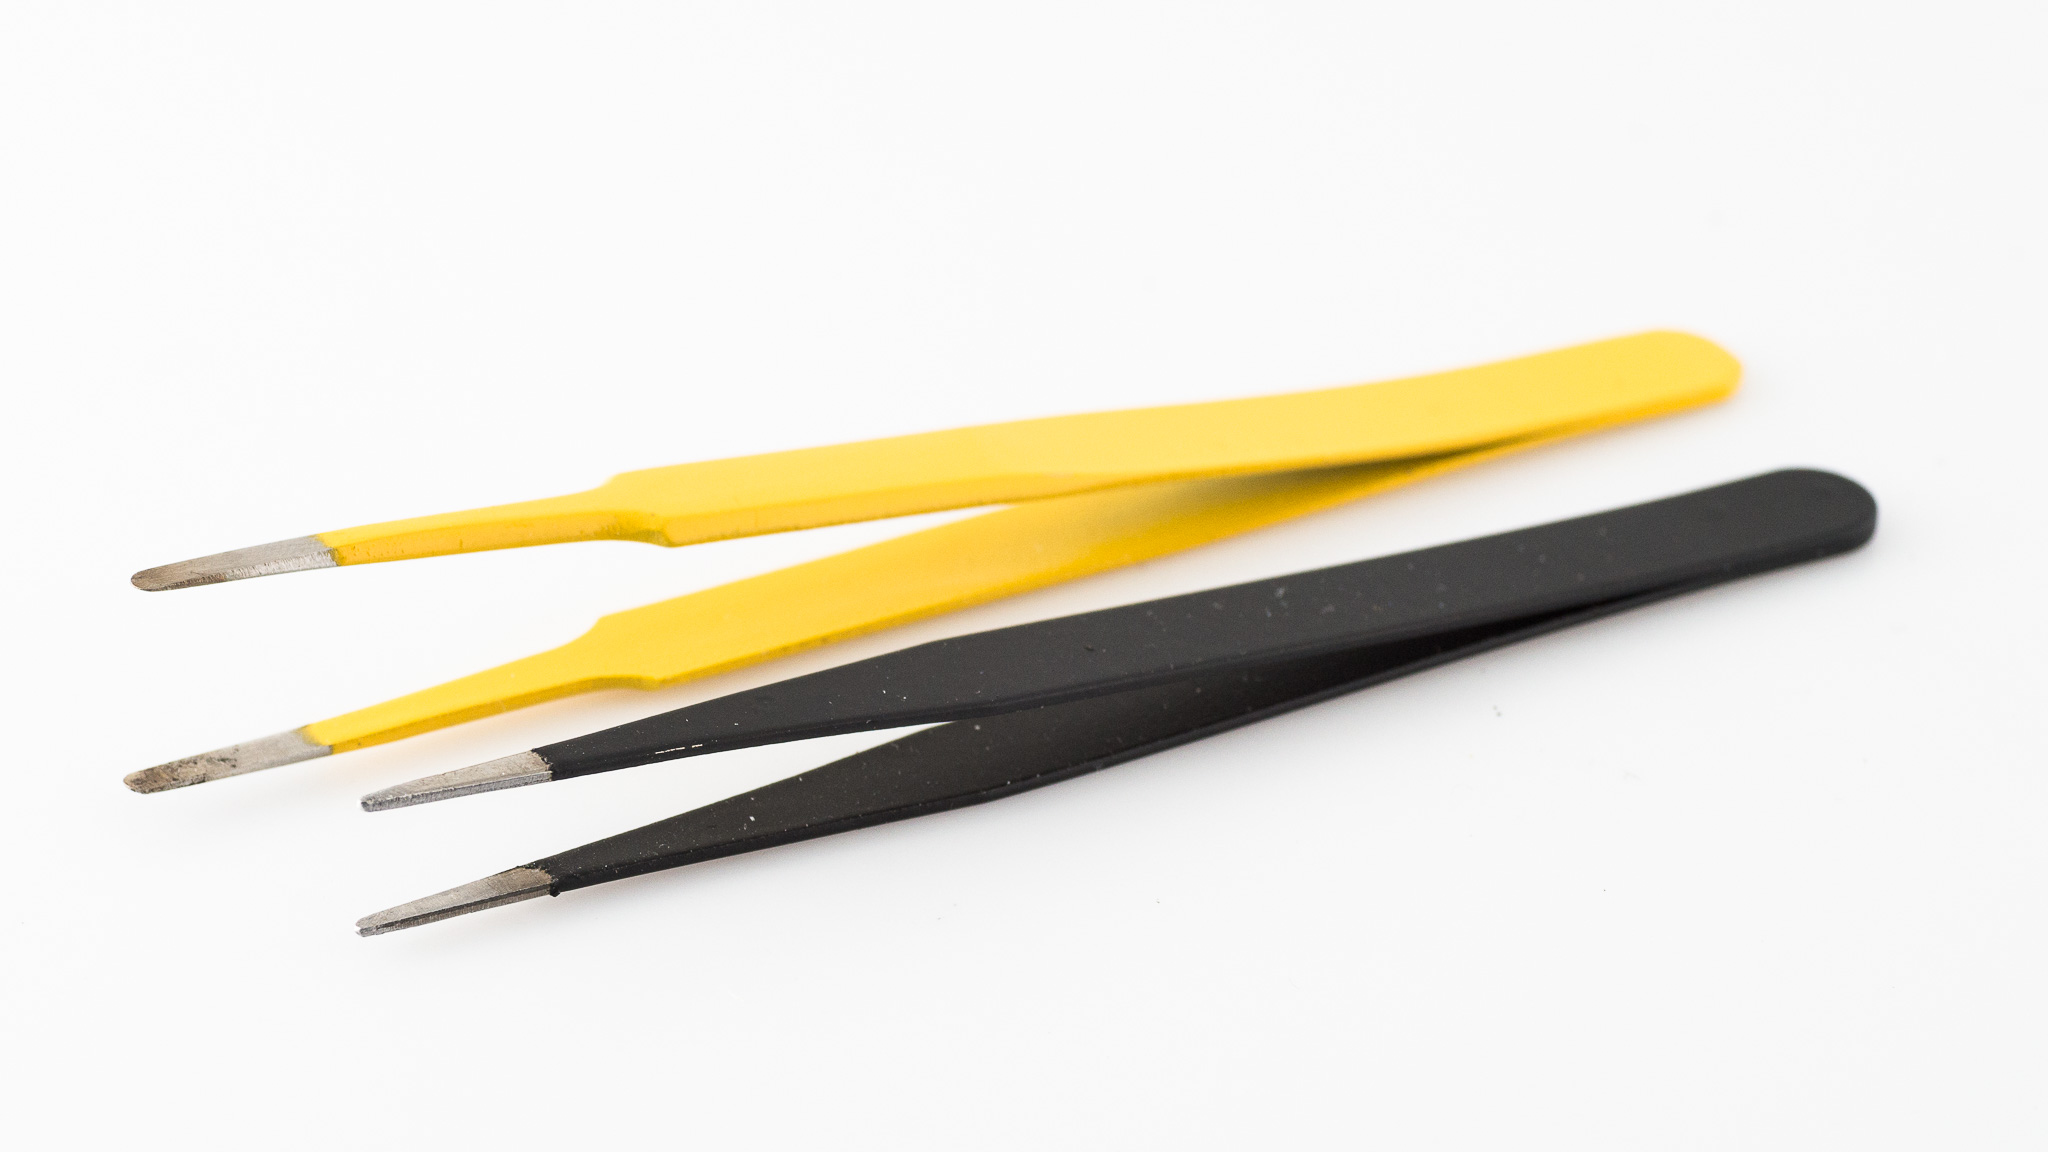 Tweezers* – I always keep a few of these around to remove filament stuck on the nozzle. I prefer medium to long straight tweezers with somewhat pointy tip. Best to get one in a visible color if possible as they’re really easy to misplace.
 Ball End Hex Wrenches – All of my printers have used use metric hex hardware. Sizes 1.5, 2, 2.5, 3, and 4 seem to be the most common. A ball-end set may be necessary to access screws that you couldn’t get to with normal wrenches.
 Hex Wrench Set* – While it’s often easier to use separate hex wrenches, I’m constantly losing them. While I don’t consider the combined set a replacement for individual hex wrenches, I find a folding set very convenient and use them at least often as the individual wrenches.
 Nozzle Socket Wrench – If you change nozzles frequently, you’ll need a wrench for changing out the nozzle. I find a short one is convenient, so I don’t have to set the z-height very far to change the nozzle.
 Brass Brush* – A brass brush is great for cleaning melted plastic off the printer nozzle and heat block. Any cheap brush will work, but I find they’re much more effective if you trim the bristles down to around 5 to 10mm. These are also great for polishing prints made with metal powder filament.
 Superlube Oil* – Lightweight oil for oiling rods.
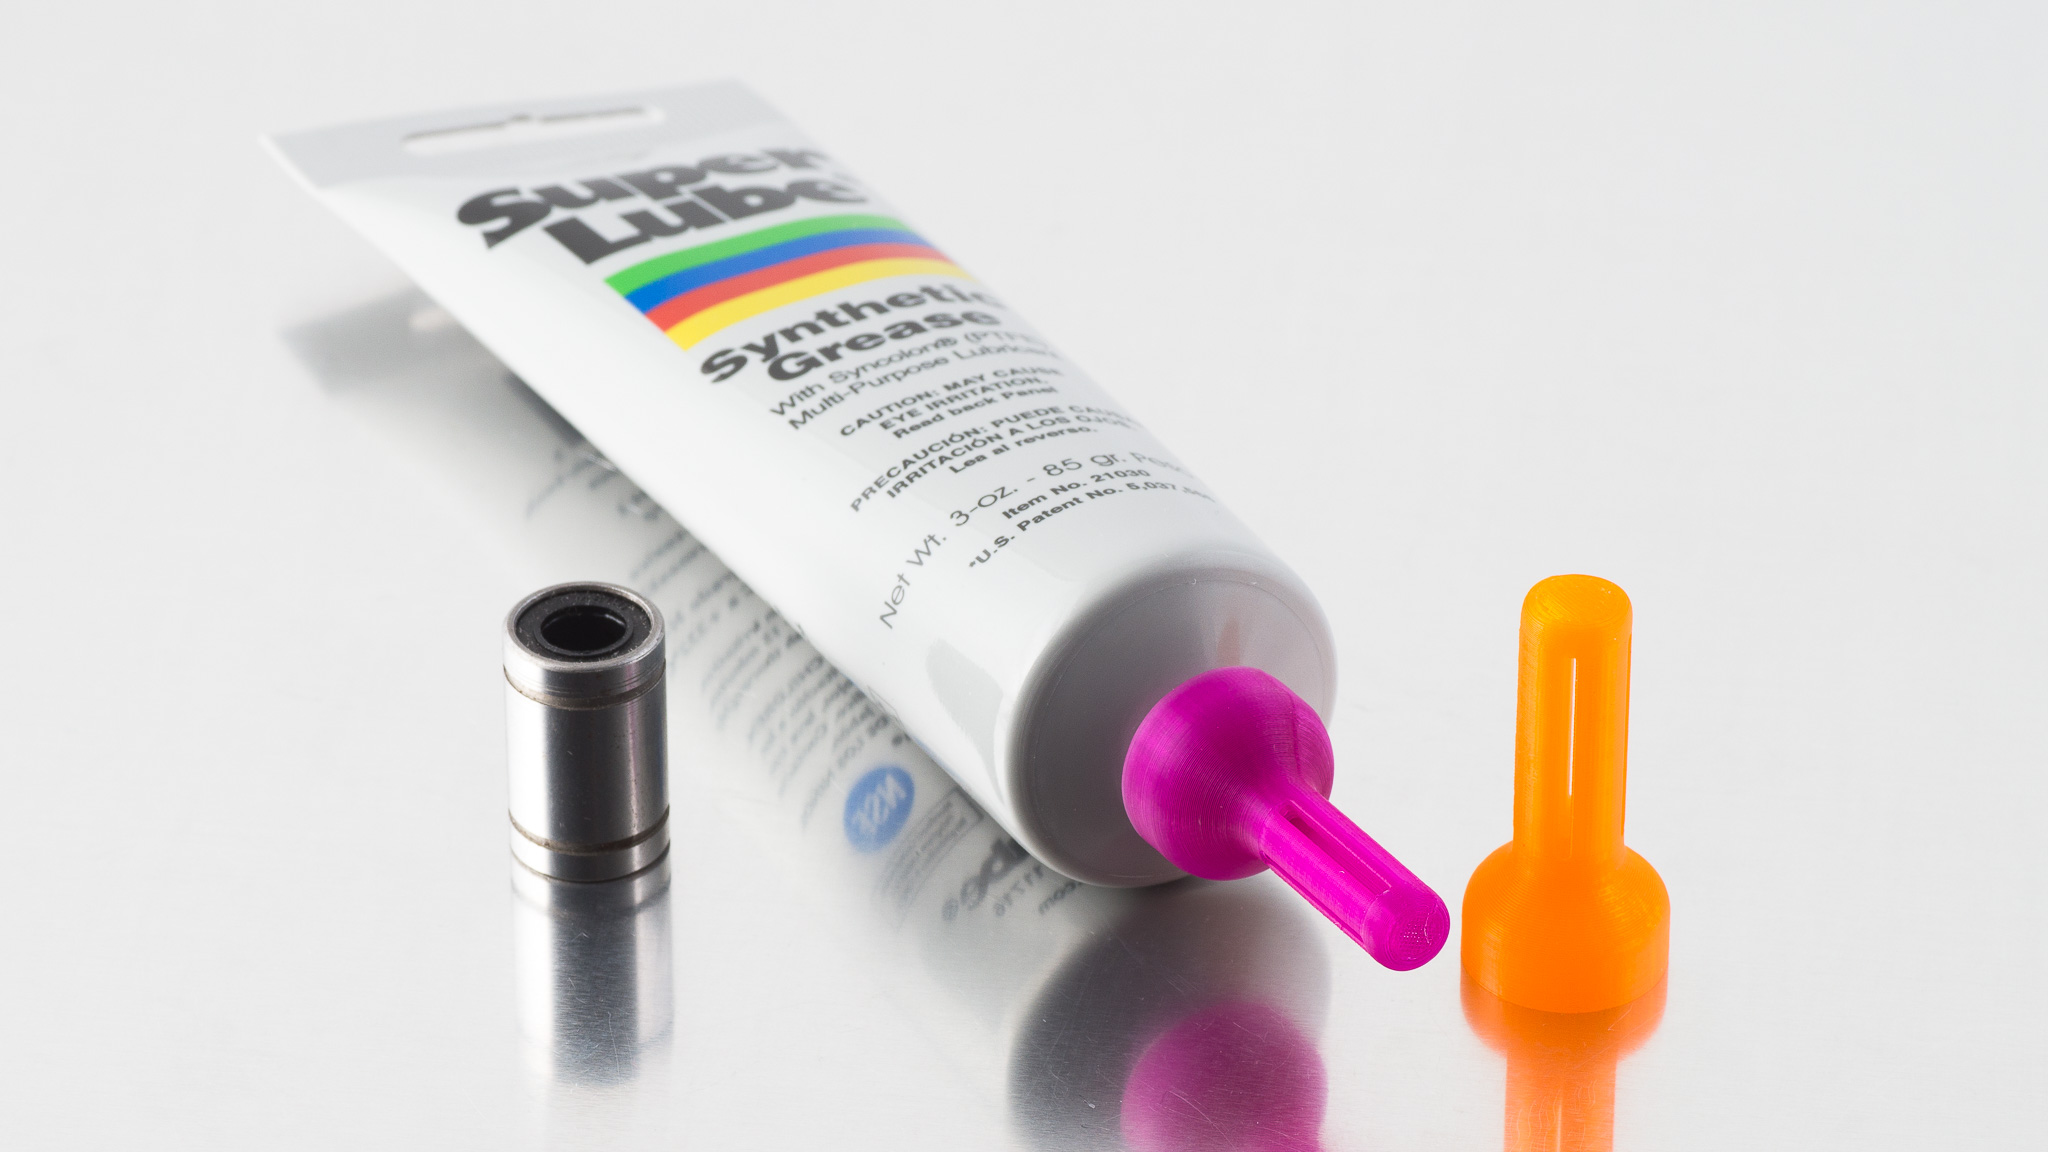 Superlube Grease* – Grease for bearings, lead screws, ball screws, etc.
Post Processing
 Lightweight Flush Cutters* – I use these constantly for trimming the melted end of filament, and for removing support material. Avoid using them with harder metals as it will damage the edge.
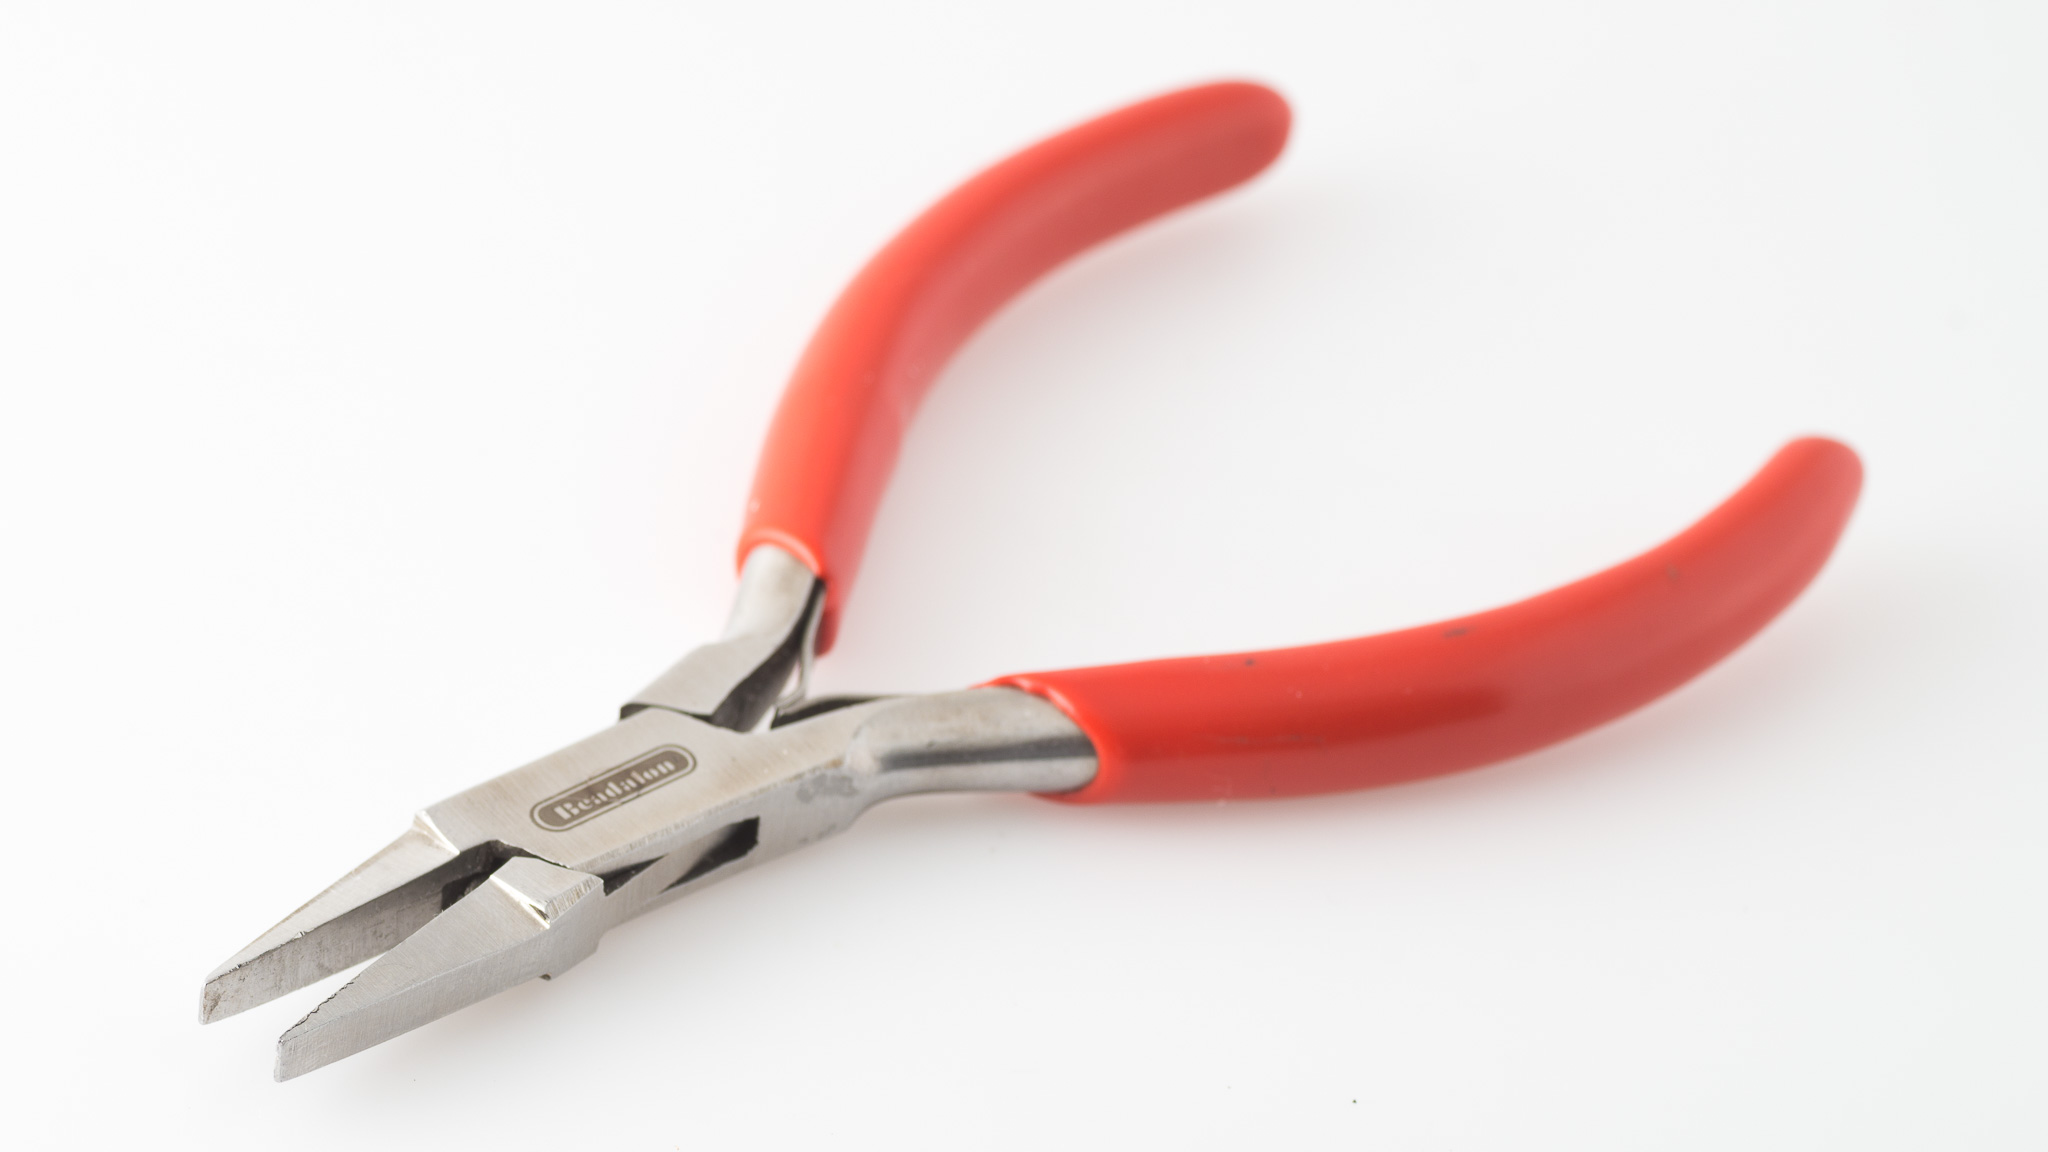 Small Pliers* – Useful for removing support material.

Chisel Set* – Very useful for removing support material. Also good for stabbing yourself if you’re not careful.
 Xacto Knife* – Great for trimming plastic, like the little strand that’s stuck to the top of each print. I would avoid the really cheap ones where you’re holding the screw on piece that secures the blade, those often loosen as you’re using them.
Bed Adhesion
When it comes to getting parts to stick to the build plate, I’d recommend trying many different options to see what works for you. What I describe here is what I’ve found works for me. A lot of others successfully do things very differently (e.g. glue stick for PLA, hair spray for ABS) so you should try the various approaches and see what works for you. I’ve tried to as detailed as possible about the products I use and how I use them, as it makes a big difference.
 Aquanet Hair Spray – Aquanet unscented all weather extra super hold hair spray in the purple bottle is my preferred way to keep parts attached to the bed for the plastics it works with. I find it to be the most convenient, and it gives a great bottom surface finish. I almost always use it for PLA, usually use it for PET, and flexible filaments at low infill rates.
I usually apply a single thick coat to the heated bed, enough for it to form a thin puddle (often when it’s on the printer). With a heated bed, with a fan on it, it will usually dry in well under a minute. I almost always apply a fresh coats before each print, otherwise the previous print will leave a specular impression on subsequent prints. (This isn’t really noticeable normally, and I doubt many would care about it, but it becomes glaringly obvious when taking a photo in a light box). I usually only reuse a previously used surface when doing prototype prints or using flexible filaments. I wash or scrape off hairspray that’s been used and reapply.
 Suave Extreme Hold Hair Spray – Sometimes Aquanet doesn’t have enough stick, in those cases Suave Extreme Hold holds much better. The main downsides of Suave is it doesn’t work when applied to a hot bed, and parts are much harder to remove afterwards. I primarily use it for small ABS parts, flexible filaments at 100% infill). While it will usually hold larger ABS parts, the corners always pull up a bit so the corners are never completely flat.
 Glue Stick* – When printing filaments that warp (eSun PETG, ABS, Nylon, PC), I have the best luck with glue stick, although it doesn’t behave as consistently as hair spray and doesn’t give as nice of a bottom finish. Several types of glue stick work fairly similarly (pictured above), but I usually use Elmer’s extra strength office glue stick*, mainly because it’s the cheapest I’ve found when purchased by the dozen (I’ve tried a few others that weren’t enough of an improvement over hairspray to be worth using). The larger glue sticks are easier to use than the smaller ones. I usually make two light passes over the hot glass bed, making the coating as uniform as possible, just before starting a print. If the glue stick is too dry, it’s much less sticky. (This is all very printer dependent though, with my Afinia and polycarbonate build plates, I found it most effective to apply the glue stick cold, as single pass, then put it on the heated bed before starting a print). With glue stick, there’s a risk of the glass breaking, or chips of the glass lifting off with the print. Old glue stick can be easily removed with a razor scraper.
Safety
 Smoke Detector* – Keeping a smoke detector on or near each 3D printer adds a bit more safety for not much cost, especially if you run your printers overnight (which you’re not supposed to, but I do all the time anyway).
Storage
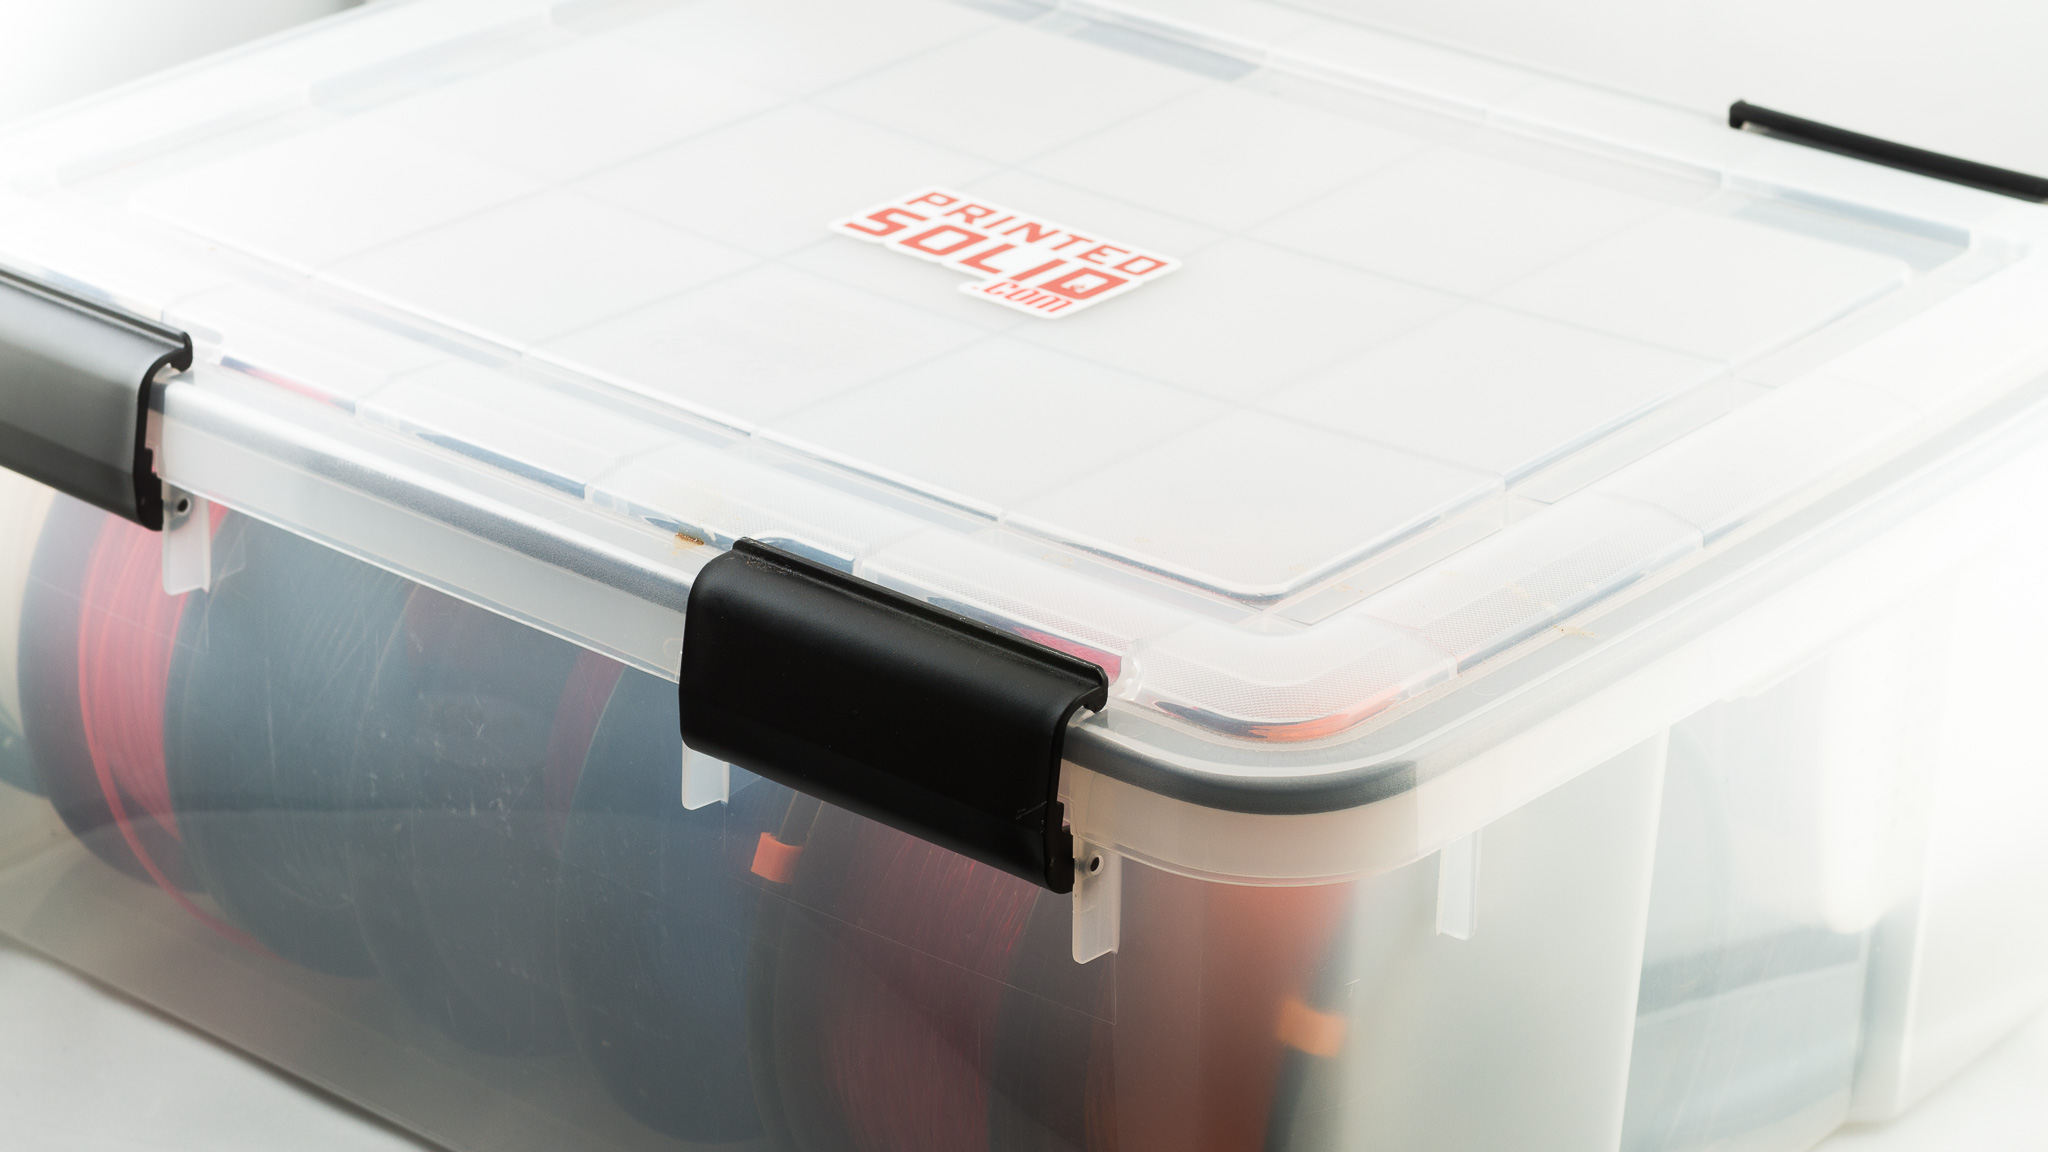 Iris Watertight Storage Boxes* – I like the Iris storage boxes, they are sealed well enough that you won’t need to constantly recharge the desiccant and built well enough that the handles don’t fall off. I use a combination of the 46.6 quart boxes* (for ~200mm spools) and the 30.6 quart boxes* (for 165mm spools). They also have a large trunk, but it’s very deep and having multiple layers of filament is inconvenient (might be good for storing filament you’re not constantly accessing though). If you have a Container Store nearby they may have these in stock.
 Rechargeable Desiccant* – This is the easiest way I’ve found to keep my filament dry. Just plug them in to recharge. I prefer the Gurin dehumidifiers* pictured above which uses a short cord to recharge, but I also have some Eva-Dry dehumidifiers that plug into the wall (they don’t last quite as long and cover all the outlets when I’m recharging them, but recharge much faster). I added a mini-review of the ones I’ve tried in this post.
2. Other Useful Tools
More tools that you may find useful.
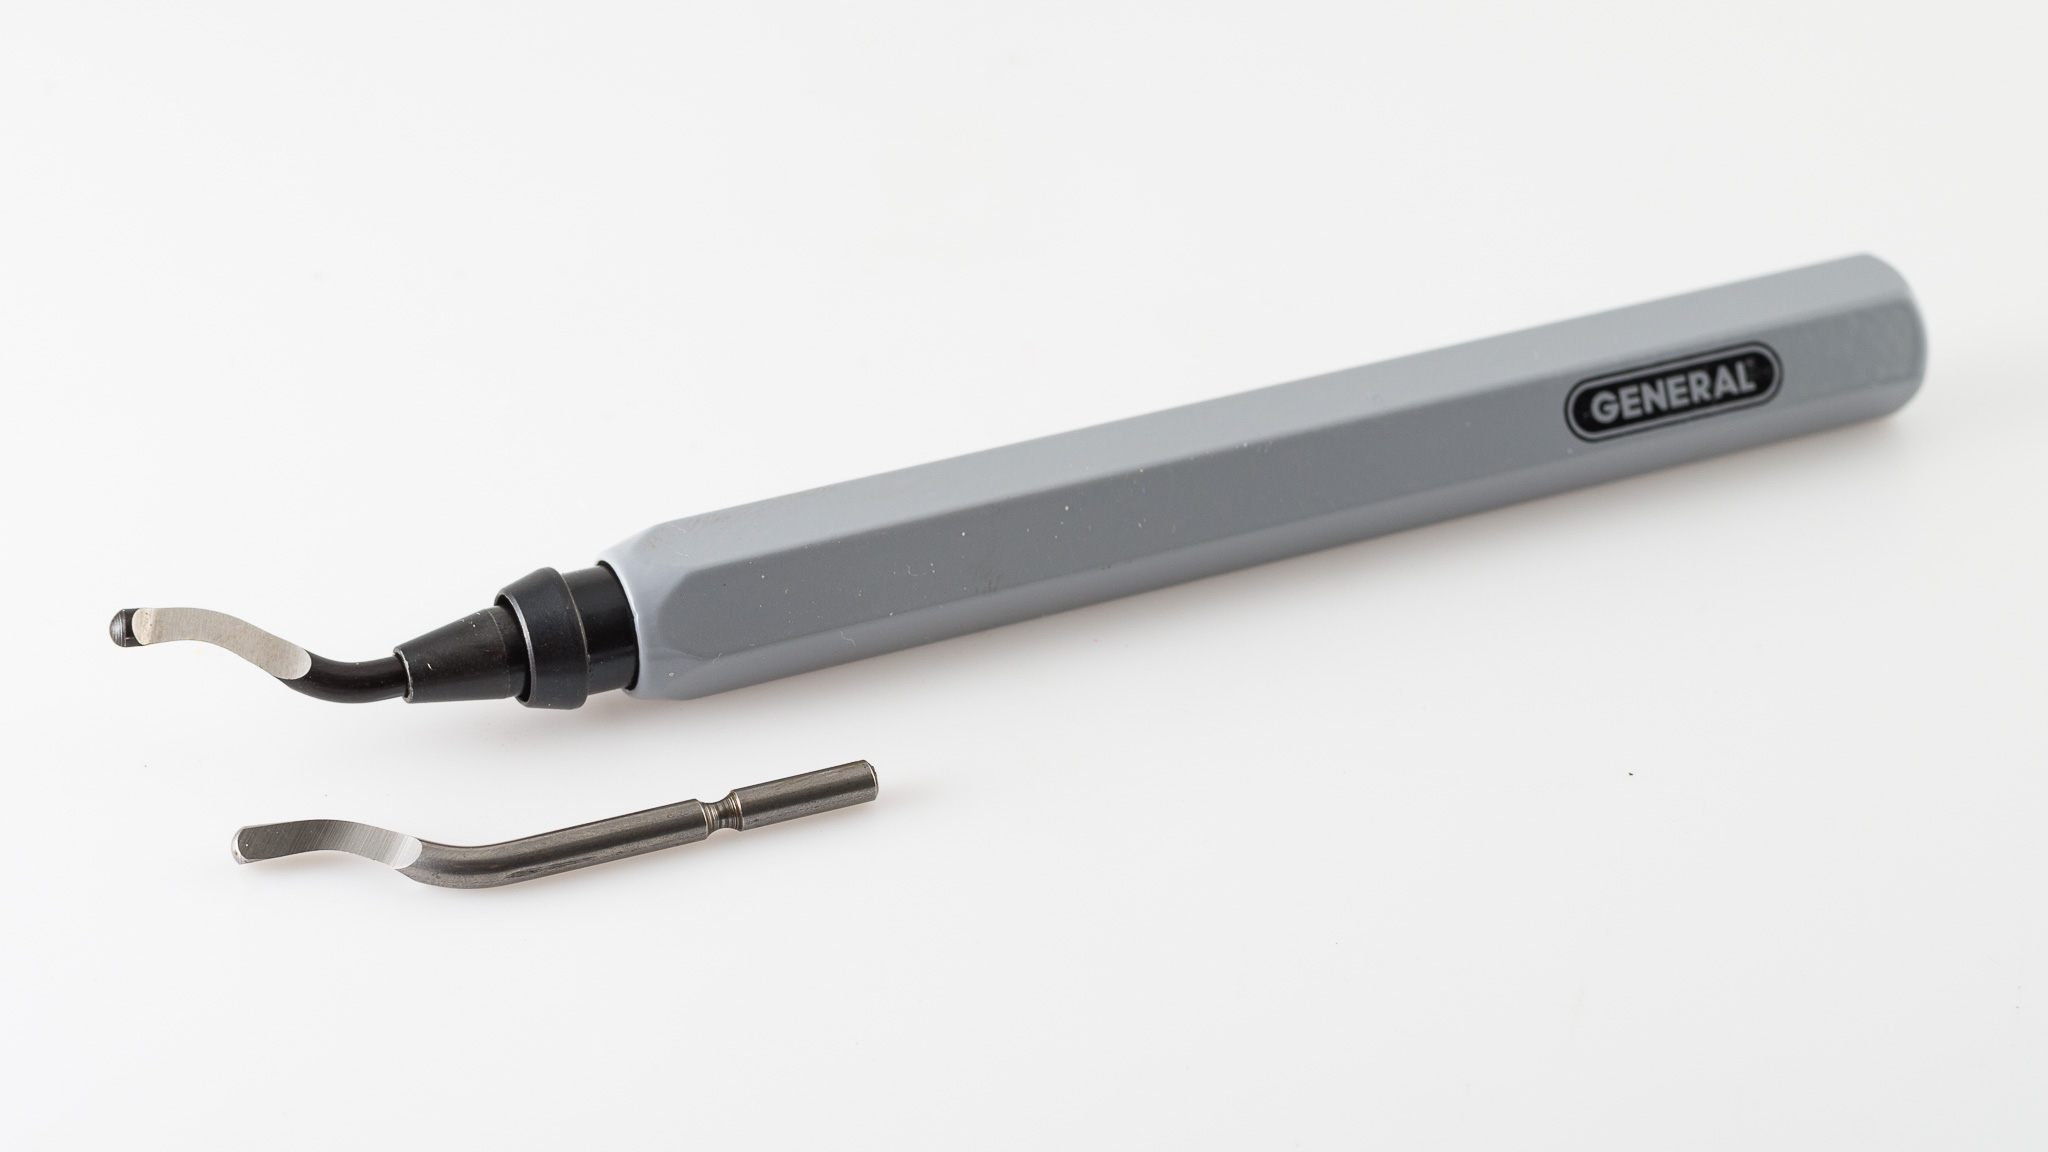 Deburring Tool* – Good for removing excess material from an overly squashed first layer and chamfering edges. It works best on straight or concave sections and is not as useful with convex or complex edges.
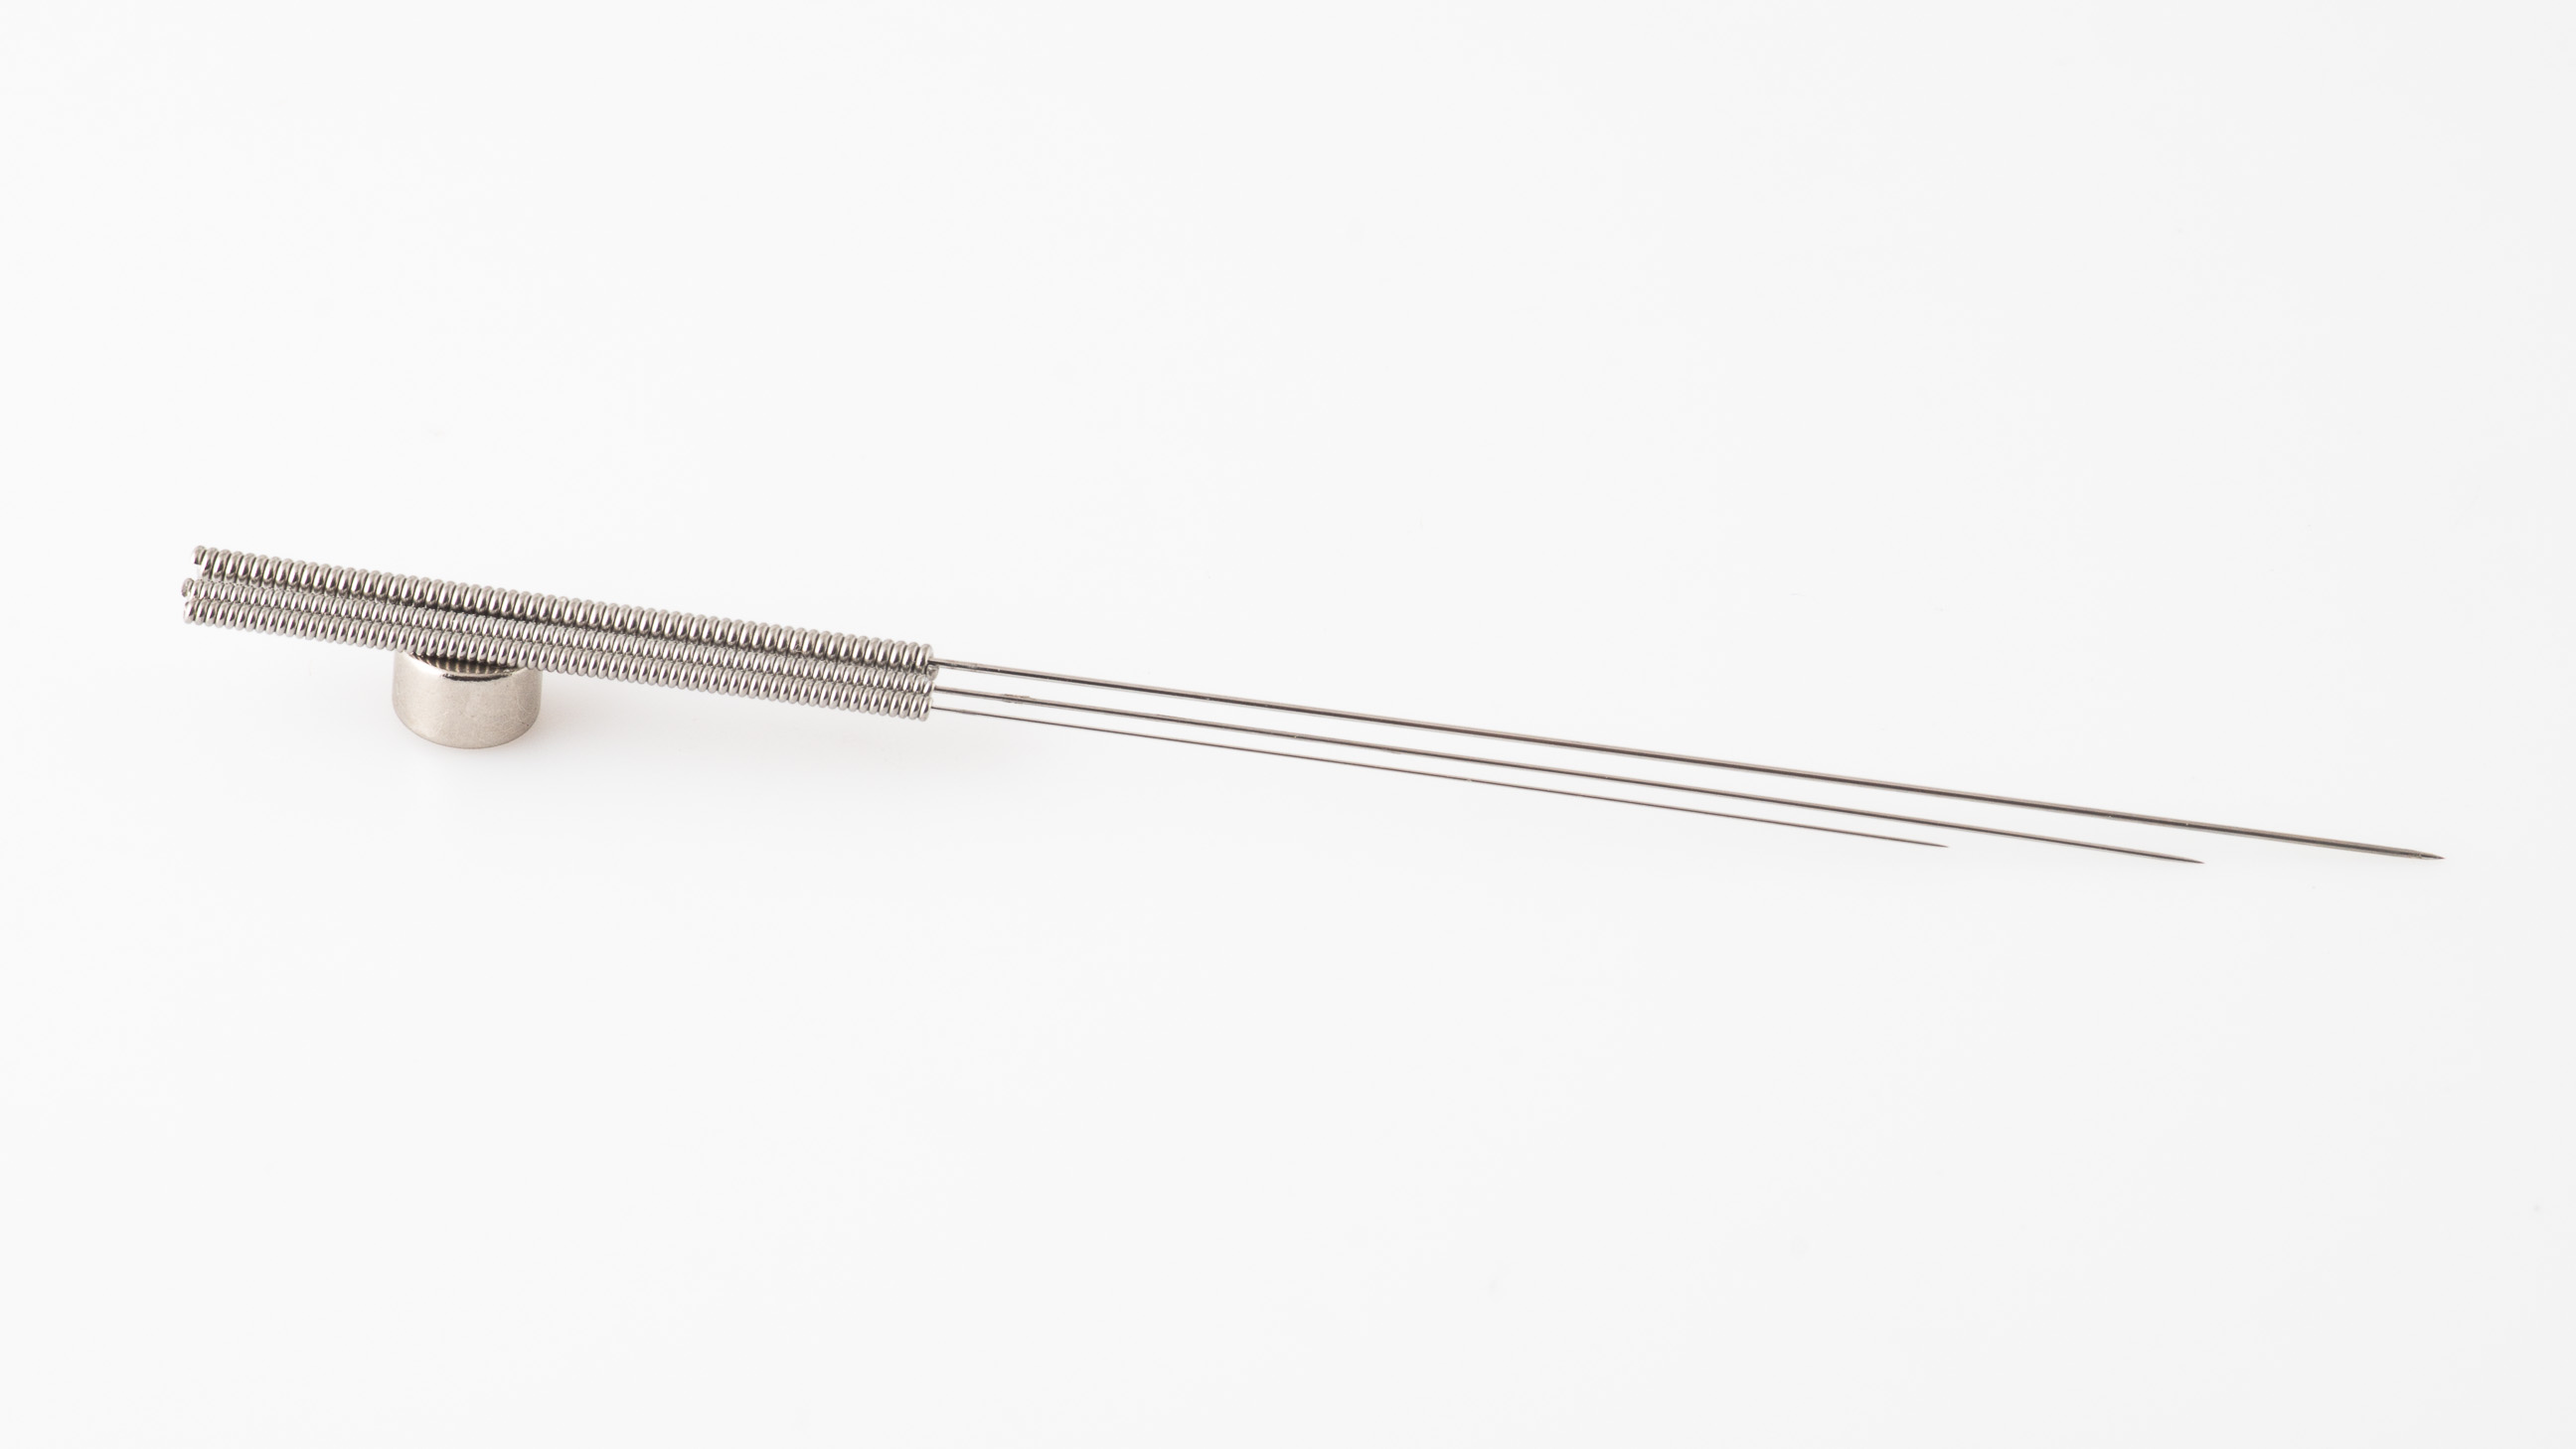
Nozzle Clearing Needles* – Very handy for clearing out a clogged nozzle. Especially the most stubborn clogs, when you print metal filaments in a nozzle it’s too small for. Use a needle one size smaller than your nozzle opening (e.g. 0.3mm needle for a 0.4mm nozzle). The description in the link calls it a drill bit, but I think it’s really an acupuncture needle, it’s very flexible and much better than a drill bit for clearing nozzles. A small rare earth magnet* stuck to your printer is a convenient way to store the needles.
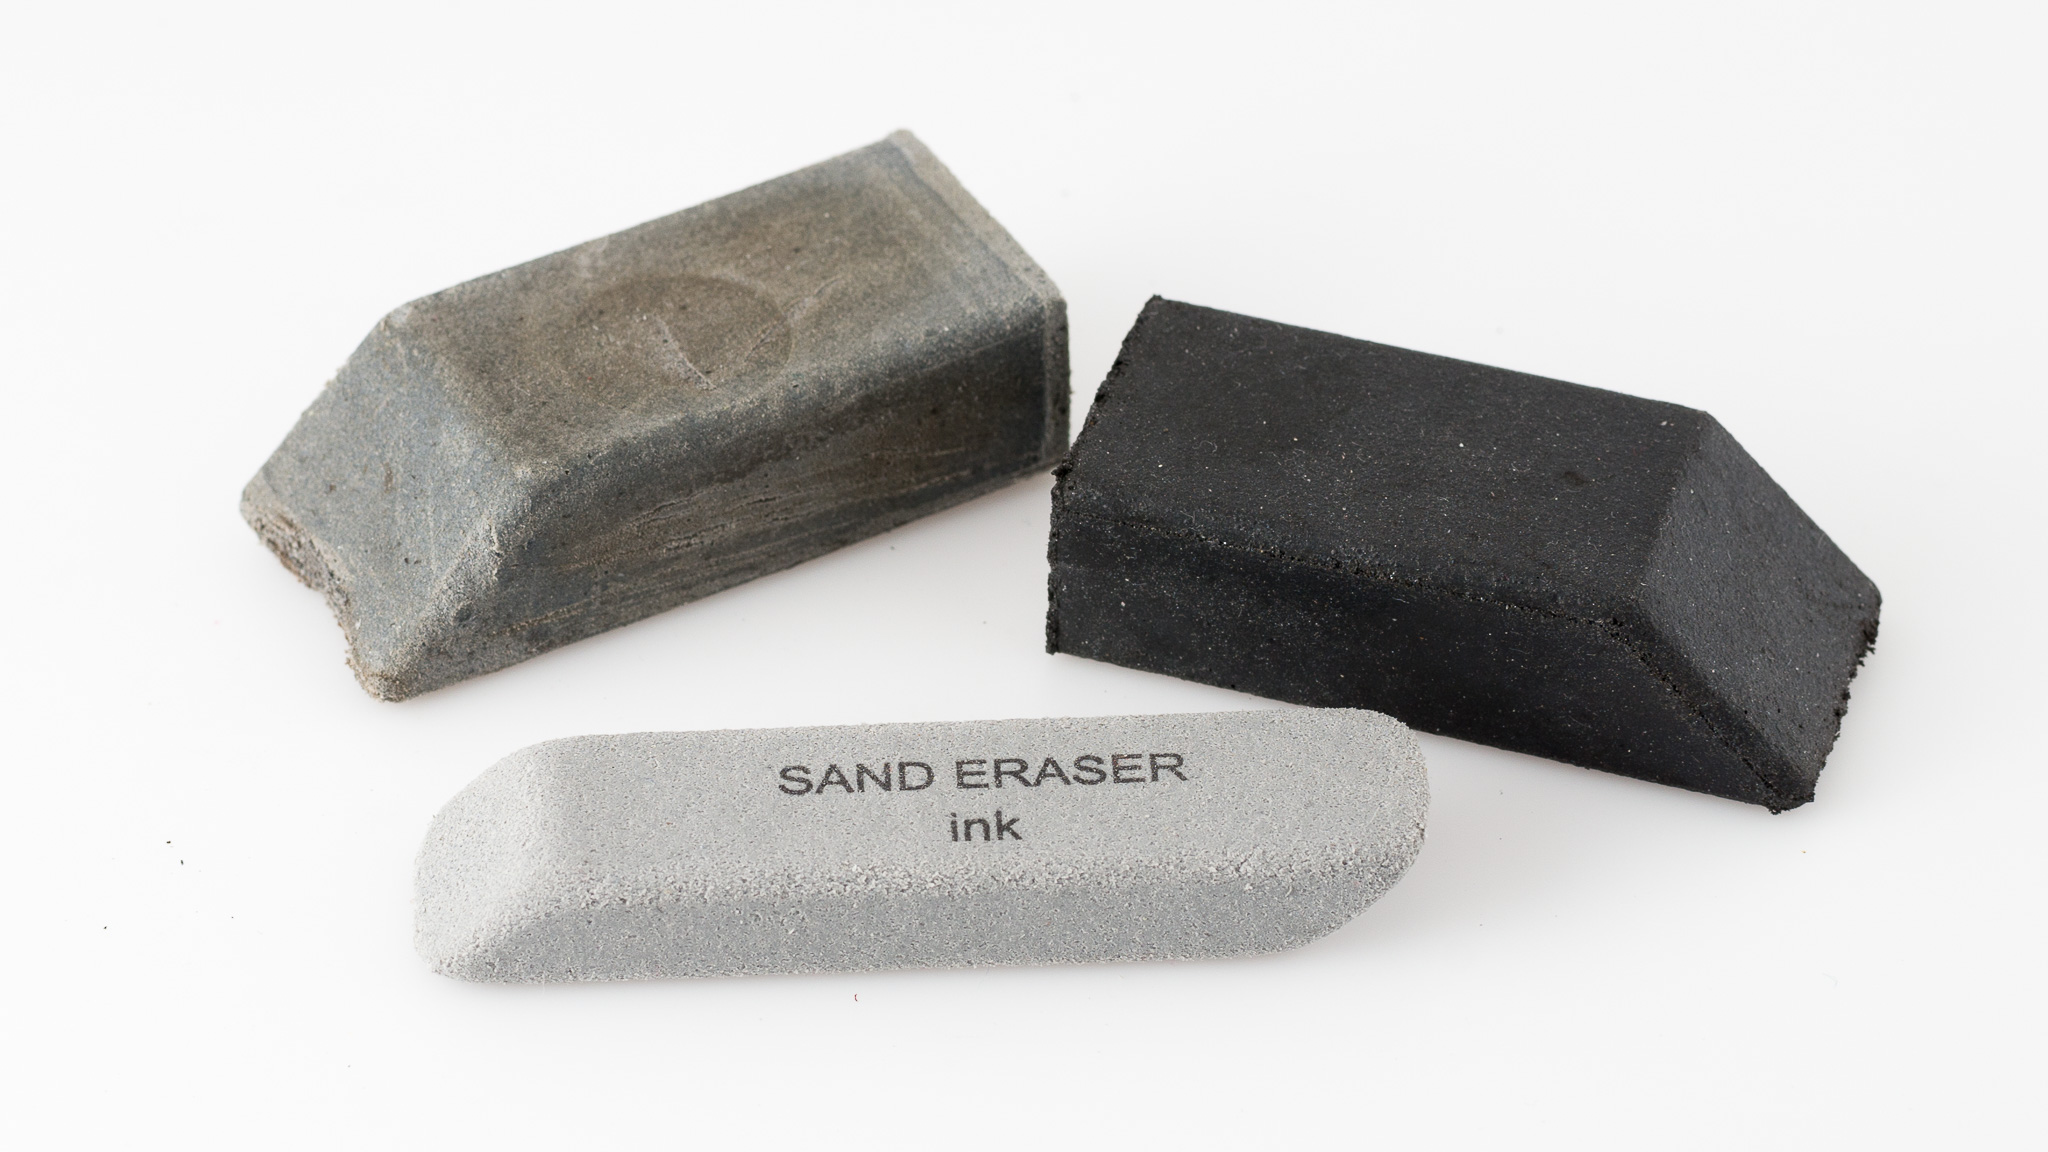 Sanding Eraser – Useful for removing the glossy finish from the bottom of the print.
 Putty Knife – While I don’t use it very often, a small putty knife can be very useful for removing large parts from the printbed. Look for one with a thin, flexible blade, and sharpen the leading edge. I like the one shown in the picture, but I don’t remember where I got it.
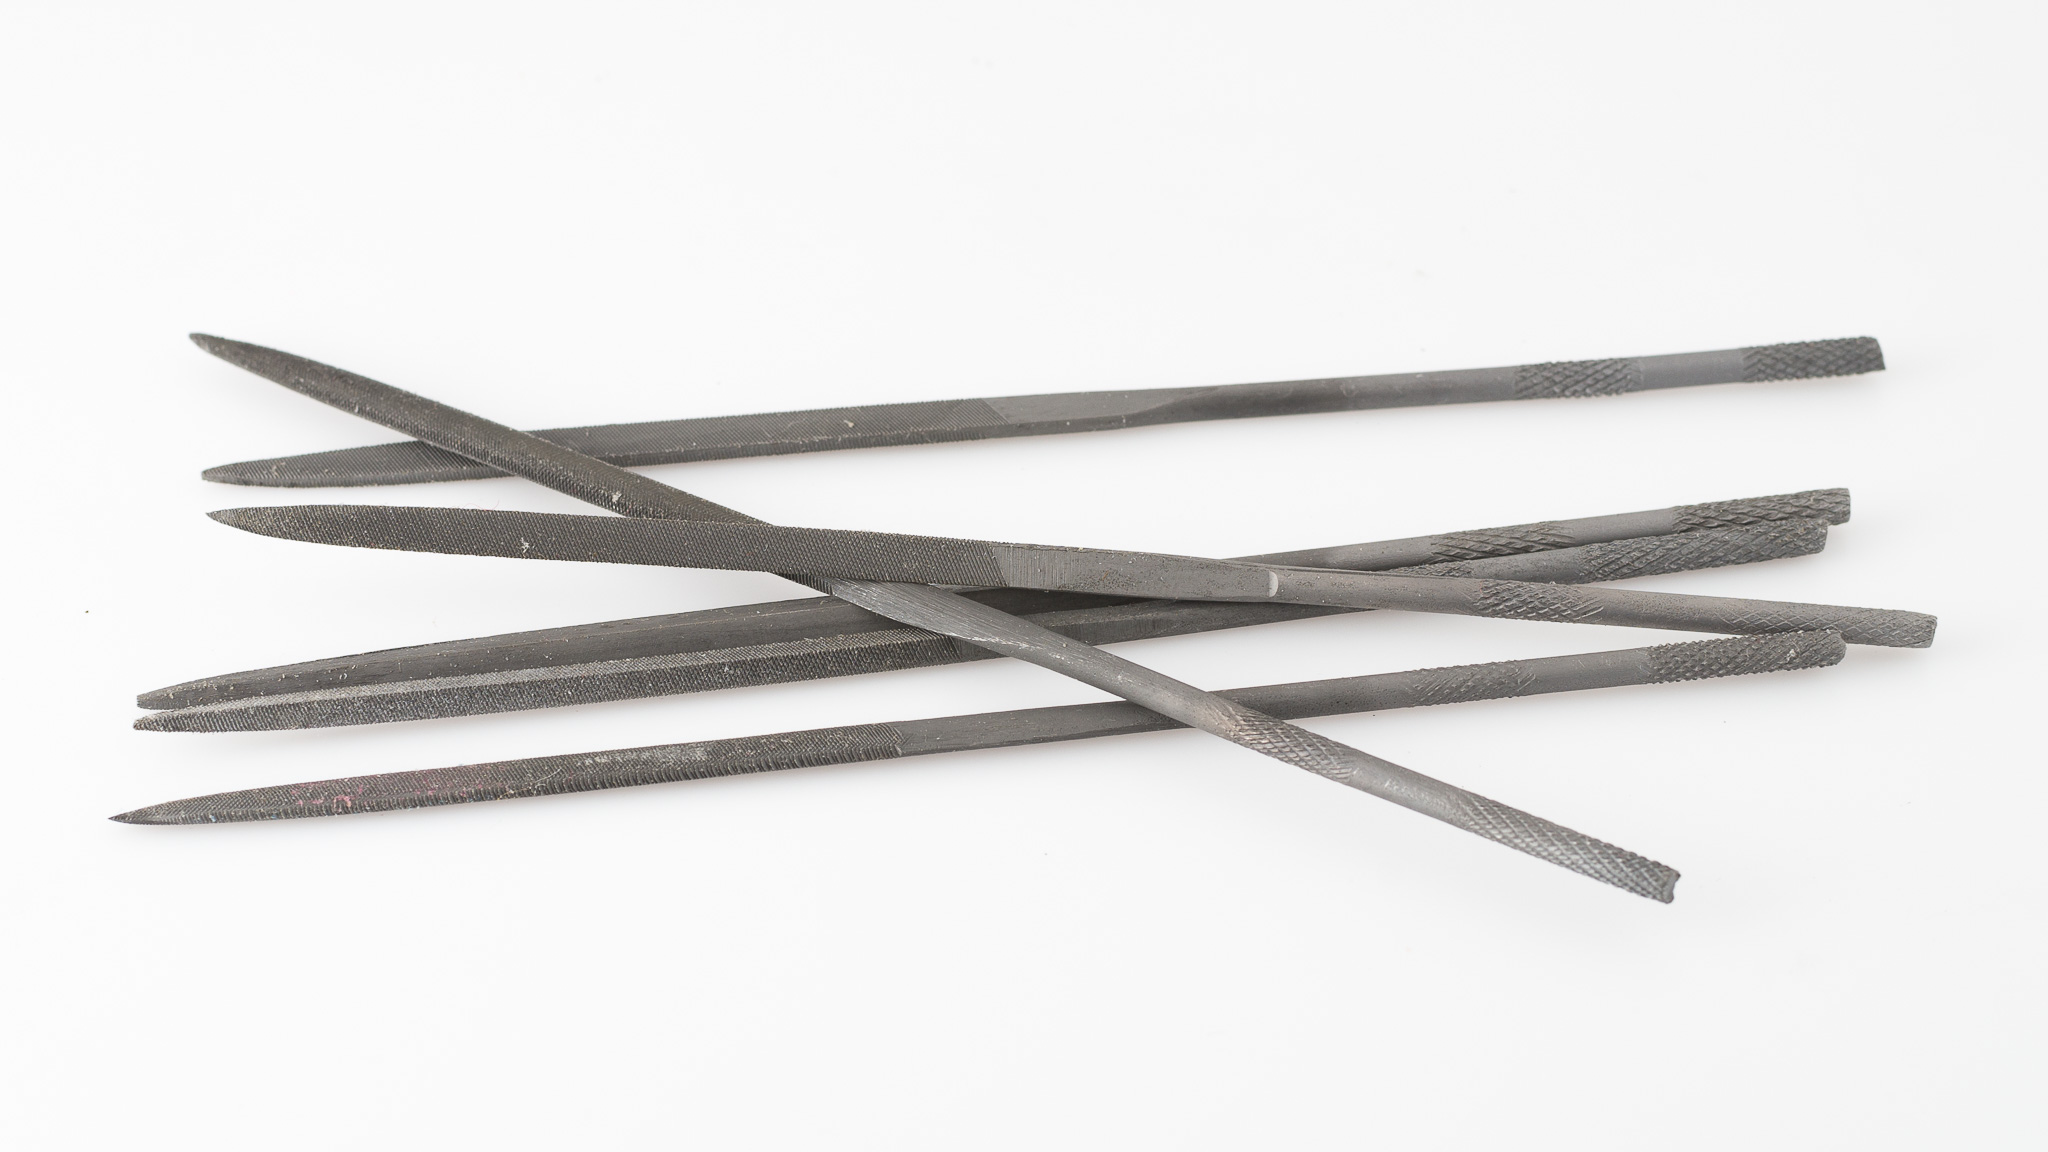 File Set – Files can be useful for cleaning rough spots on prints, smoothing out holes, etc.
 Sand Paper / Sanding Sponges* – I prefer cloth or rubber backed sandpaper or foam sanding sponges over paper backed sandpaper.
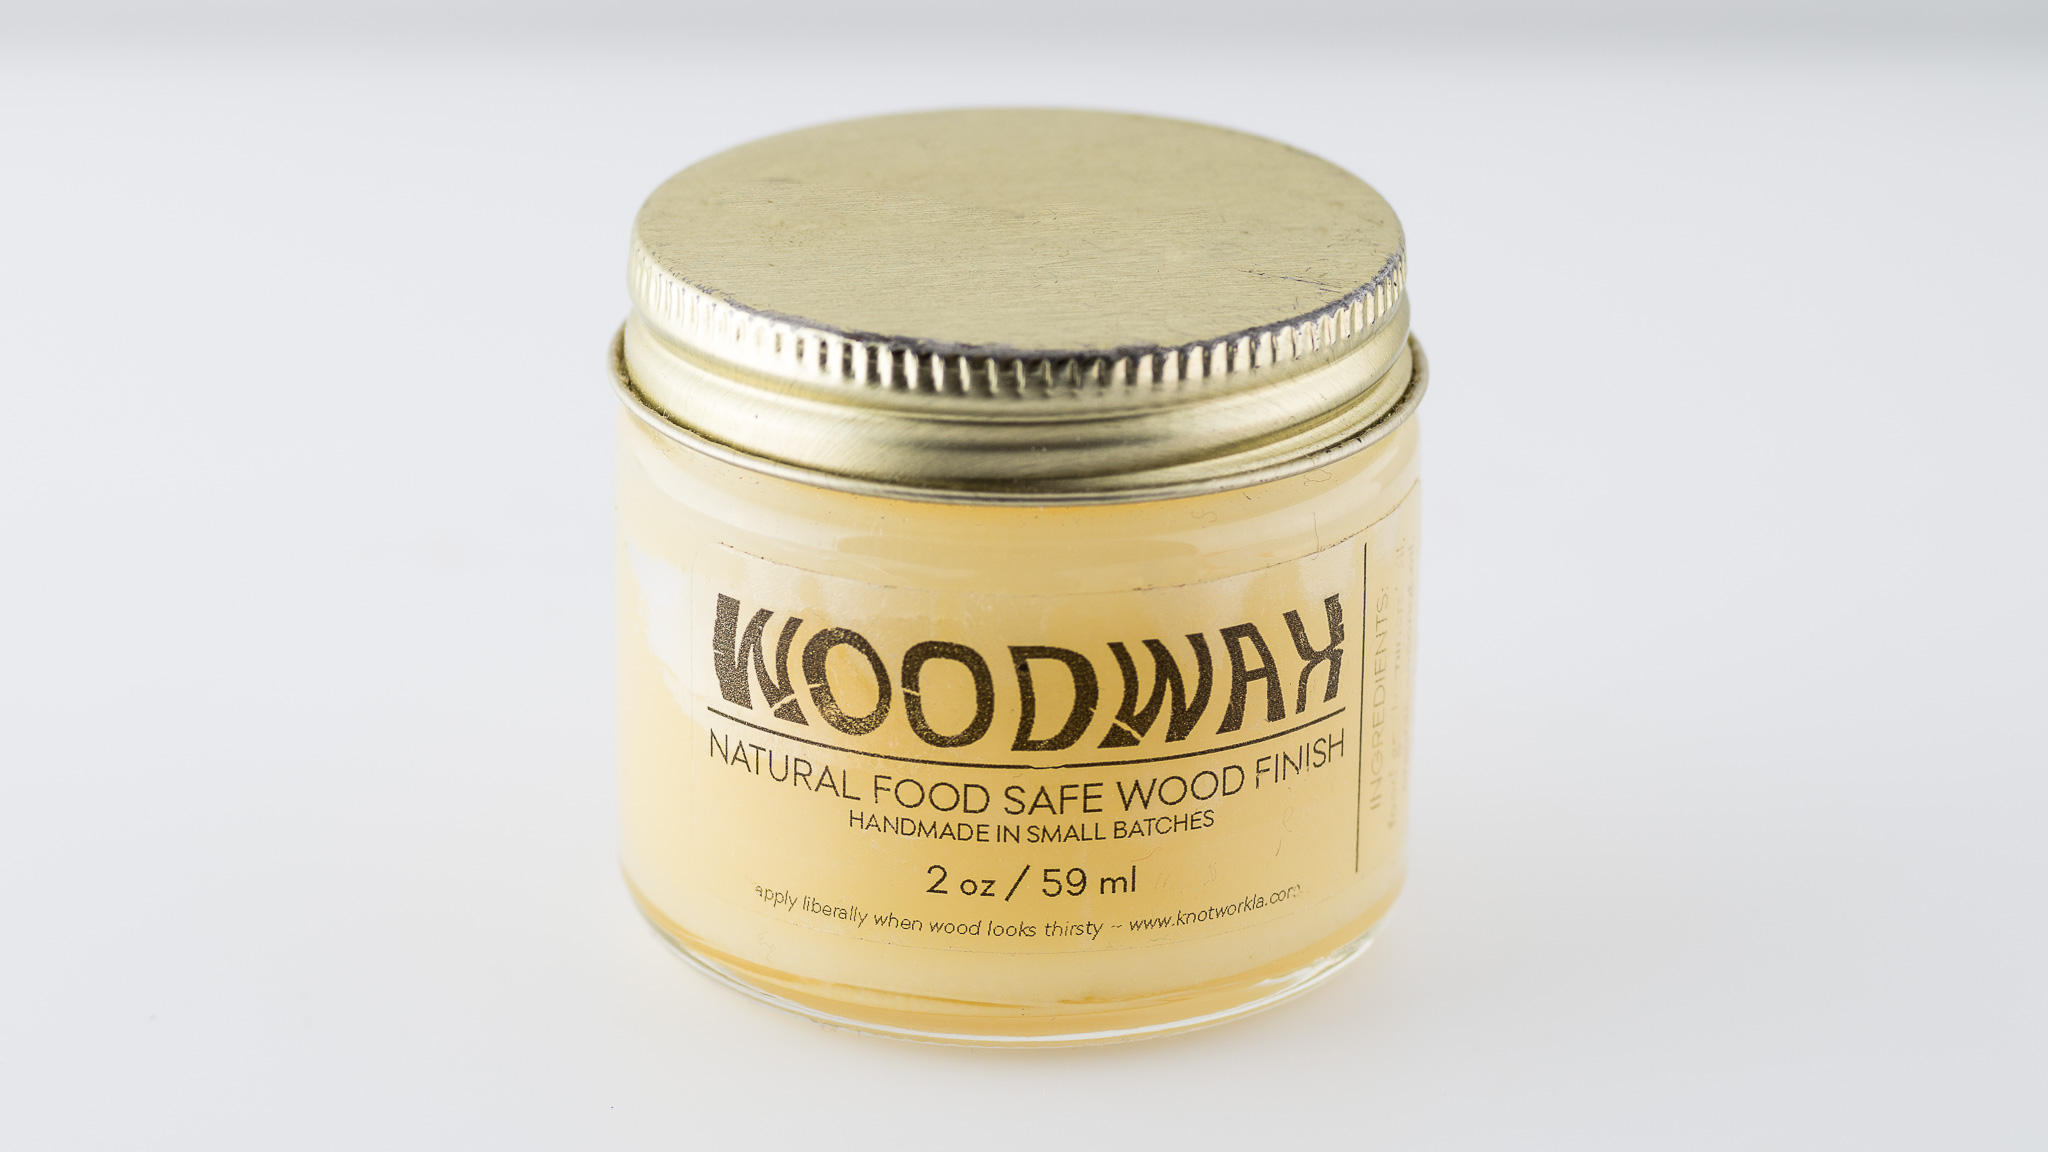
WoodWax – Sanding dark or saturated colors often turns it white, a coat of woodwax or something similar brings back the original color (heat can work too, but I usually find it easier and safer to use wax).
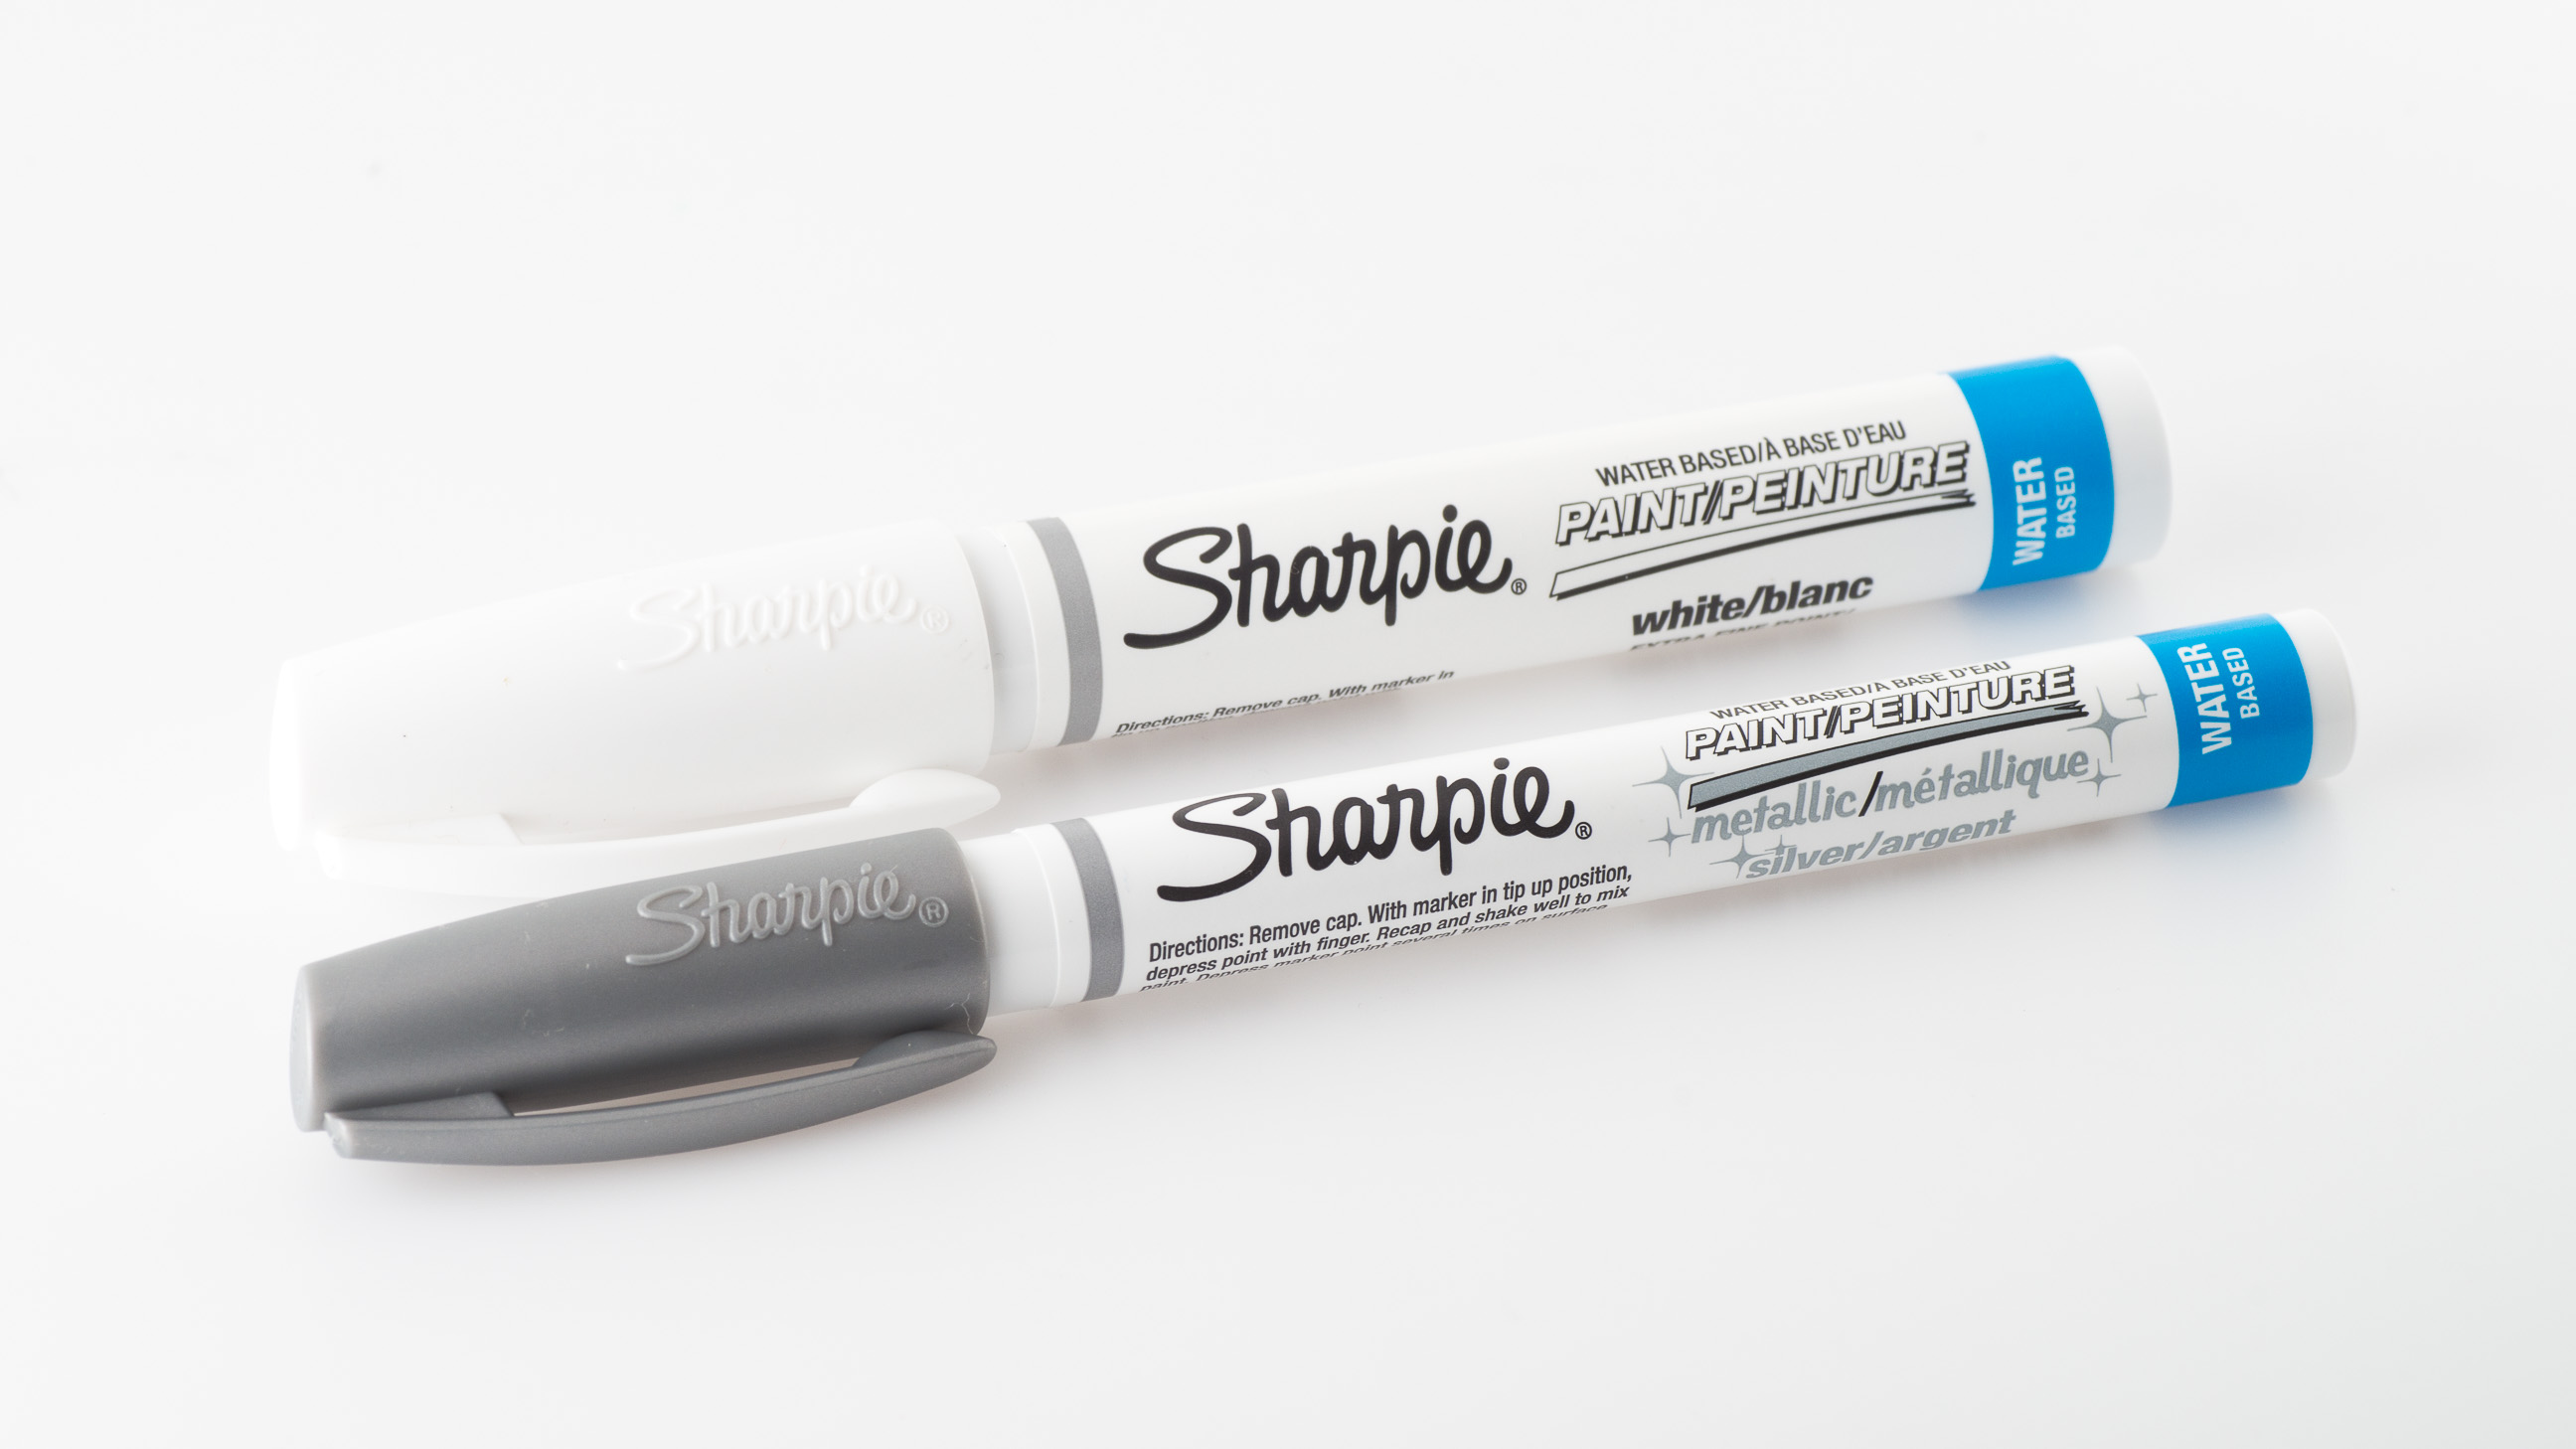 Paint Markers* – These are great for writing on filament spools. Whenever I take the time to dial in a filament diameter setting that I like for a spool, I’ll write it on the spool itself. These markers are permanent enough to stay on, but the writing can be scraped off if the setting change (at least with the water-based ones, I haven’t tried the oil ones).
3. Specialty Tools
This is stuff you might not need, but probably should know about (in case you need it later).
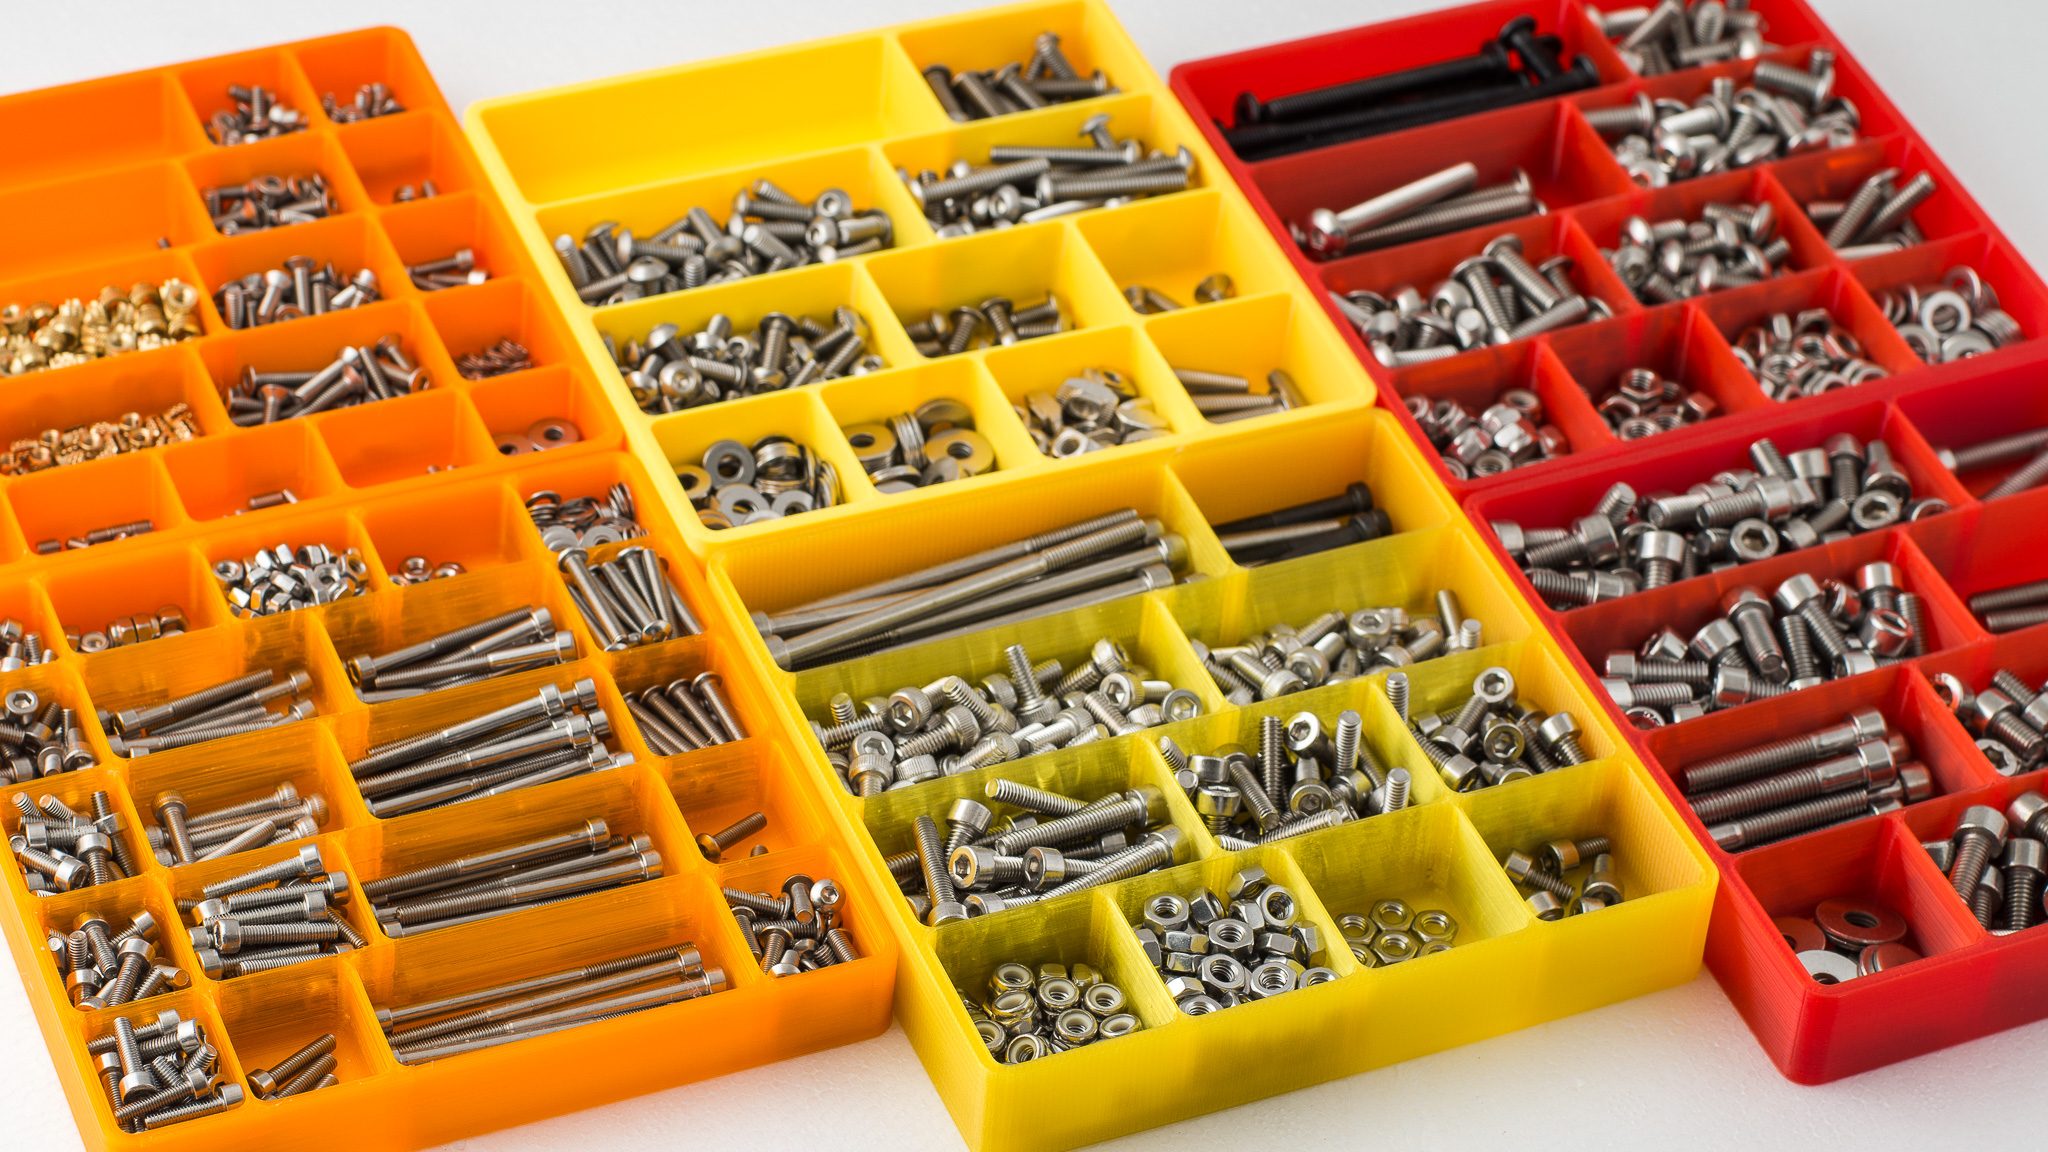 Metric Hardware – If you’re in the US and need metric hardware for working on your 3D printer, trimcraftaviationrc.com is a great place to get the smaller sized of metric hardware in the US (I have no idea how they put together all those bags of screws at the prices they charge).
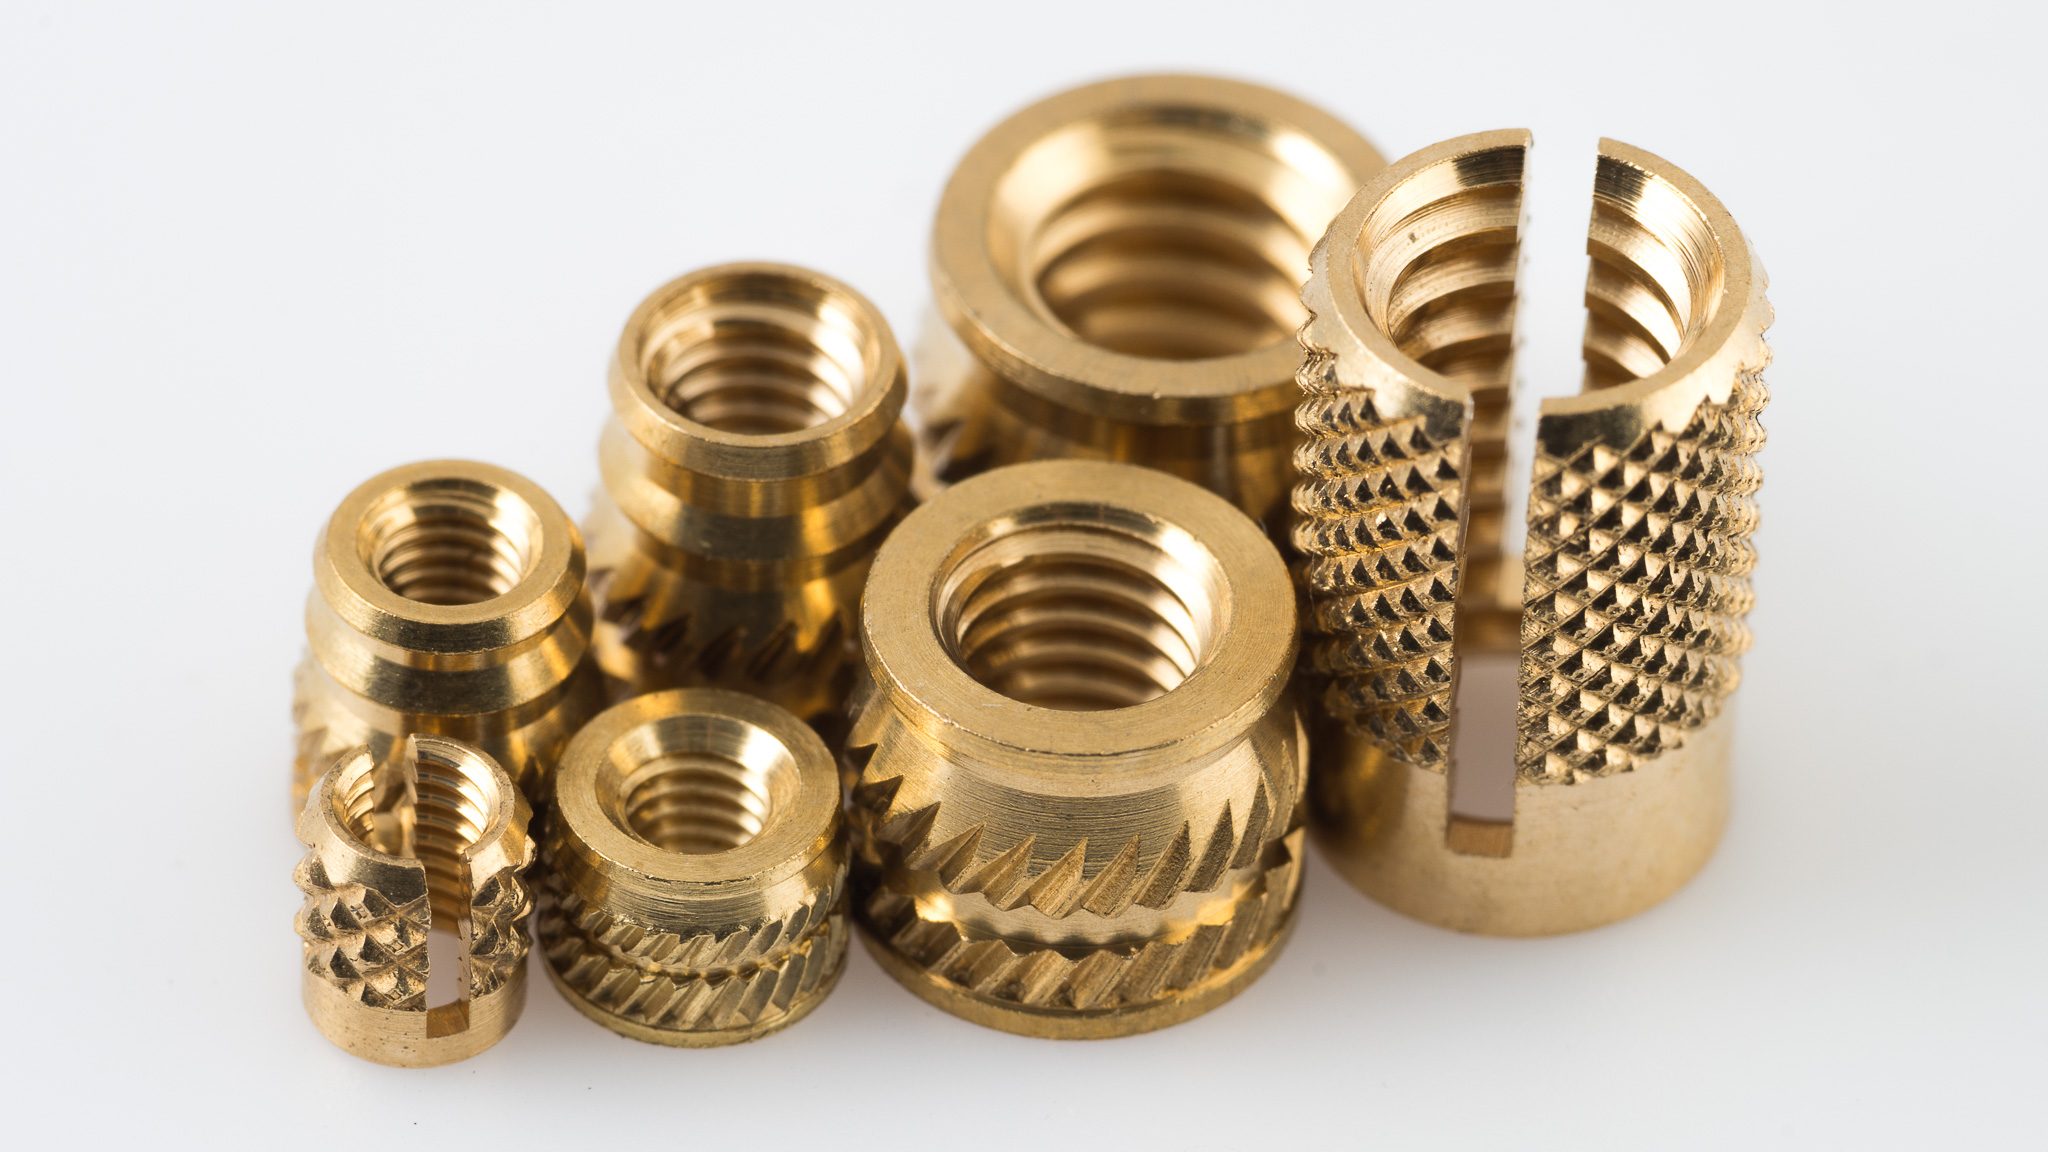 Threaded Inserts – While you can tap screws into plastic, it doesn’t always work well (it usually works well in PET, ok in ABS, and poorly in PLA). If you want parts that can be disassembled, using brass threaded inserts is a good option. They come in different styles, press in, ultrasonic/heat set, or mold in. I use the press in and ultrasonic/heat set styles. Sizes in the picture are M3 (press in and heat), M4 (heat), M5(heat), and 1/4-20 (press in and heat). The inserts commonly available in Europe are seem to have different dimensions than the ones commonly available here in the US (which are from E-Z LOK) so you may want to keep that in mind when using them in designs shared with others.
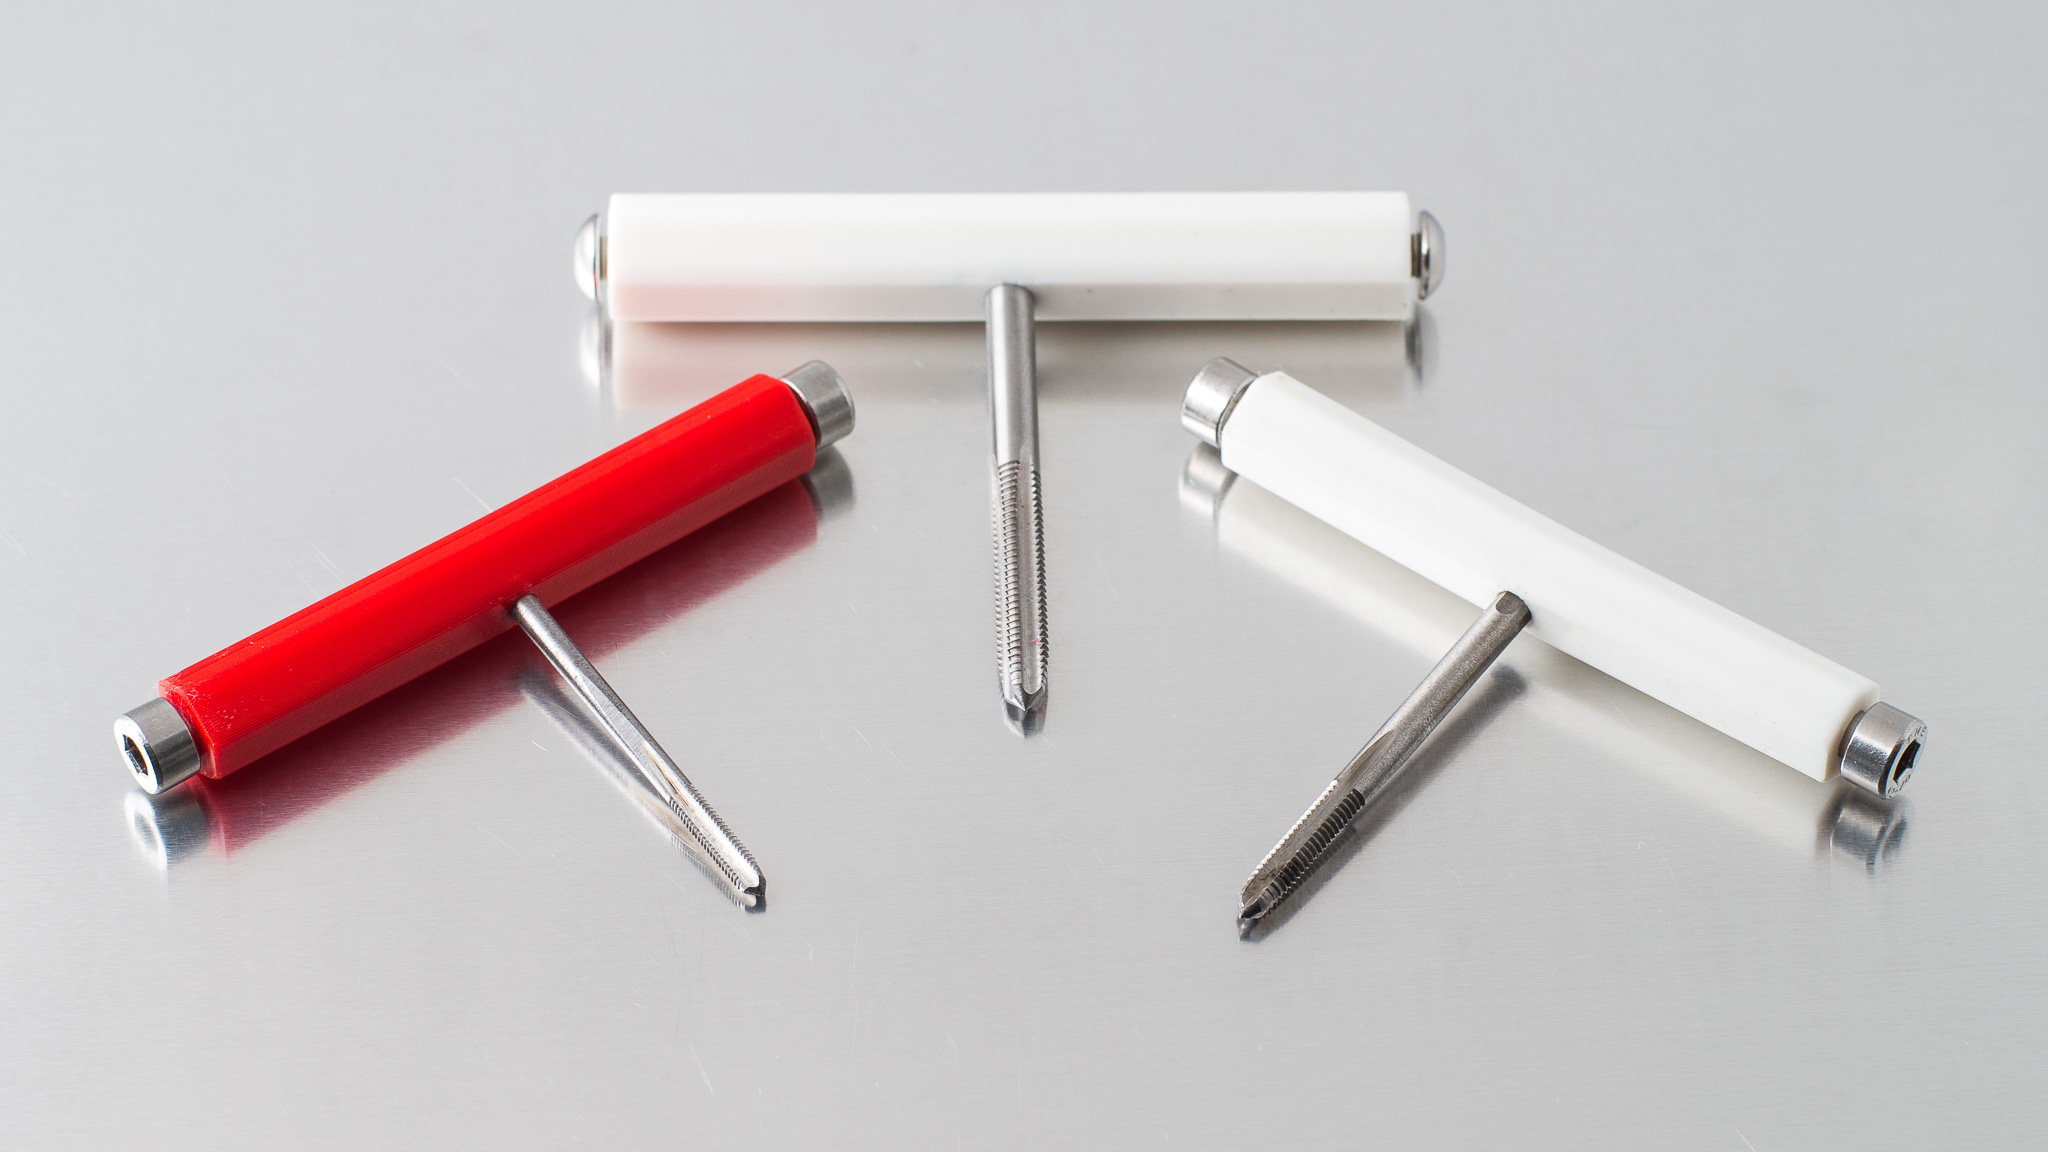 Taps – 3D printers do a good job of printing the larger threads, especially if they’re oriented around a vertical axis, but with finer thread, it’s usually better to use a tap. You’ll be less likely to end up with a stripped hole than if you used a screw. Some types work better than others, I’ve found spiral taps with two larger channels like this one* work a lot better in plastic an aluminum than the three channel ones in the picture above.

Glass Cutter* – If you need to cut glass plates for your printer, this cutter works much better for me than the cheap glass cutter I was using previously. It does not come with cutting oil*.
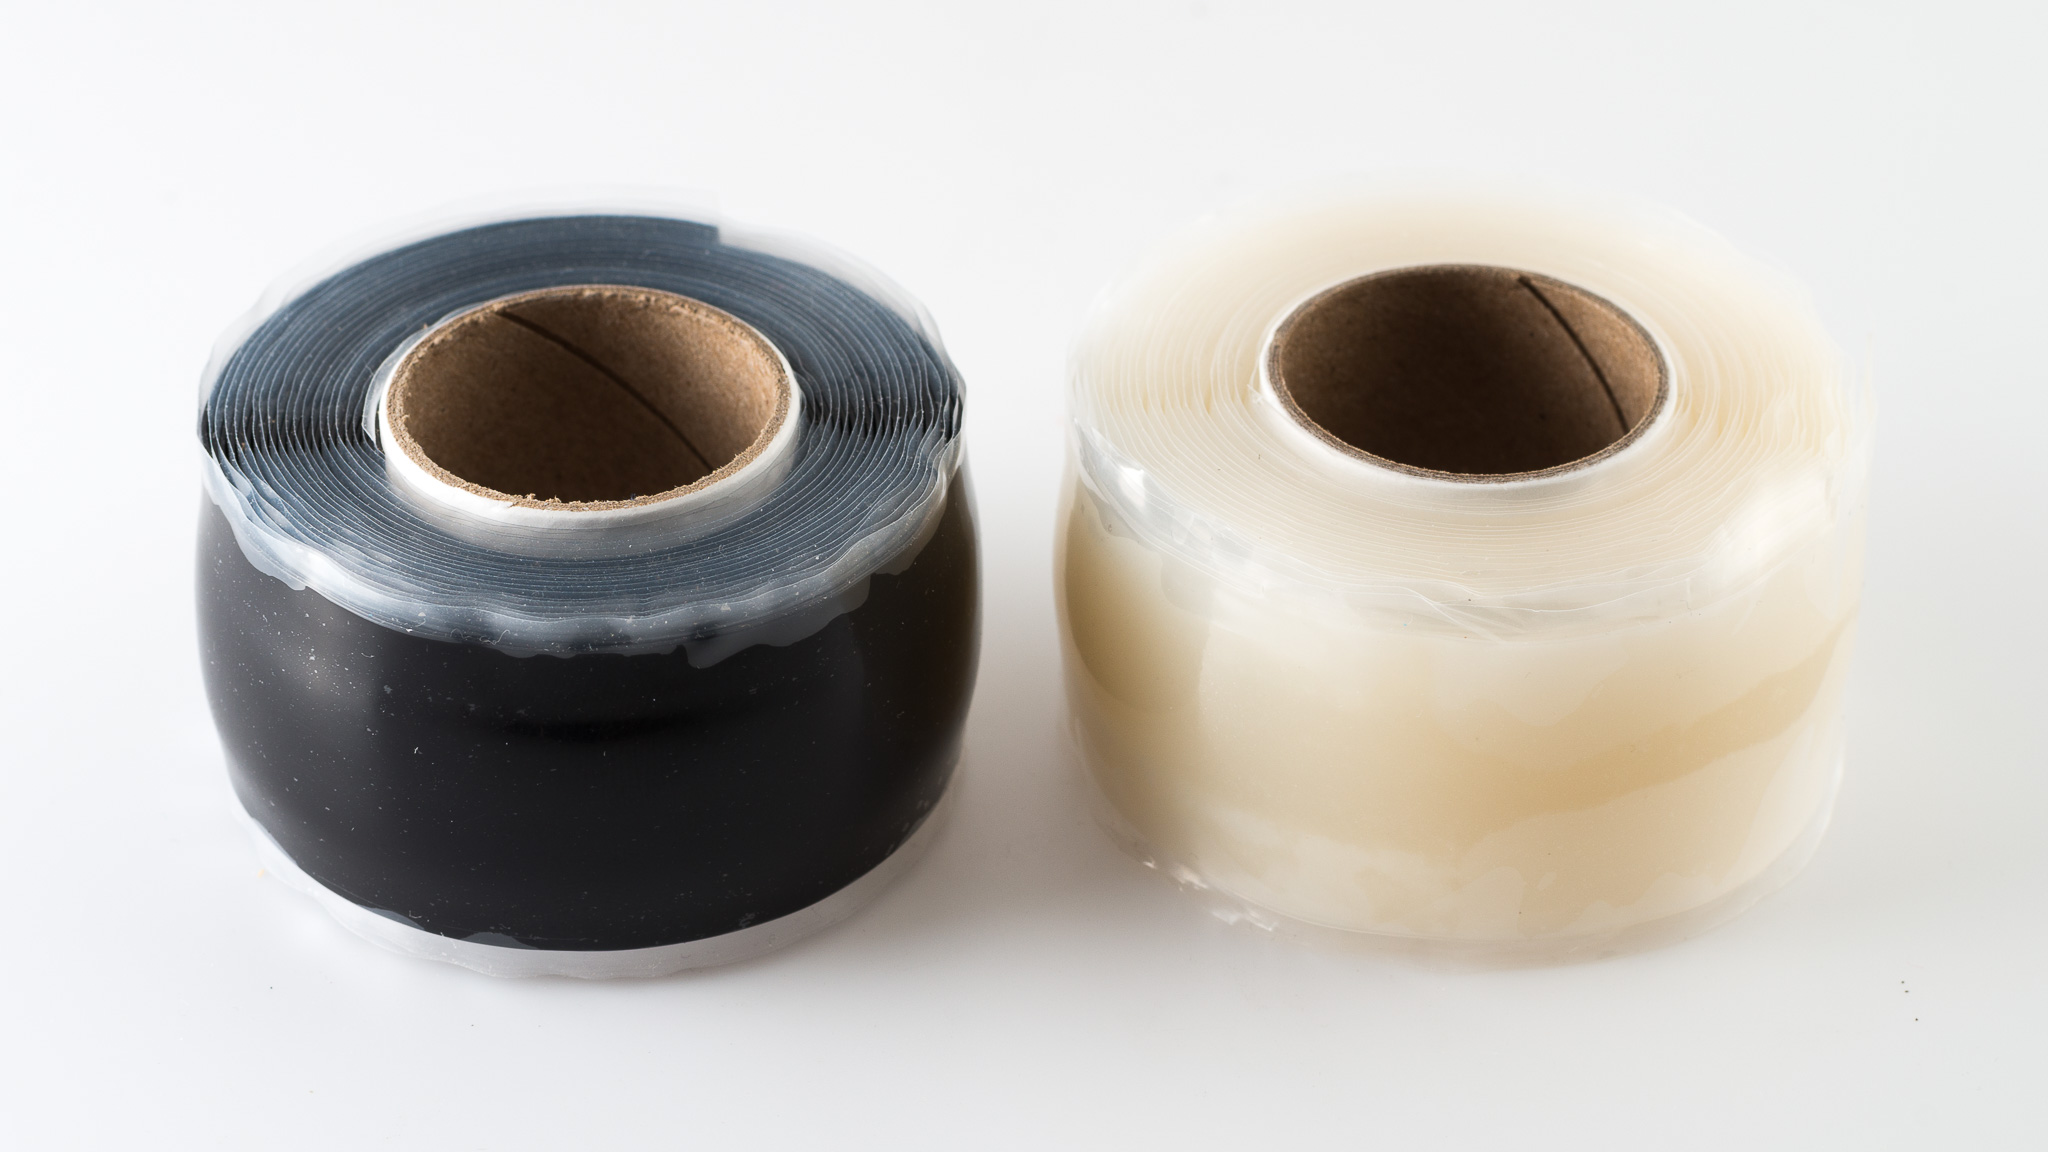 Self Fusing Silicone Tape* – Probably the worst smelling thing I’ve ordered online, but it works well for insulating the hotend and wrapping wires. It’s only rated up to 260°C, but it’s been fine on my printer up to 295°C. I wrap the outside with some PTFE Mouse Tape* to make it a more secure, otherwise it falls apart when I grab the hot block in a pair of pliers.
Update: I no longer need this for the hotend thanks to the new silicone boots from E3D. This stuff is still useful for wiring though.
4. Stuff Other People Use
These are things I don’t use regularly for 3D printing, but so many other people do that I felt they should be included.
 Masking Tape – Some people use this on their print beds, I’ve only tried it briefly and didn’t like it (some tape remained stuck to the plastic and it left a tape pattern on the print).
 Kapton Tape – Also used by some for bed adhesion and wrapping hotends.