
What does my favorite way of cooking fish in the backcountry have to do with 3D printing? Not much, though some of my gear is 3D printed. Still, this way of cooking doesn’t seem as common so I though it was worth sharing and I don’t have a better place to put it. It’s very similar the method shown in this video (which is the one that inspired me to start cooking this way). So if you enjoy backpacking and fishing, here’s my favorite way to cook freshly caught fish. (I also cook fish at home the same way, so it isn’t just for backpackers).
California

This post is geared towards the places I tend to go, you may need to make changes based on your location. I’m usually backpacking in California (Yosemite, Lake Tahoe, Sequoia, Trinity Alps, and the surrounding wilderness areas). I’m above tree line more often then not and campfires are usually not allowed over 10,000ft (though stoves are ok). I tend to catch brook trout more often than not, but rainbow and golden trout are also common here.
Equipment
First, you’ll need the right gear:
- Pot*, any large pot that can take high heat. Aluminum, stainless steel, or titanium should work, but it shouldn’t have a nonstick finish (they usually aren’t designed to handle the kind of heat that is needed). It should be large enough to hold the fish you’ve caught and I like pots that have a built in heat exchanger since they’re more efficient. The Jetboil 3 liter fluxring pot* is the best one I’ve found.
- Stove*, I use isobutane canisters* or whitegas, I don’t know if you get enough heat out of some of the other types for smoking.
- Alder wood chips* – This should be fine chips, almost sawdust, not the large chunks they sell at some places.
- Small metal cooling rack* – Make sure you get one that fits inside your pot.
- Aluminum Foil* – Makes cleanup easier and can be used as a lid.
- Salt – I usually use Maldon sea salt* or coarse grey sea salt*.
- Fish – I’ve smoked small to medium sized trout (or char). Larger fish may need to be cut or filleted to fit in the pot.
- Trash Bags – If I have a used mylar bag from freeze dried camping food, I’ll use one of those. Otherwise, I use the Thrifyvac bags* for storing the burnt wood chips, cooked, and uncooked fish remains (when appropriate), they’re much sturdier than normal heavy duty ziploc bags.
Instructions
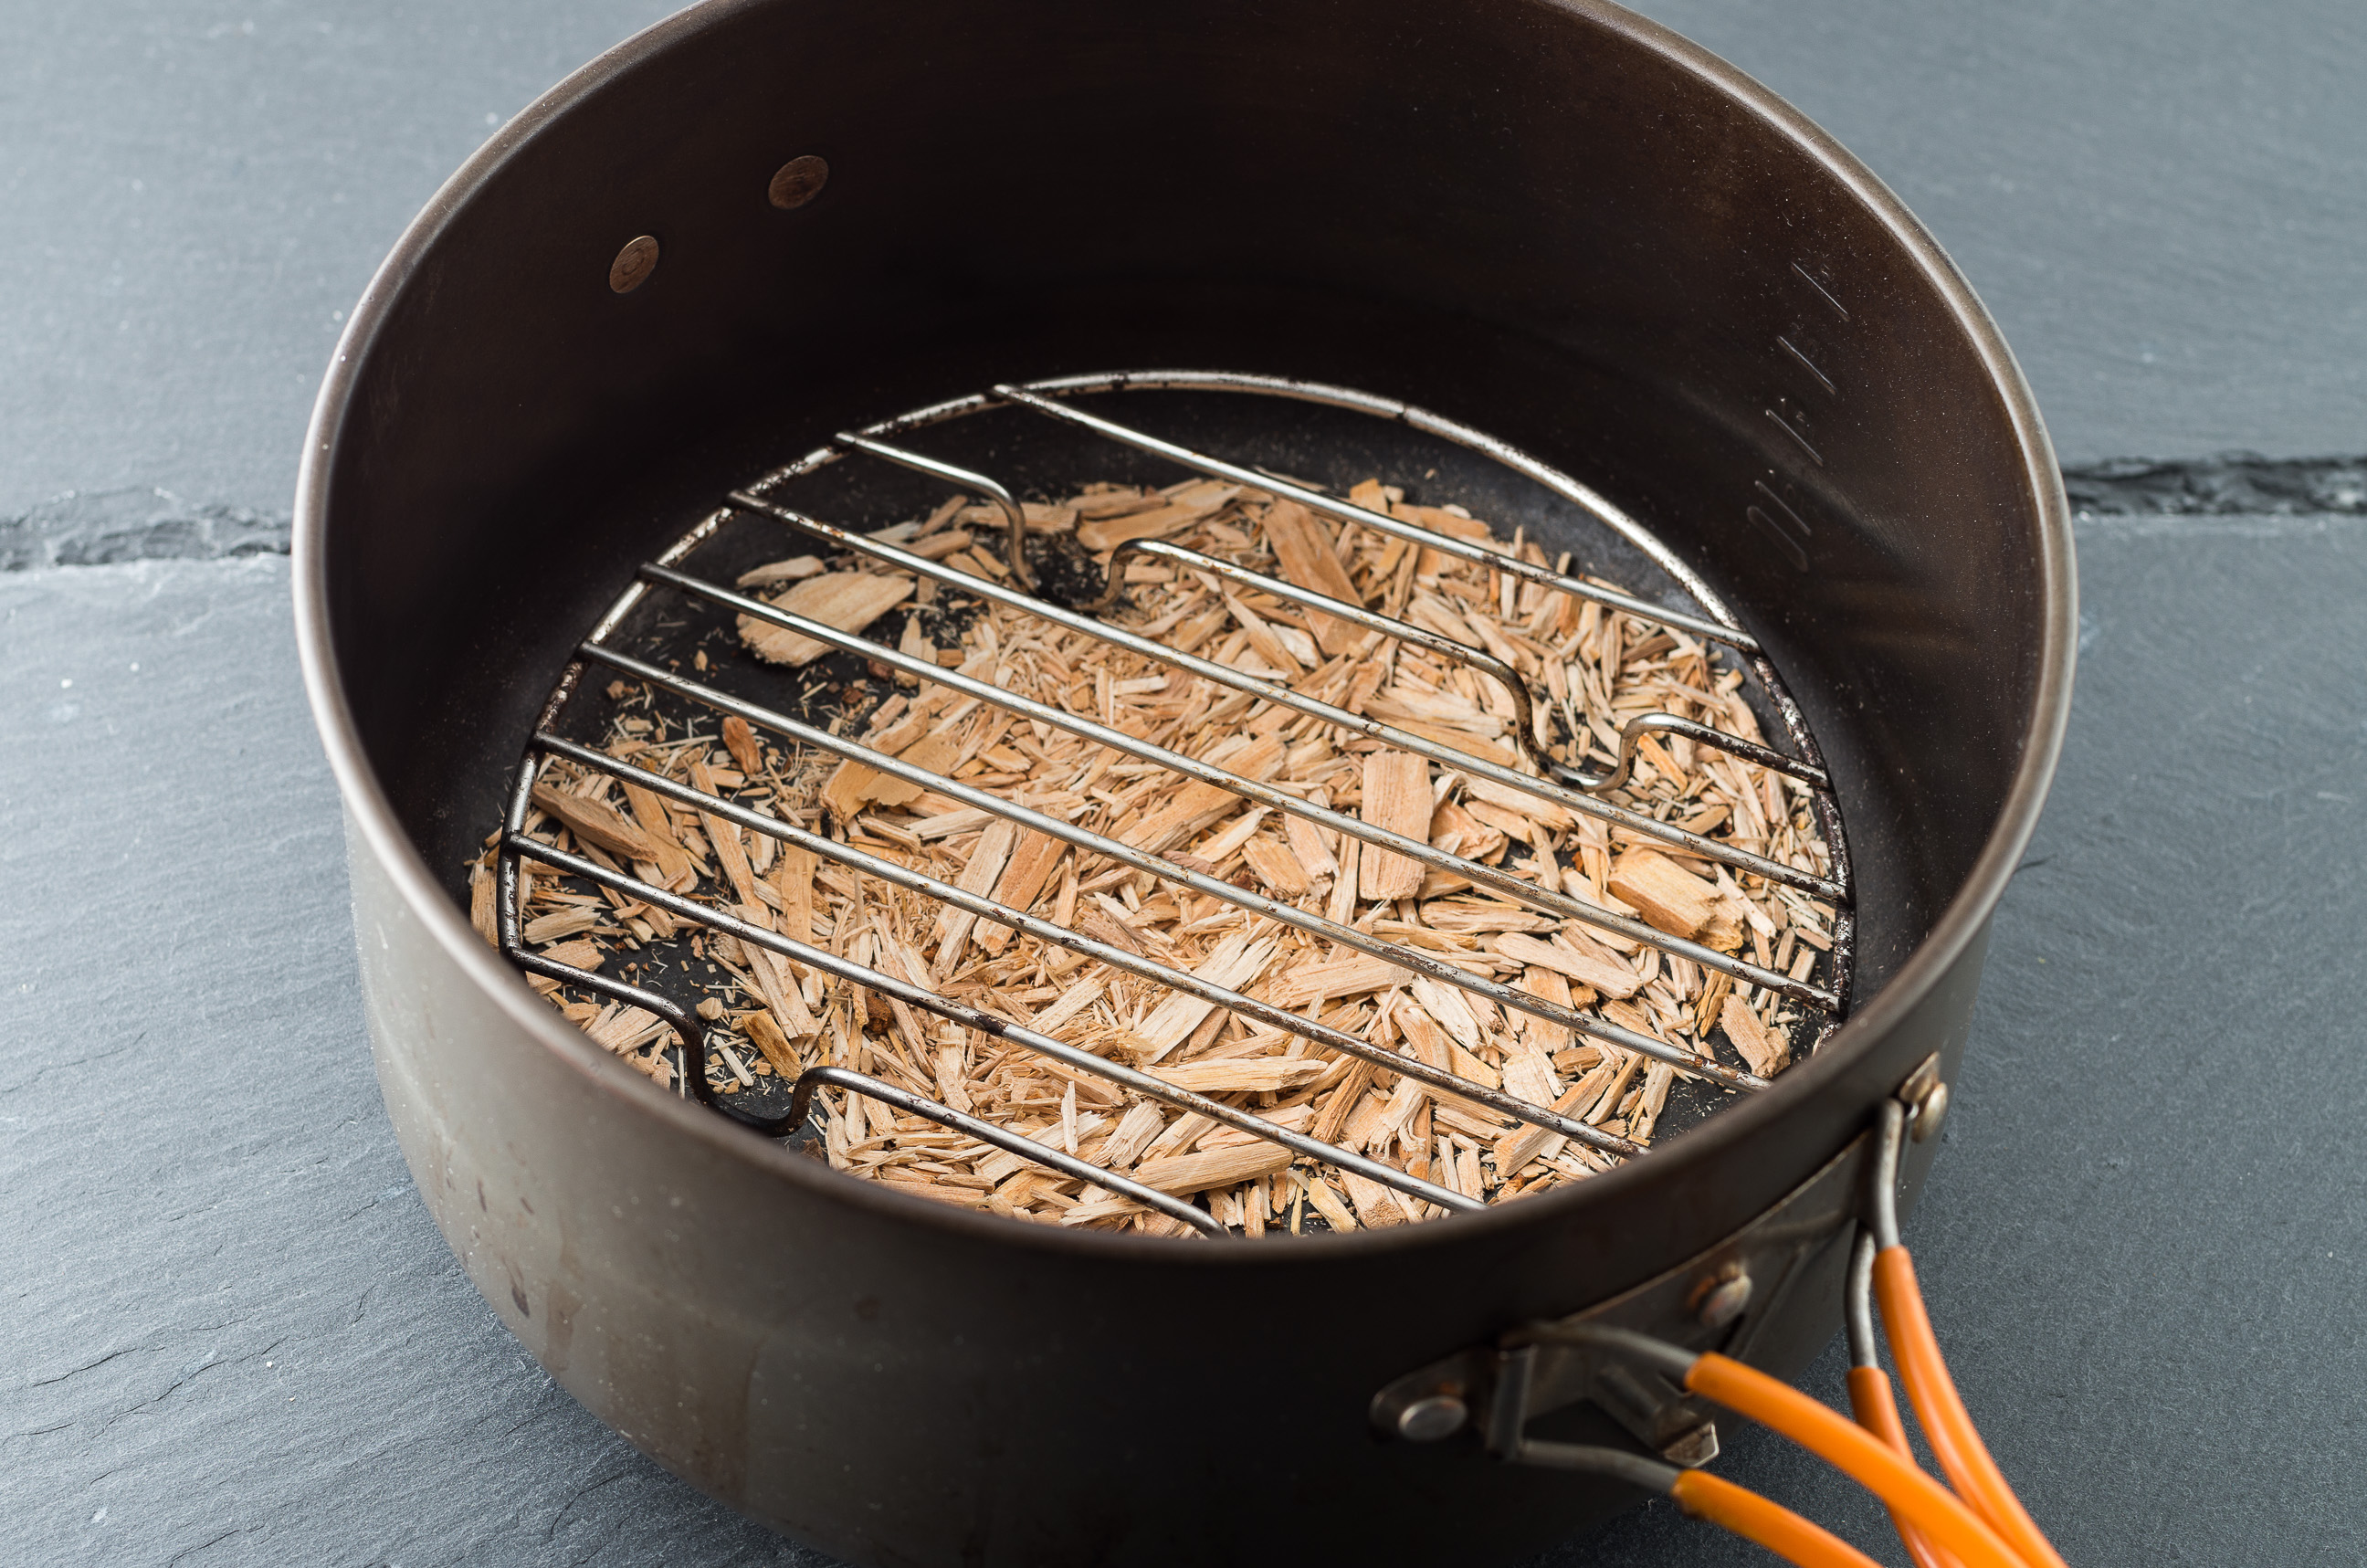
1 – Line the bottom of the pan with aluminum foil. This is optional, but it makes cleanup easier, especially if you need the pot later for boiling water or other cooking.
2 – Add enough alder chips to coat most of the bottom of the pan and put the metal rack on top.
4 – Gut and clean the fish, then sprinkle with a moderate amount of salt (use flakes or a coarse salt, it seems to work better). Cover all surfaces including the inside cavity.
5 – Put the fish on the rack. I usually put the fish on the rack directly, but if you cover the rack in foil, poke some holes in it.

6 – Cover with a metal lid or aluminum foil, don’t seal it too tightly since you want to give any steam generated a way to escape. Be careful of plastic, vinyl, or anything that might melt on or around the pot. It will get much hotter than it was probably designed for.
7 – Cook under a medium-ish setting for around 8 to 12 minutes. It can take a bit of trial and error before you get a feel what temperature to use and how long to cook, but in general:
- It has to be smoking, if the pot isn’t full of smoke, it needs more heat. If lots of smoke is pouring out of the pot, it’s probably too hot. The alder chips need to burn, and should be mostly black by the time the fish is done.
- You can adjust the amount of smokiness with temperature (a lower flame will result in a yellow fish with a mild smoke flavor, orange will be medium, and red will be strong). I’m usually shooting for orange in the backcountry. At home, with thicker pieces of fish, I’ll use higher heat and cook until it turns red or brown.
- Go with lower temperatures for smaller fish, higher temperatures for larger fish. If it’s too low, you won’t taste the alder smoke. If it’s too hot, you won’t taste the fish (it will be very smoky and bitter).
8 – The last part to cook is usually the top part behind the head, if that part is cooked, it should be ready. Once it’s cooked, it should be easy to pull the sides of the fish apart and remove the spine.
9 – Eat and clean up.
Back to 3D Printing
This is still a 3D printing blog, so if you’re ready to go out and try this, here’s a few 3D printed parts that may be useful.

Fishing pole handles – I’ve tried a bunch of different portable fishing poles and reels, and have settled on the zebco 11 mico spincast reels* with the Penfishingrod.com Goliath rods. I use printed handles to combine the two.
Lure containers and inserts – I use a swivel case for my most frequently used lures, and a small plano box* with printed inserts for the rest of them.

Ceramic folding knife handle – A cheap ceramic knife is great for cleaning fish, you won’t have to worry about it rusting. I usually use a different, nicer knife for everything else.
Travel salt shaker – Compact salt shaker that can be used with one hand and won’t spill.

Stove Leveling Feet – In the high sierra, I tend to cook and sleep on large granite slabs. Usually the granite isn’t quite flat or level, so these clip on feet help to improve stability.
Fluxring cover – Helps prevent the fluxring from wearing holes in the storage bag.