
I’ve been asked many times about how to take good photographs 3D prints, and it’s always hard to answer in a brief format. Just like giving advice with 3D printing, it’s hard to know what will be useful without knowing more about the hardware, software, experience, and intentions. Even in a longer format, photography is just too large of a subject to cover without skipping over a lot of important details. I actually started this post years ago, but every time I try to finish it, it just keeps growing. So I’m going to split it into sections, starting with the basics, and I hope to get to the rest someday.
Keep in mind that my goal with most of these pictures is efficiency, not photography, it’s to get a technically acceptable picture with the least amount of effort. It’s very different from the portrait or landscape photography I sometimes do as a hobby. You can see some of my landscapes here if you like.
As usual, links marked with an asterisk (*) are affiliate links, mostly from Amazon USA, I may receive a small percentage of the purchase price if you buy using these links, at no cost to you.
 Hotpot in a snow kitchen
Start with the light
Photography is all about lighting, and it’s much harder to get good photos in bad lighting. If you’re not sure what’s good light and bad light, here are some examples (of course this is subjective, and I’m focusing specifically on lighting for 3D print photos). It’s also a lot easier and more convenient to take photos in controlled lighting instead of natural lighting.
Difficult Light
 Mt Shasta, 3D print and shadow
- Outside when the sun is high (too directional, too contrasty)
- Mixed sun and shade
- Under most desk lamps (too directional)
- Fluorescent lights in your kitchen (limited spectrum with many fluorescent or LED lights)
Good Light
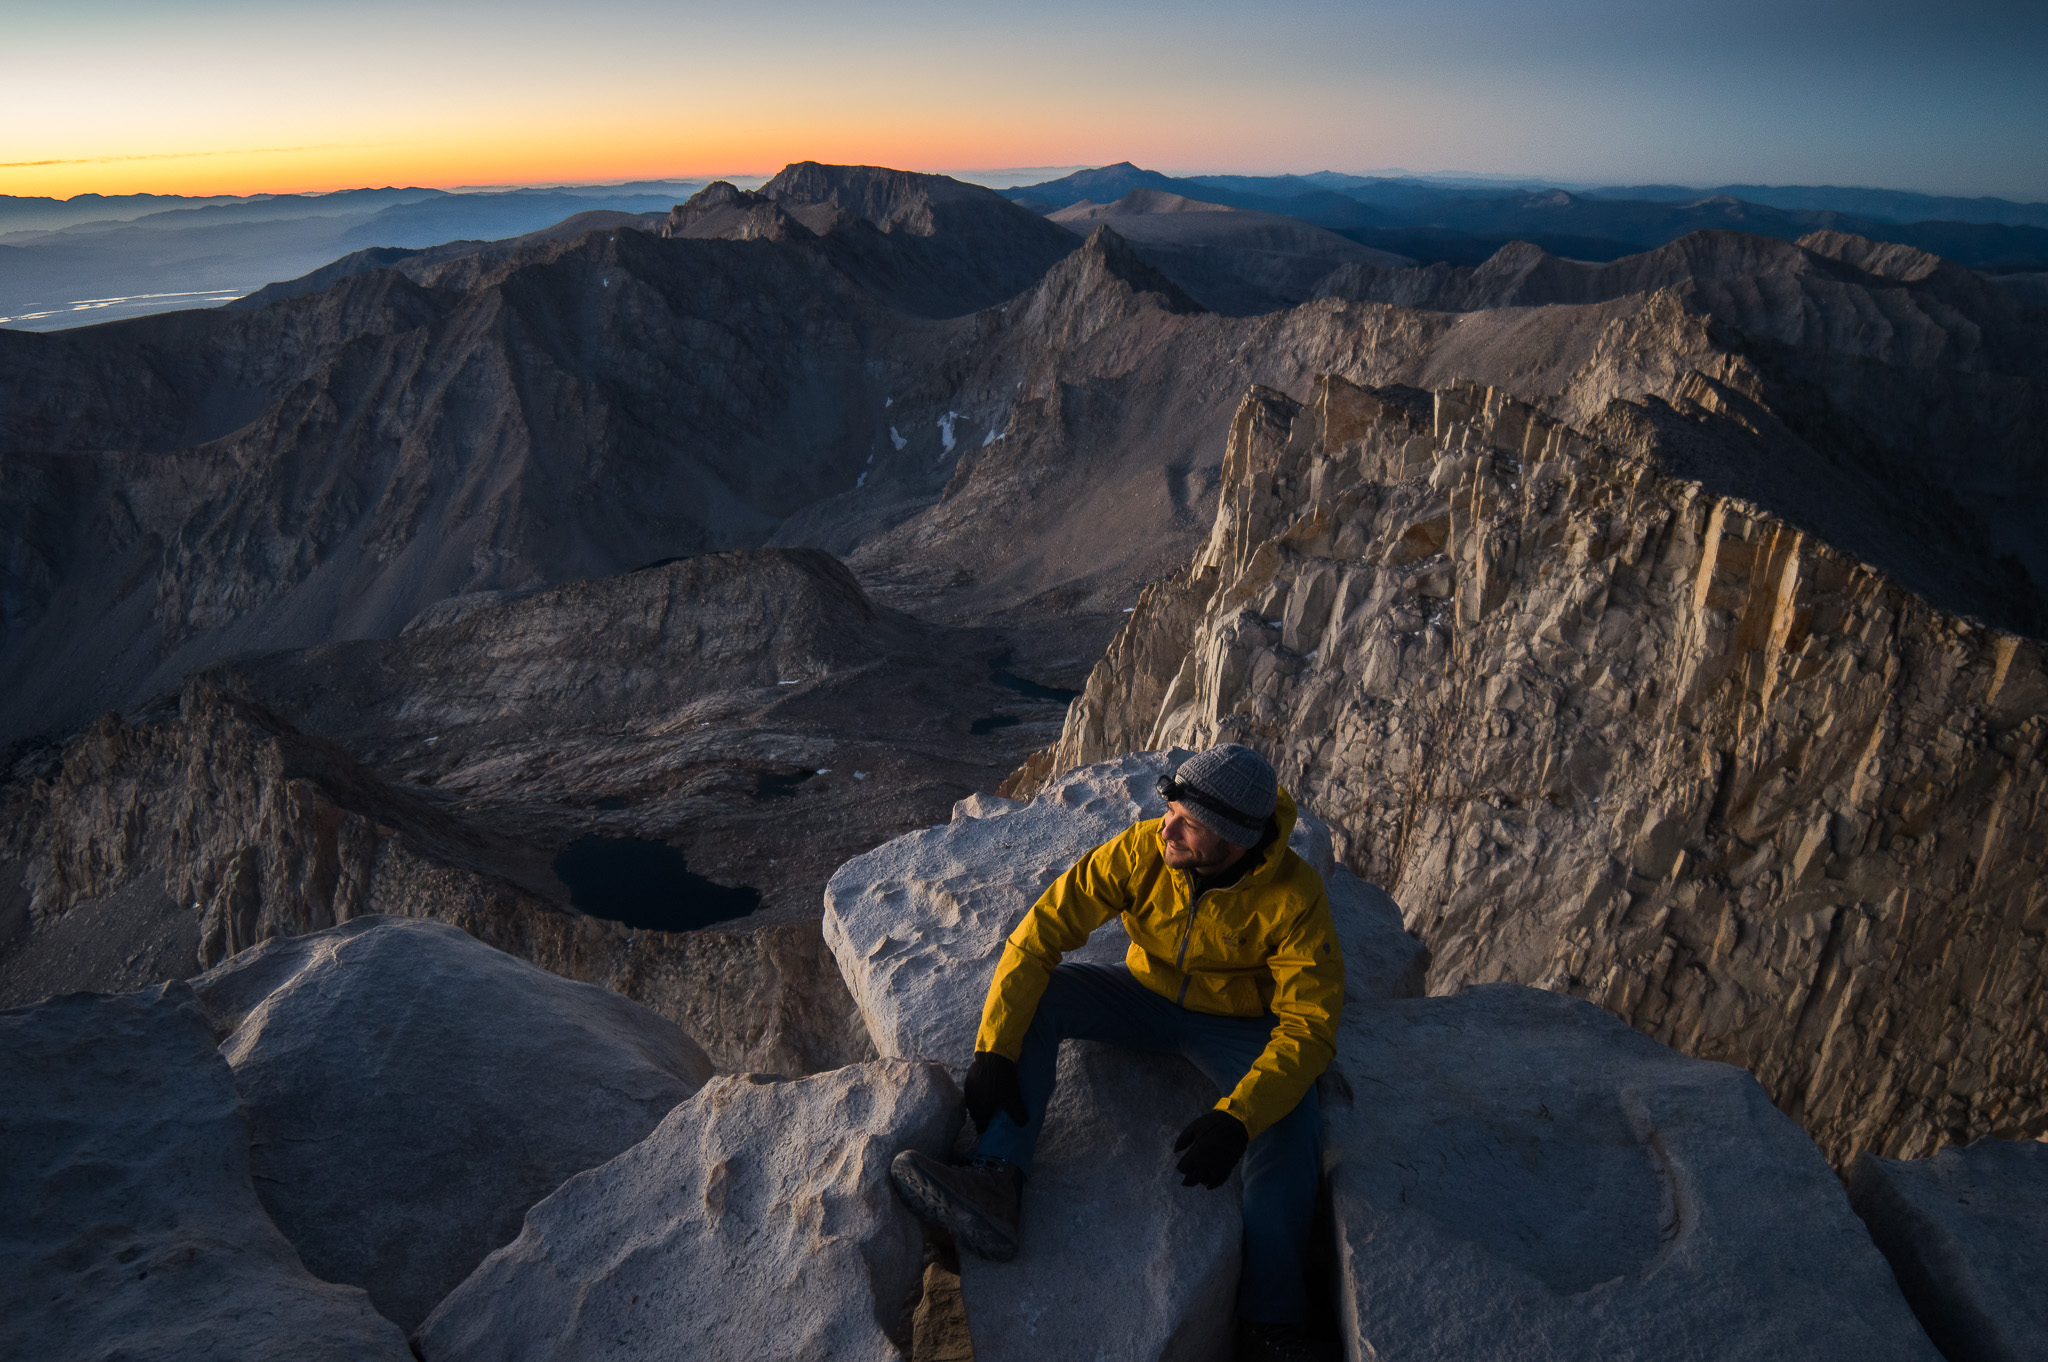 From the top of Mt Whitney just before sunrise
- Outside around dawn and dusk (may require a tripod)
- Outside in the shade (as long as you correct for color balance)
- Outside on a bright overcast day of when a cloud blocks the sun
- Light coming though translucent white curtains
- Inside a light tent lit with flashes
I’m going to focus mostly on that last one, inside a light tent, at least for the first posts in this series. Light tents are particularly good for getting a clean white, high-key look, which I use for most of my pictures. This works well for photos of 3D prints, and it’s also easiest kind of photo to take once you have everything setup, which is why most of my pictures are of that type.
Leftovers from dinner
Walkthrough
To give you an idea of what is involved, here’s a typical photo session
- Put 3D print in light tent*. Ideally I do this as soon as it comes off the printer, otherwise it starts to collect dust which will show up in the pictures.
- Turn on the camera and the IR flash trigger. Pop off a couple of flashes* with the trigger to wake up the main flashes.
- Take a few pictures, adjusting the position of the print or the camera. Adjust the flash light level or position, camera aperture, or change lenses as necessary. For the easiest shoots this should only take a minute, but can easily take a lot longer.
- I use an eye-fi card, so pictures are transfered to my computer automatically.
- Load up the pictures in Lightroom* and find the ones I want to keep. If I don’t like the results, I’ll take new pictures. Once I’ve selected the pictures I want to use, I’ll adjust the cropping, exposure, and other settings before exporting.
More posts to cover everything in more detail to come.
*affiliate links