
When I change nozzles on my printer (which I do often to switch between nozzle sizes), I usually remove any remaining filament in the nozzle. It helps keep the nozzle clean and reduces color and plastic contamination the next time you use the nozzle. The process is similar to doing a cold pull, but quicker if you’re already planning to change the nozzle.
- Remove the current nozzle while the hotend is at temperature
- Sometimes it helps to wait a few seconds for the nozzle to cool slightly, depending on the nozzle swapping temperature
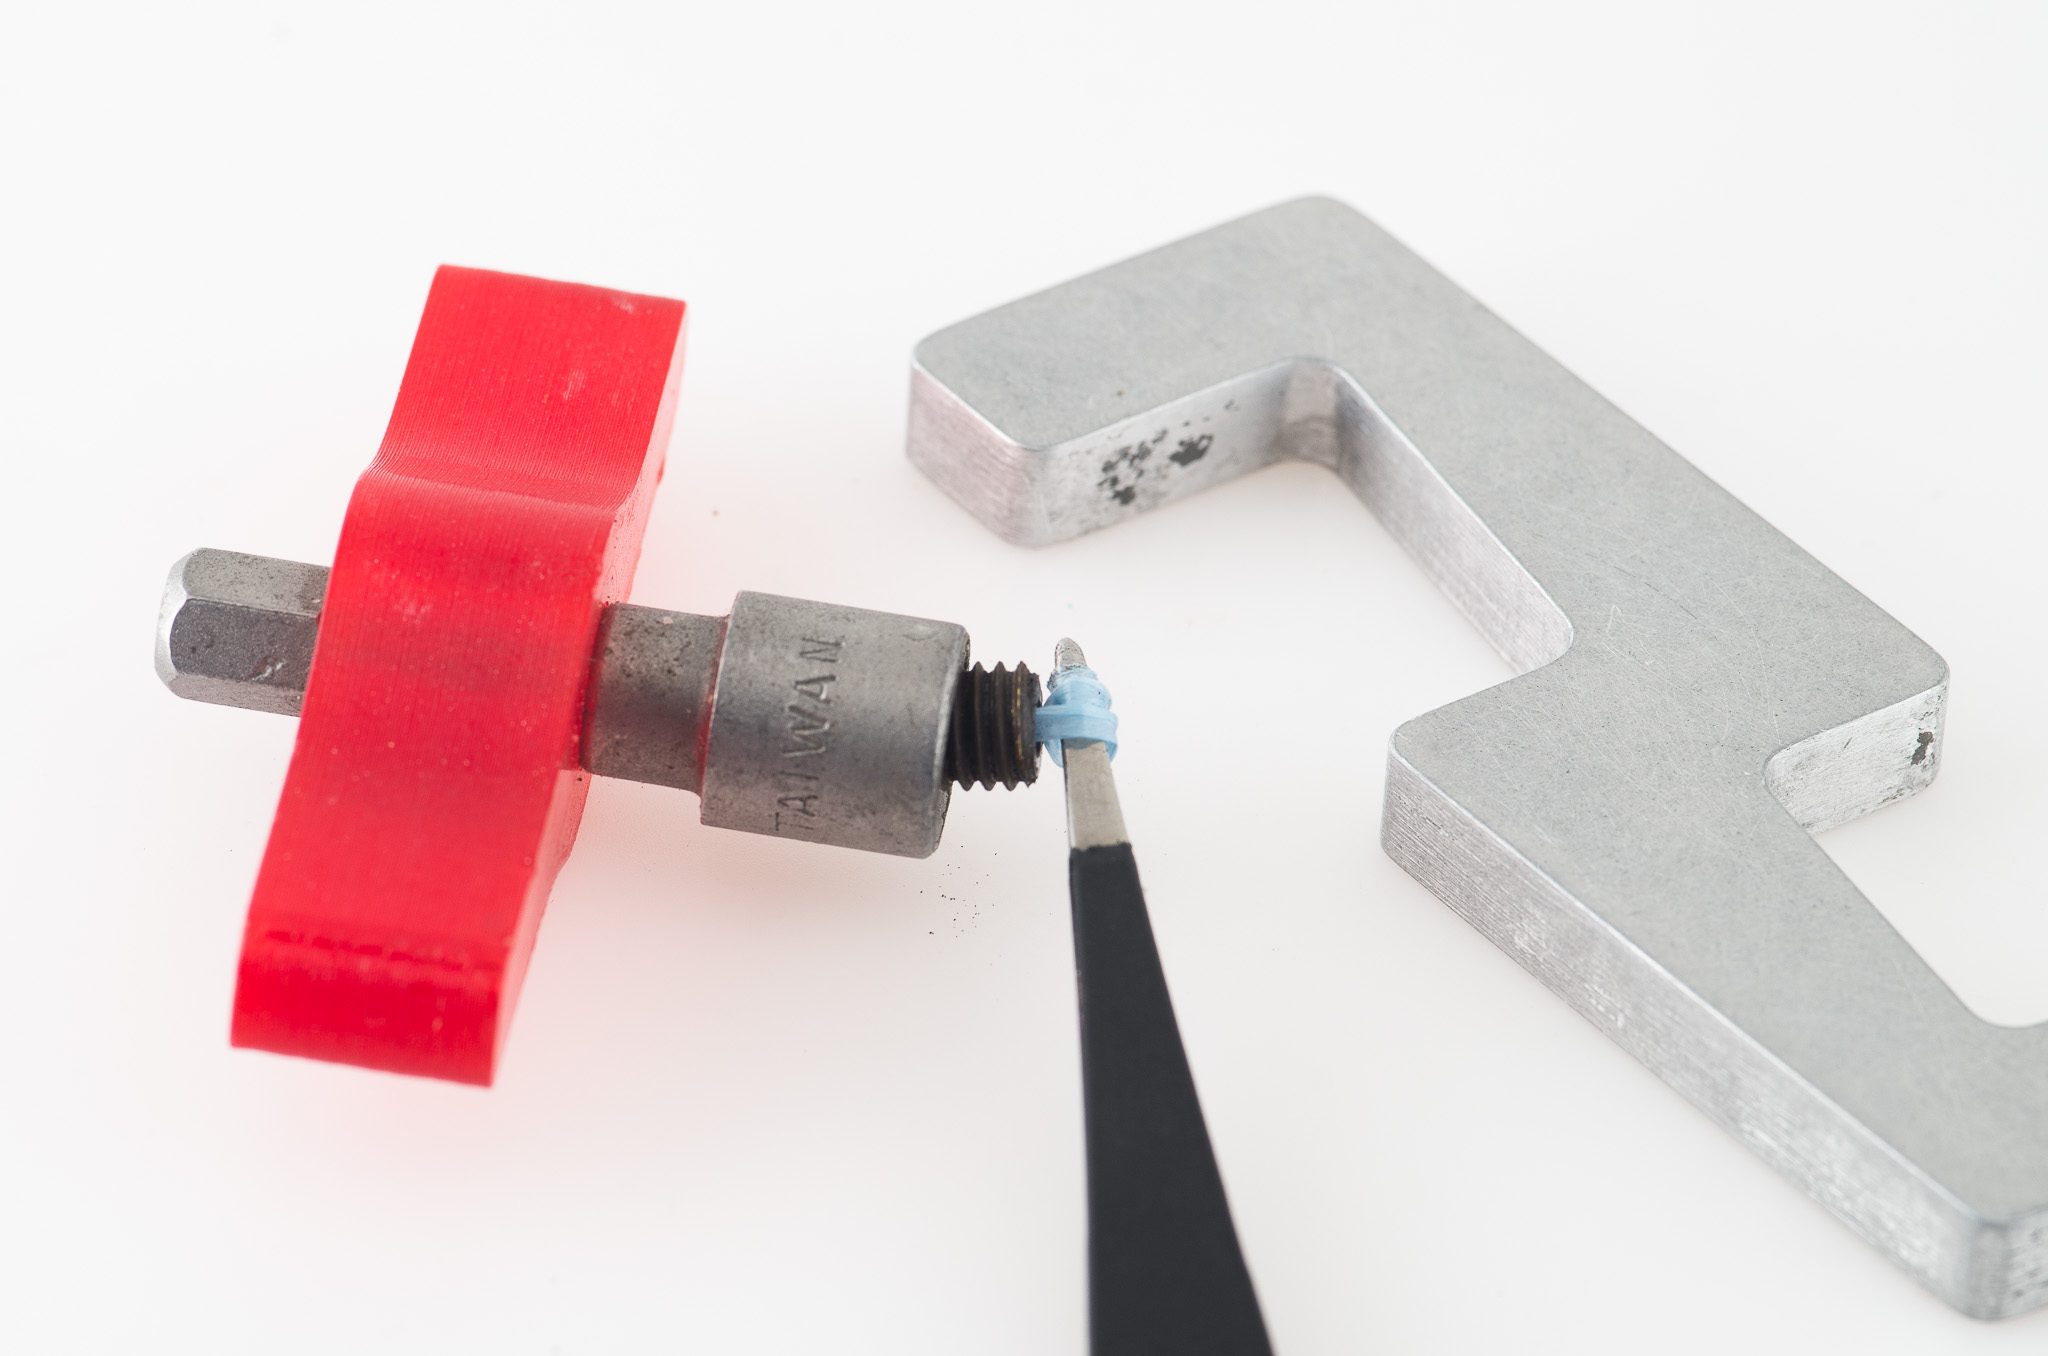
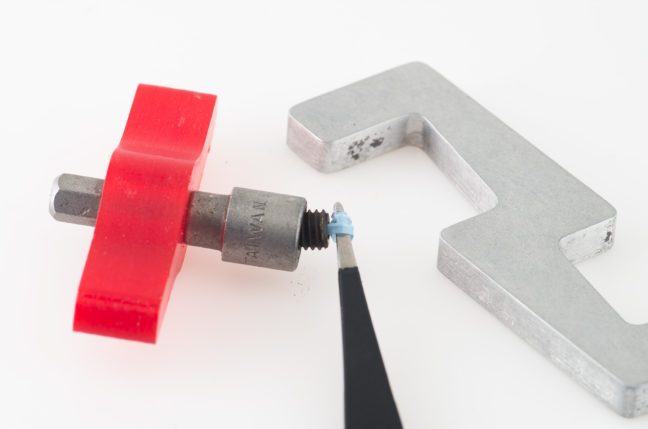
- Leaving the nozzle in the wrench, use tweezers to grab any filament that is sticking out the back of the nozzle
- Wrap the filament gradually around the nozzle as it cools, it may start off as a thin strand, but should thicken as it cools
- If the plastic doesn’t break, the last bit of plastic should pop out along with the impression of the nozzle tip
- Put the new nozzle in the hotend (if you do this first, the old nozzle will have cooled too much)
If done successfully, all the filament in the nozzle will be removed. This works best with PLA, and OK with PETG. It usually doesn’t work with ABS or filaments with additives. It usually takes much less than a minute, and by the time the plastic is removed, the nozzle is cool enough to place back in its spot on my printed nozzle rack.
This isn’t an alternative to doing cold/atomic pulls, using cleaning filament, or clearing clogs with acupuncture needles, those are all good things to know about and I do them occasionally. If you’re unfamiliar to those techniques, I’d recommend looking them up. I’m not going to go over them here since they’re described better in many places already. But removing filament when changing nozzles isn’t something I’ve seen others doing so I though it was worth mentioning as it doesn’t require you to wait for the cool like when doing a cold pull.