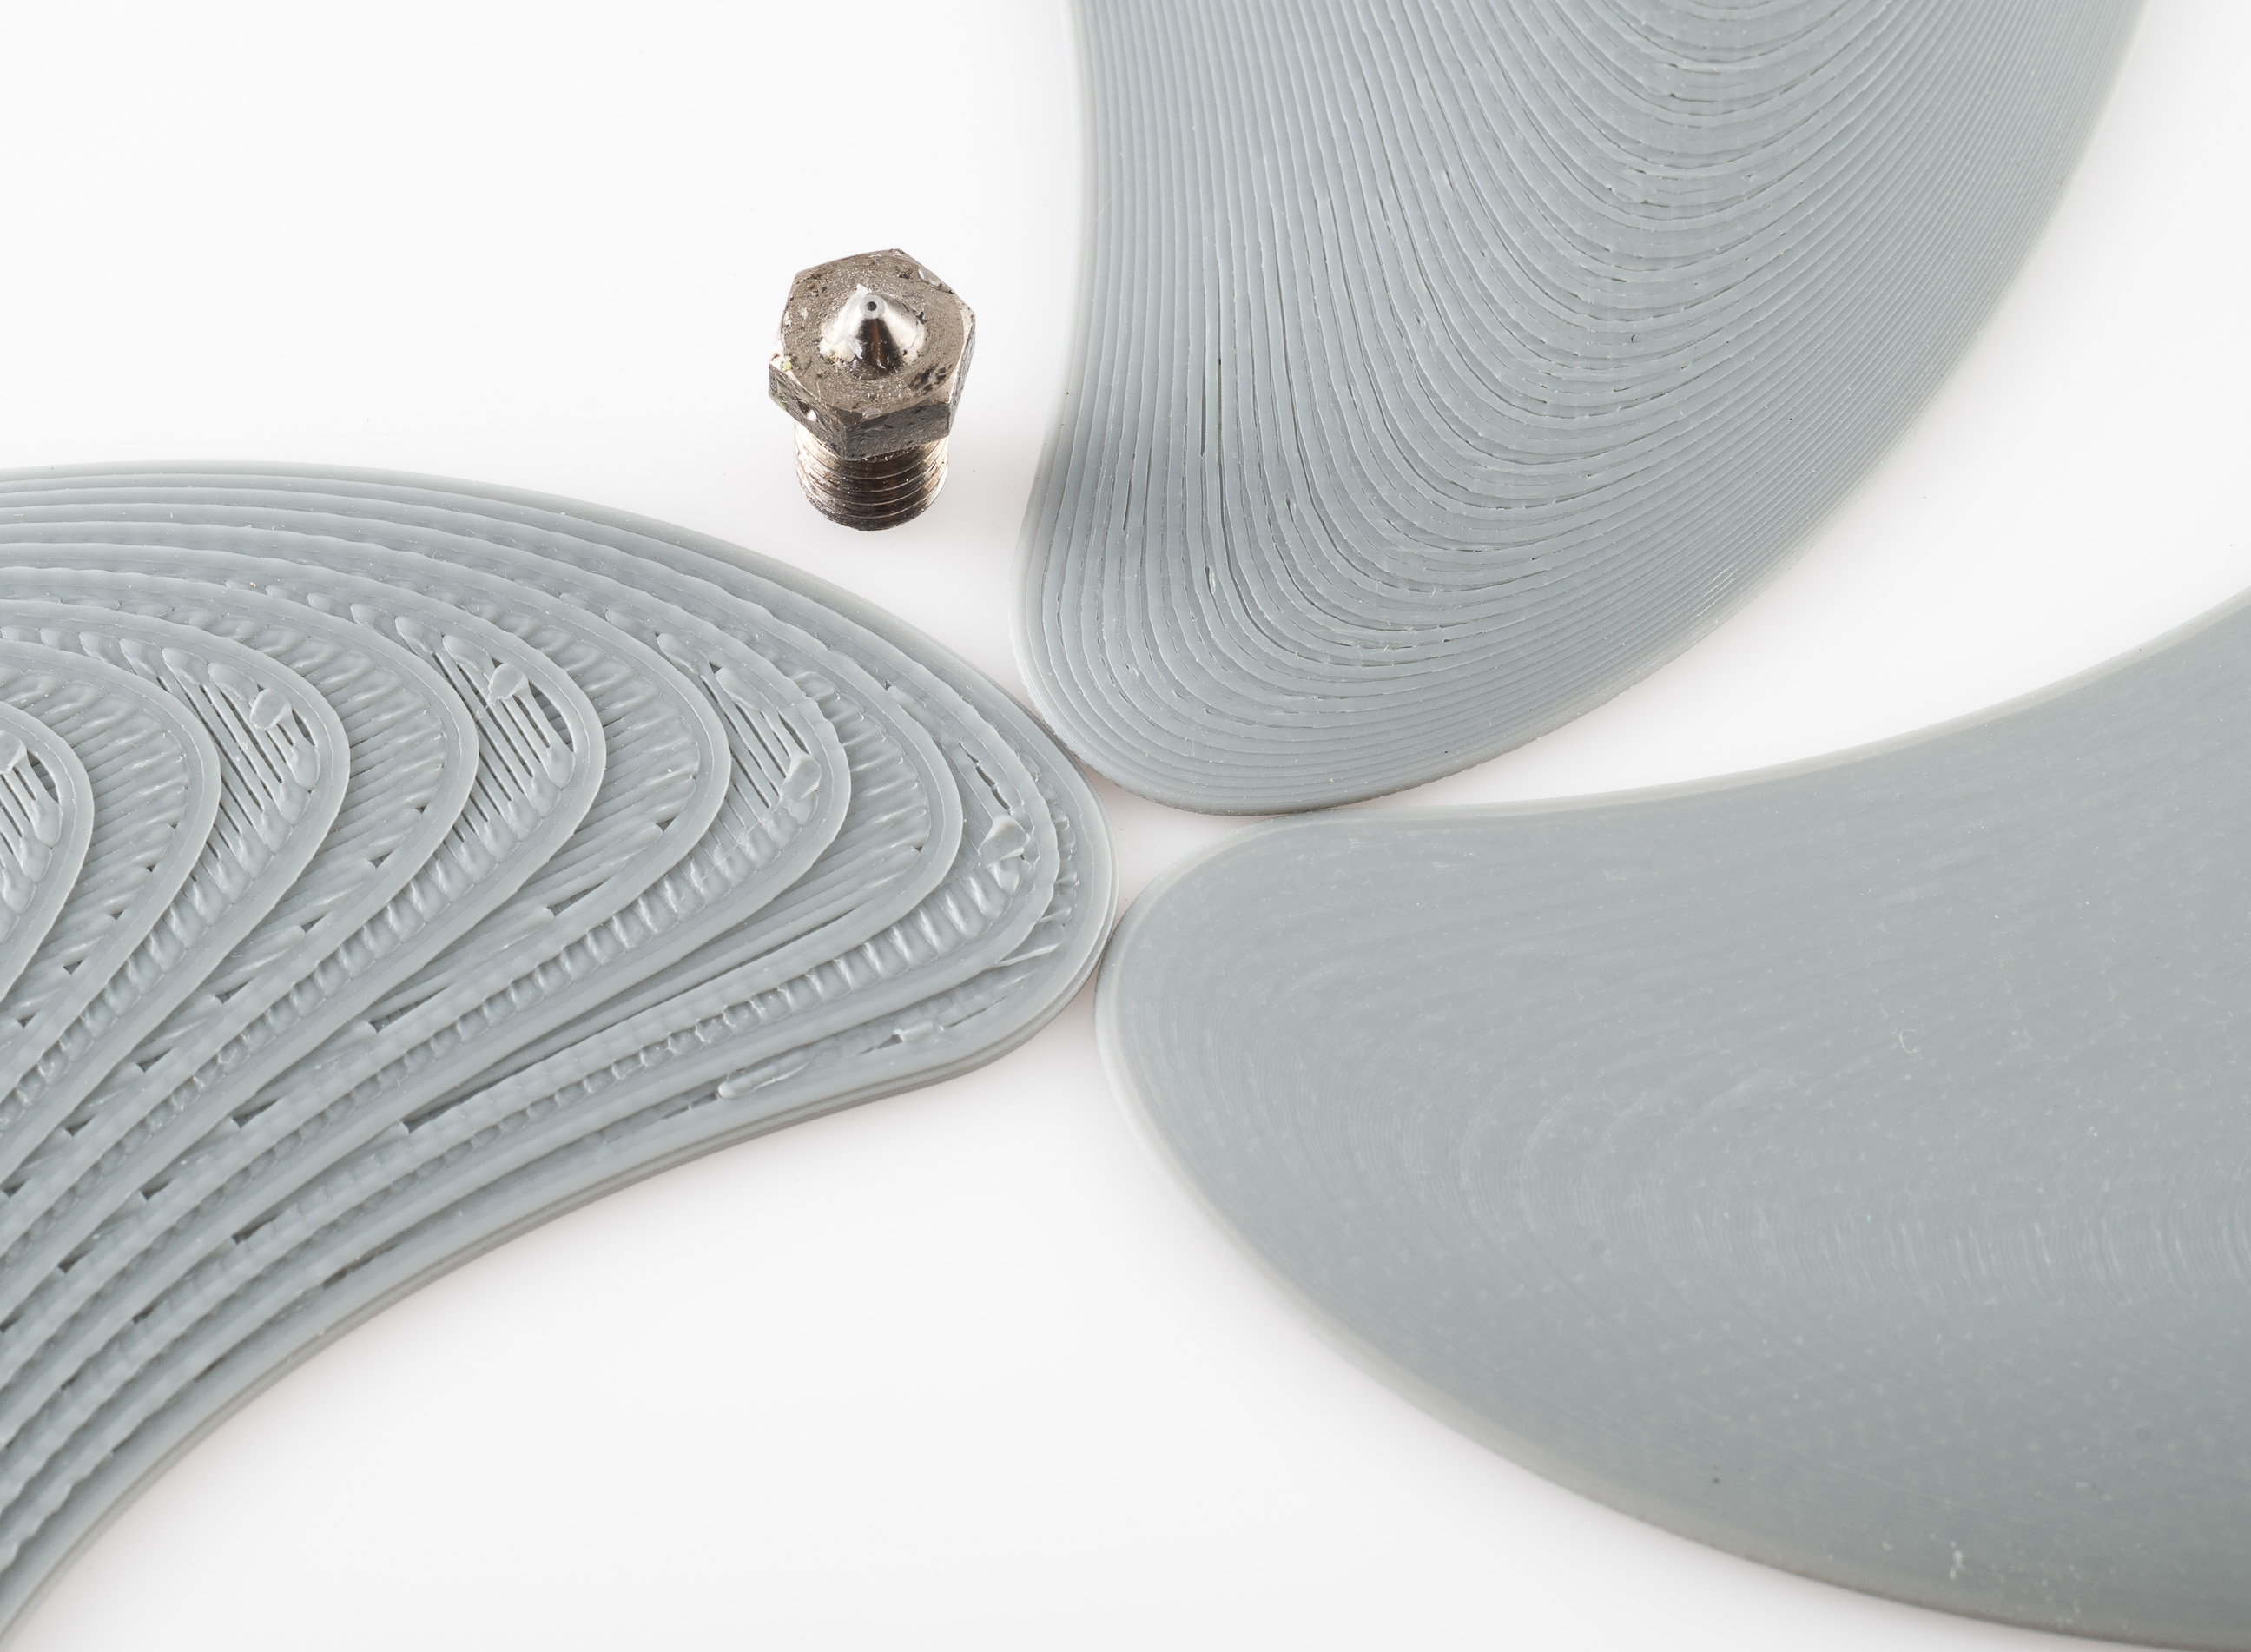
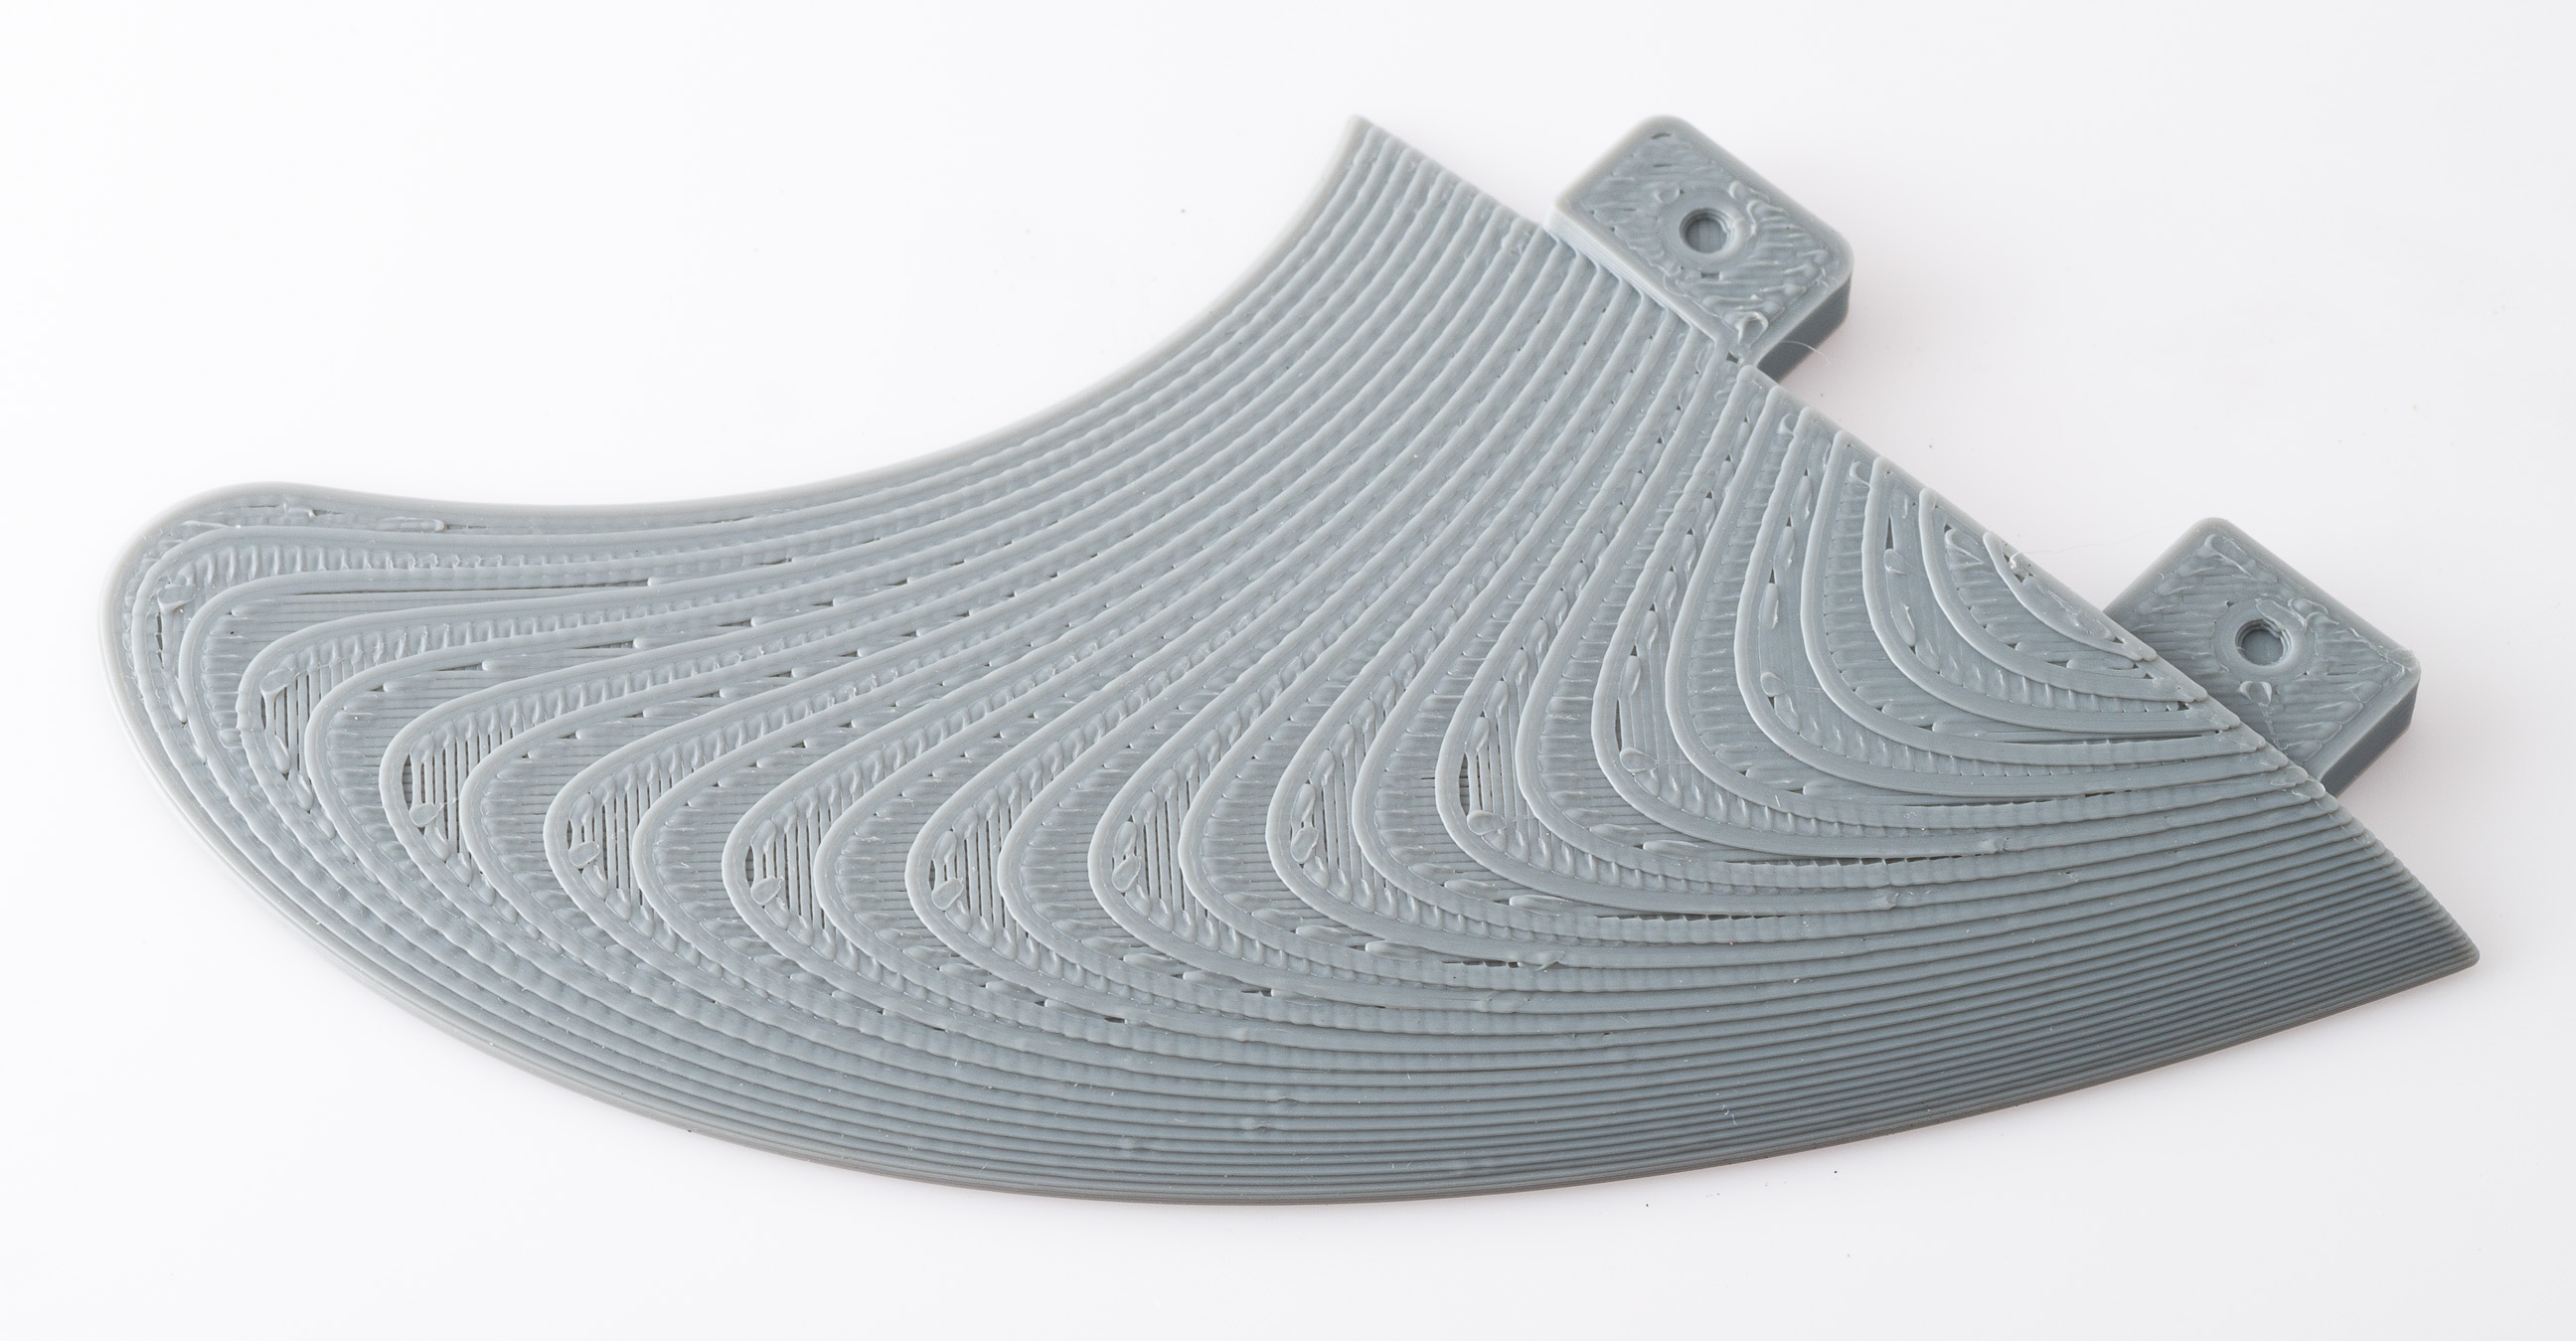
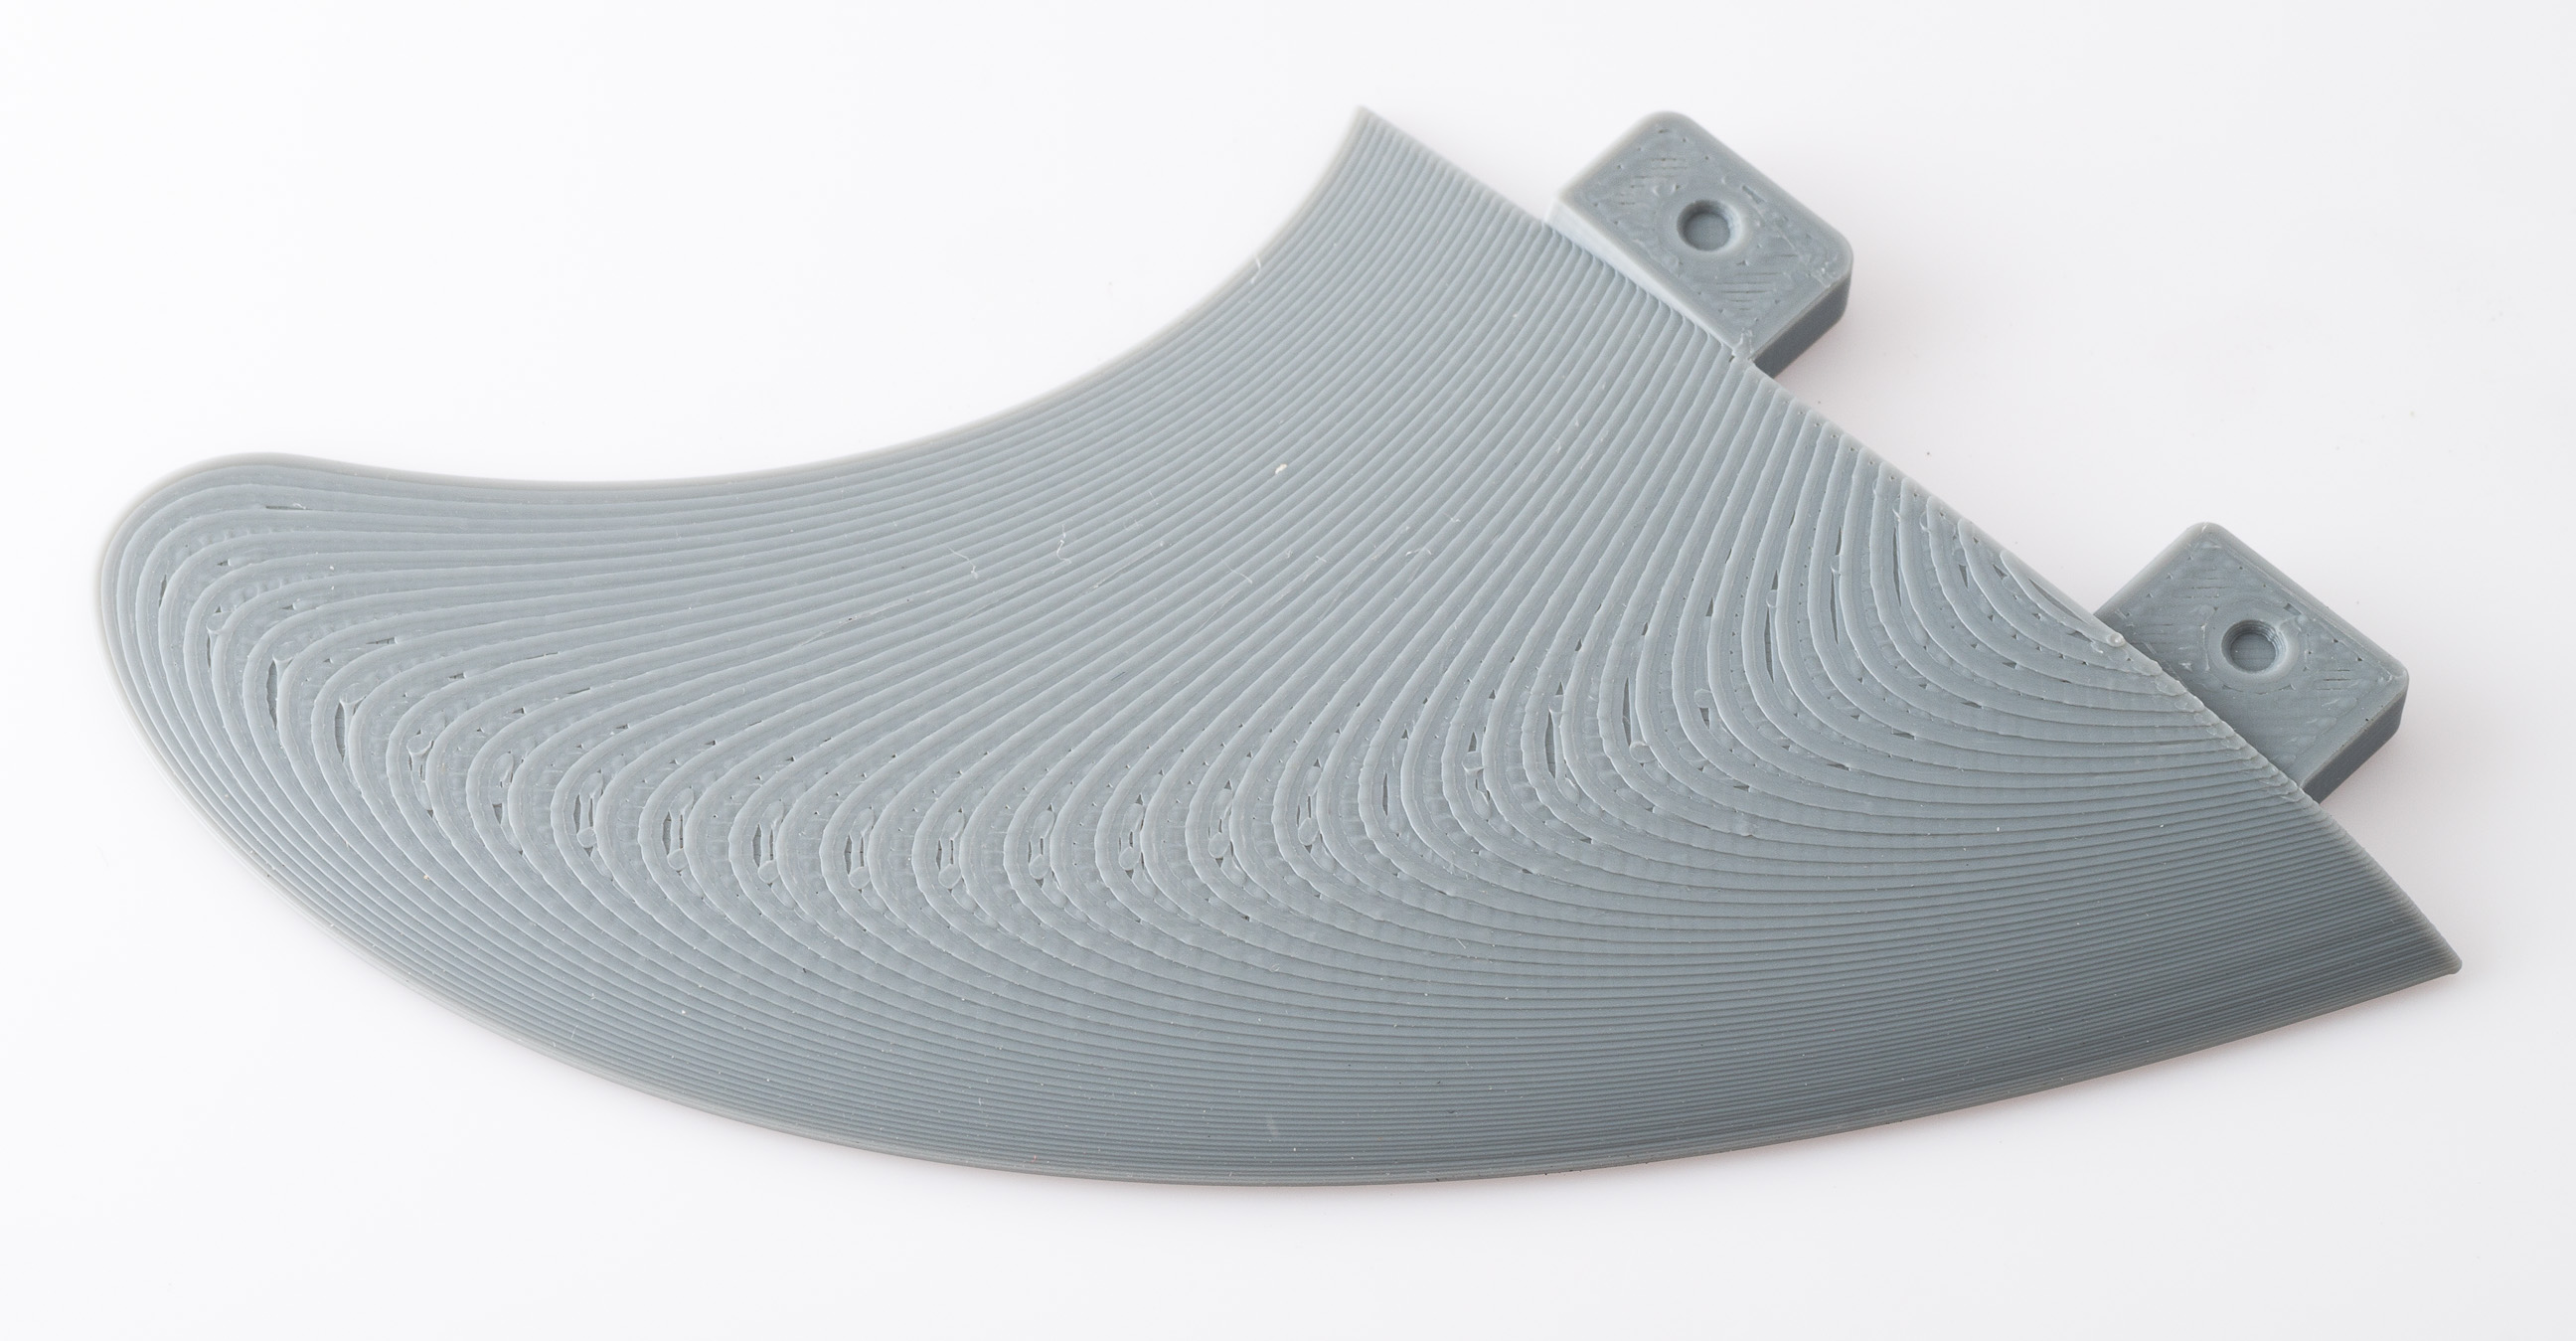
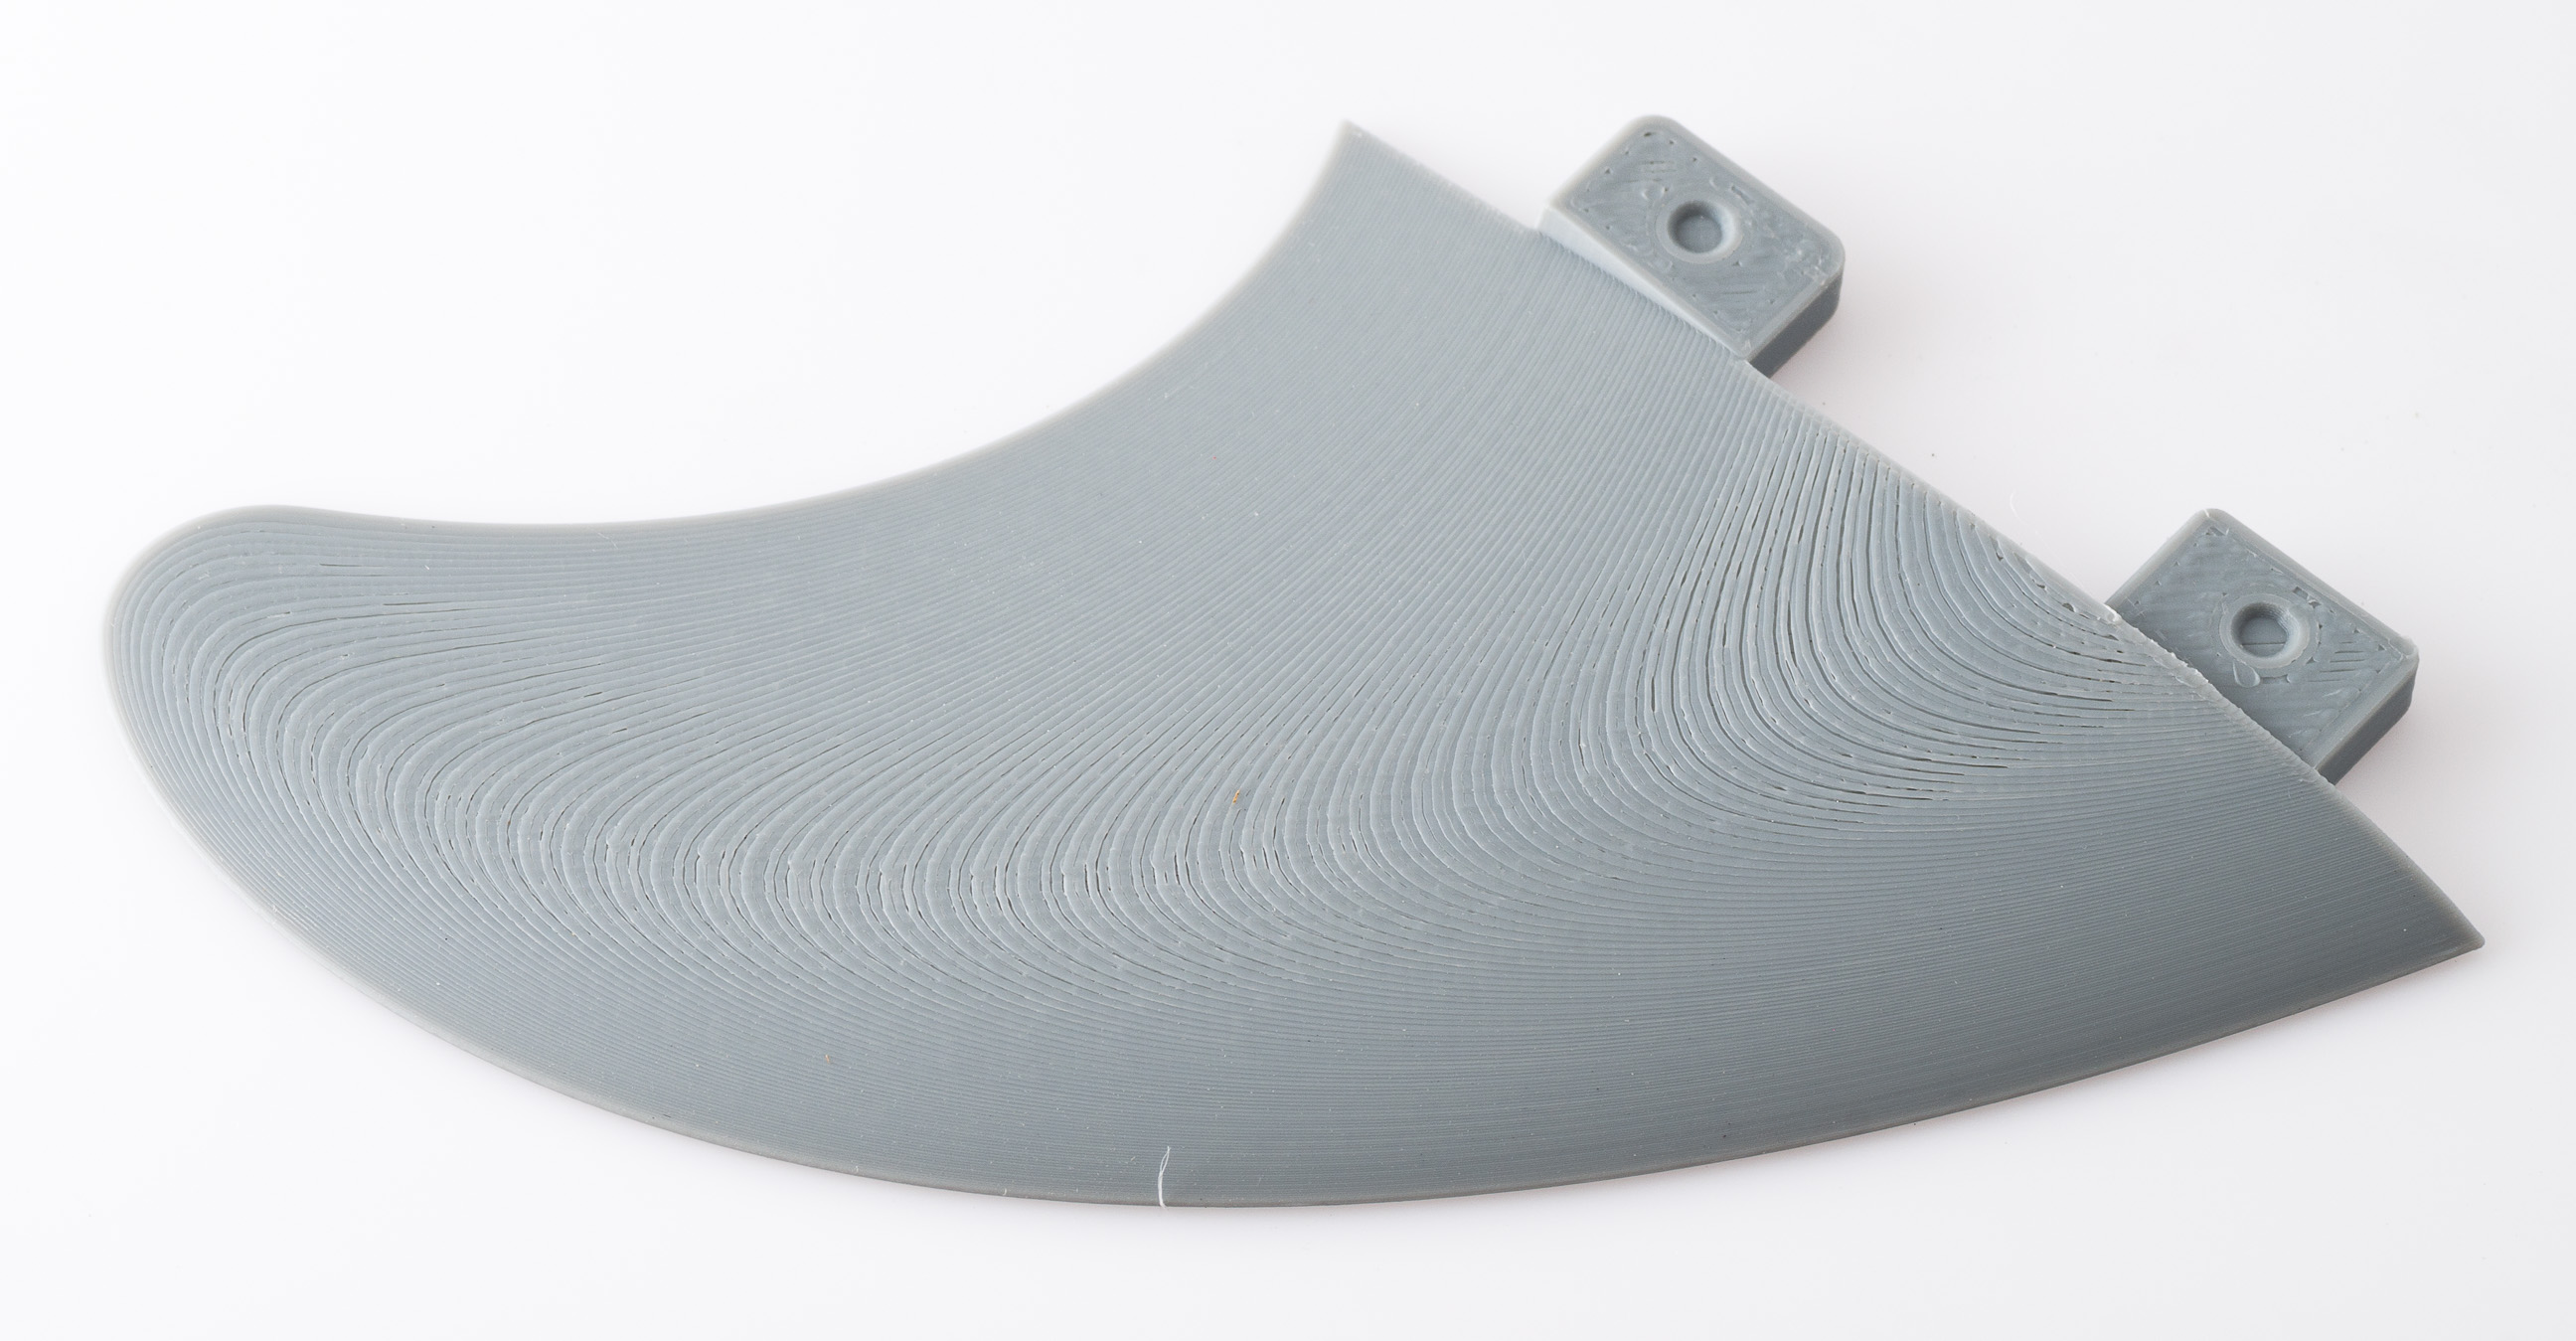
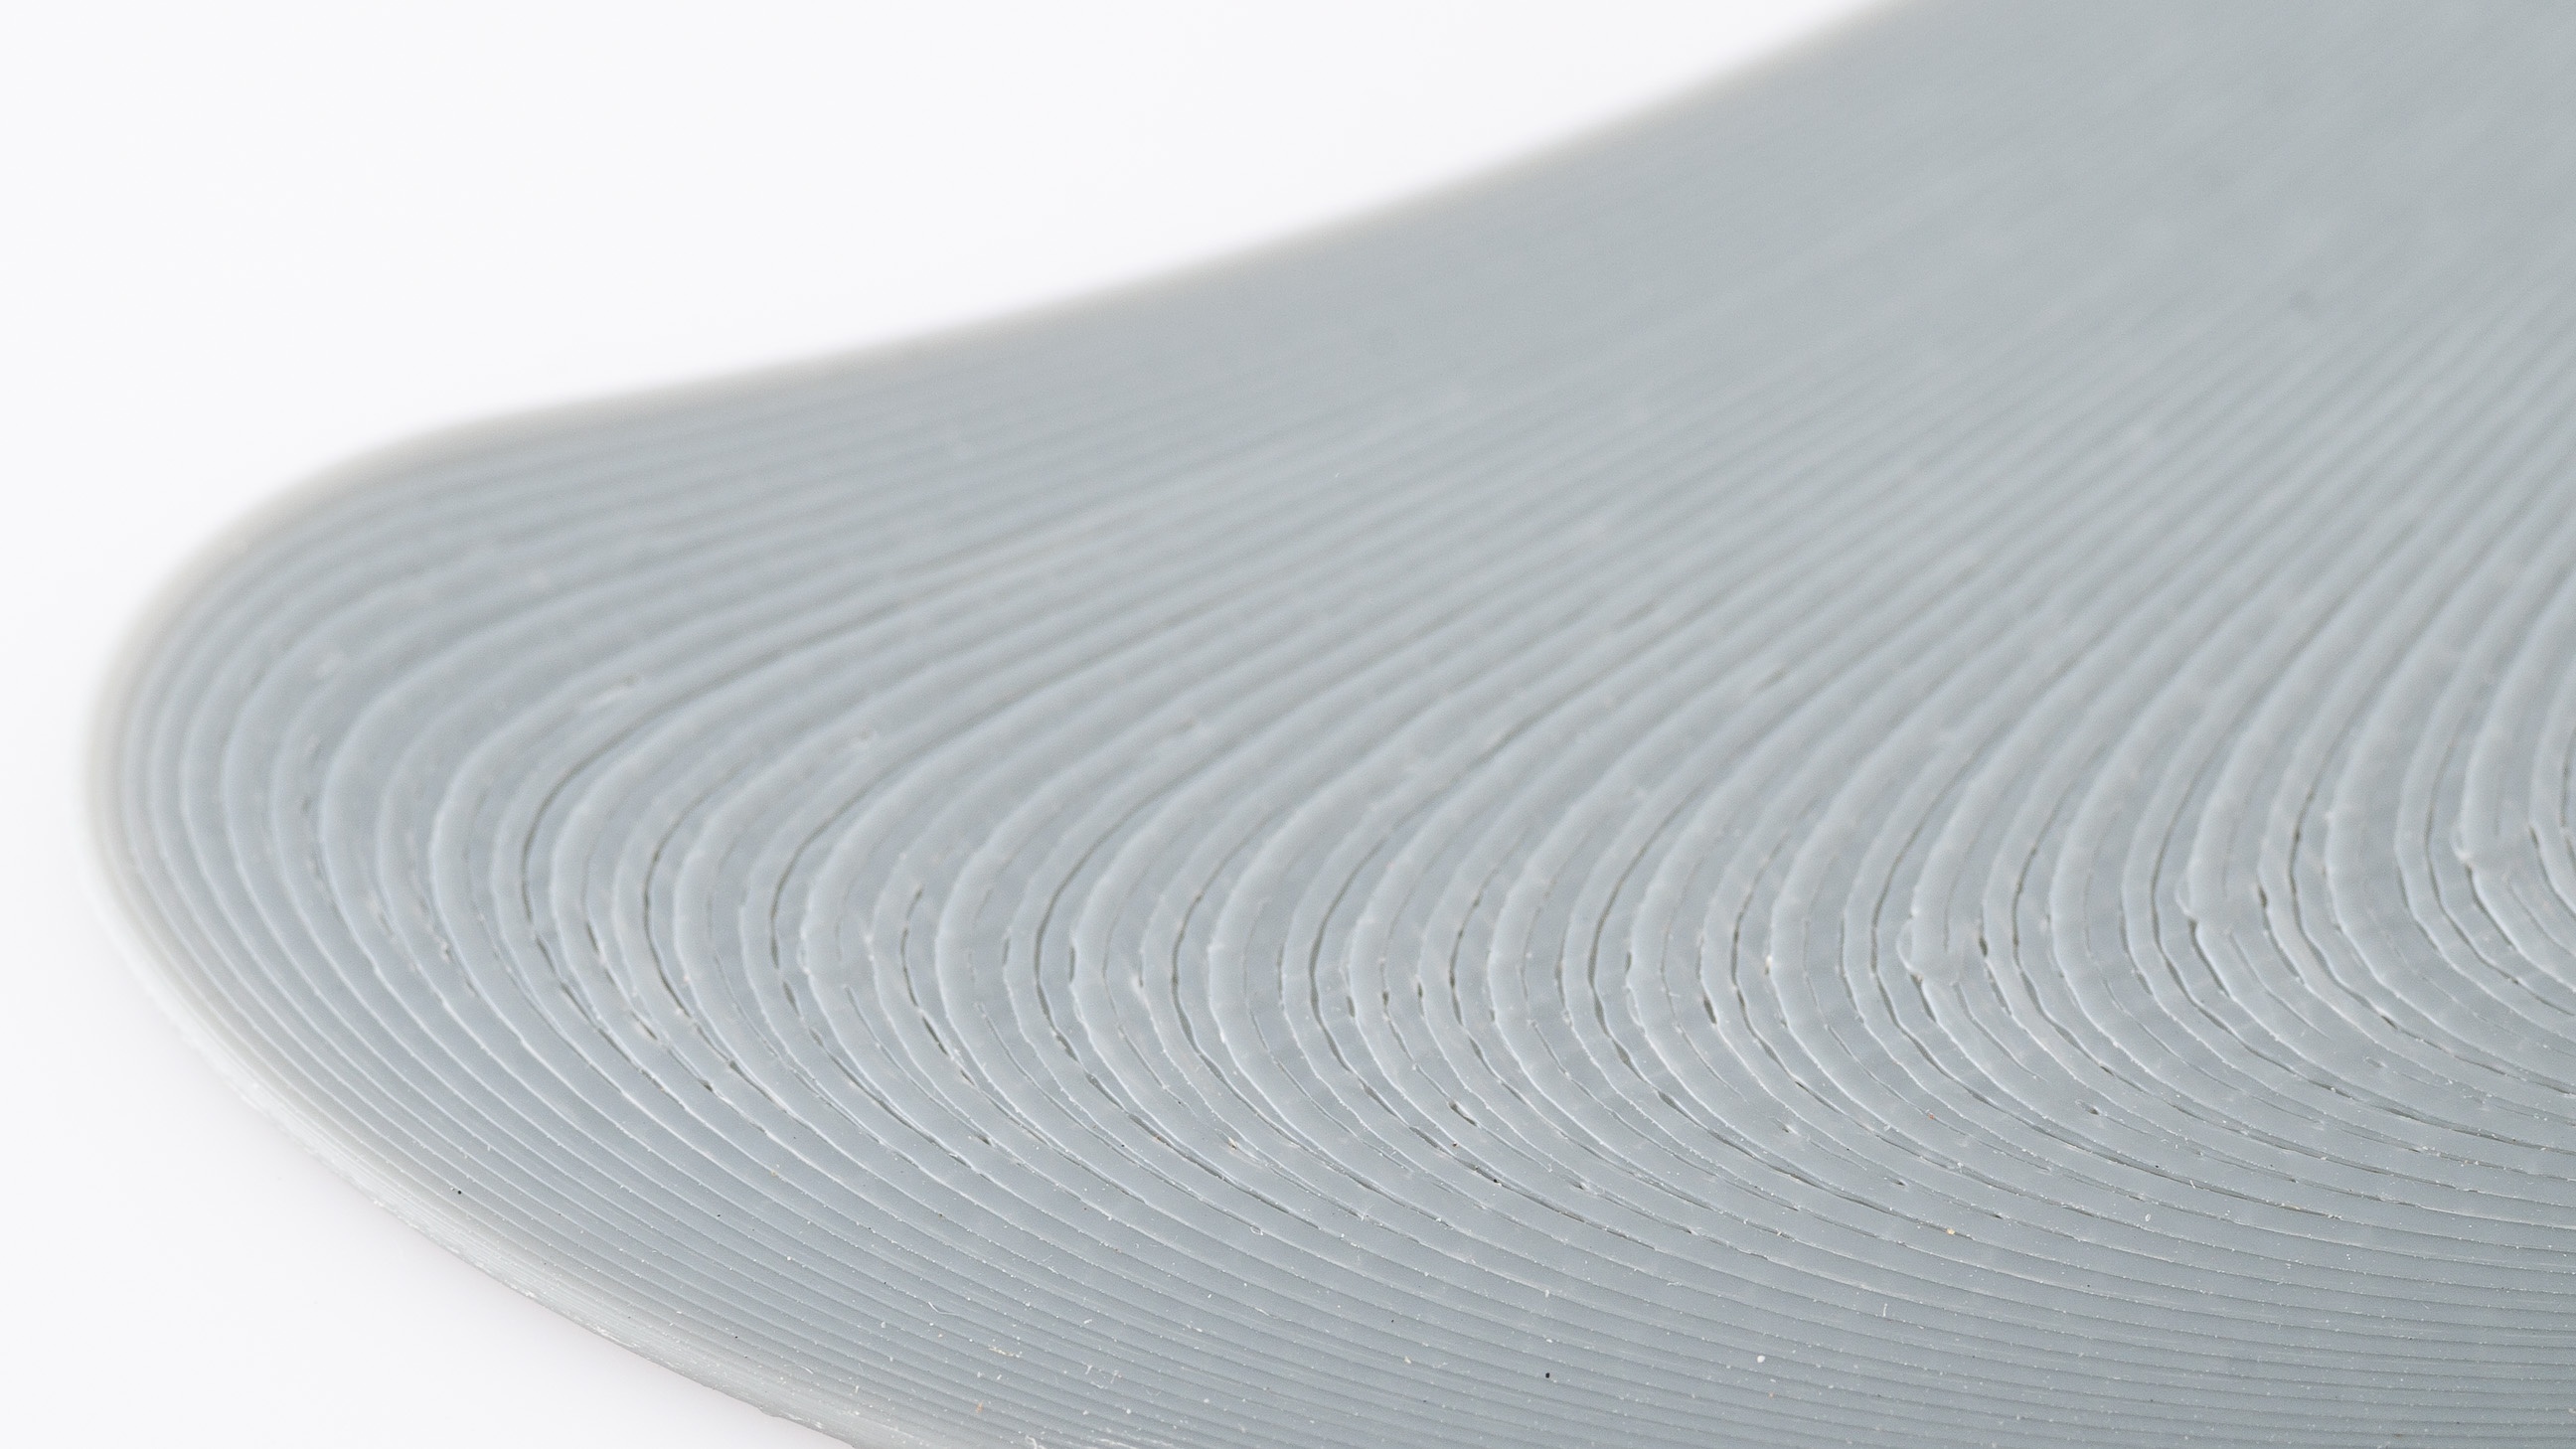
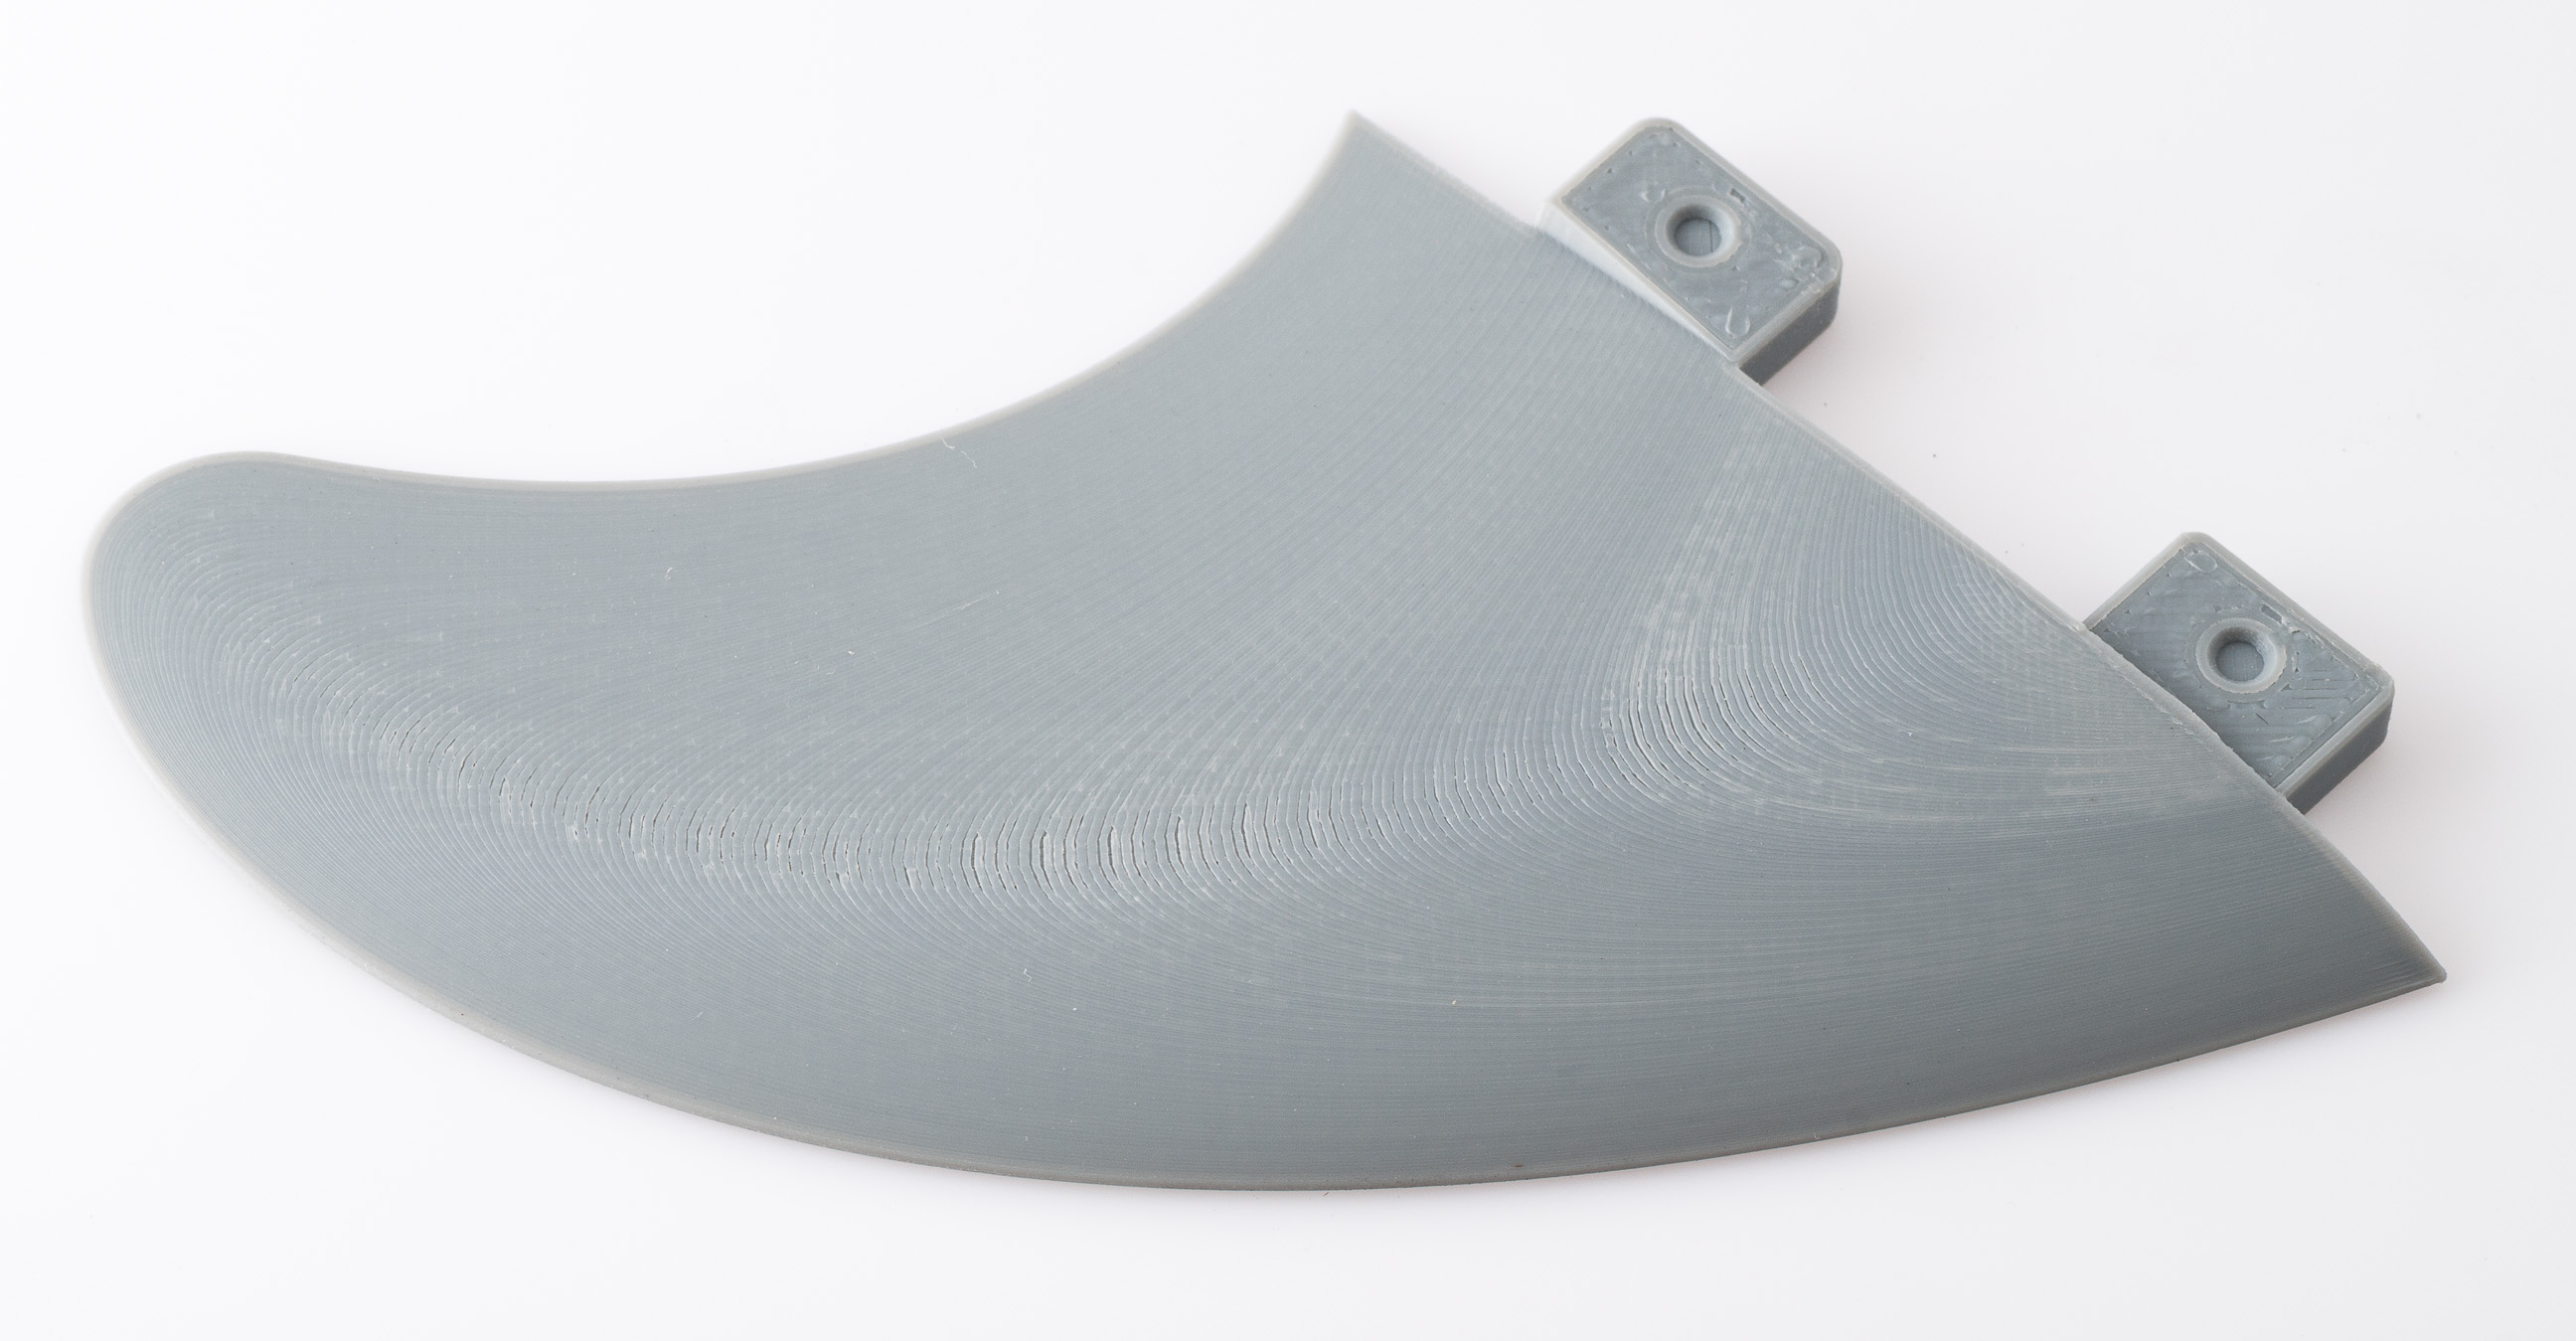
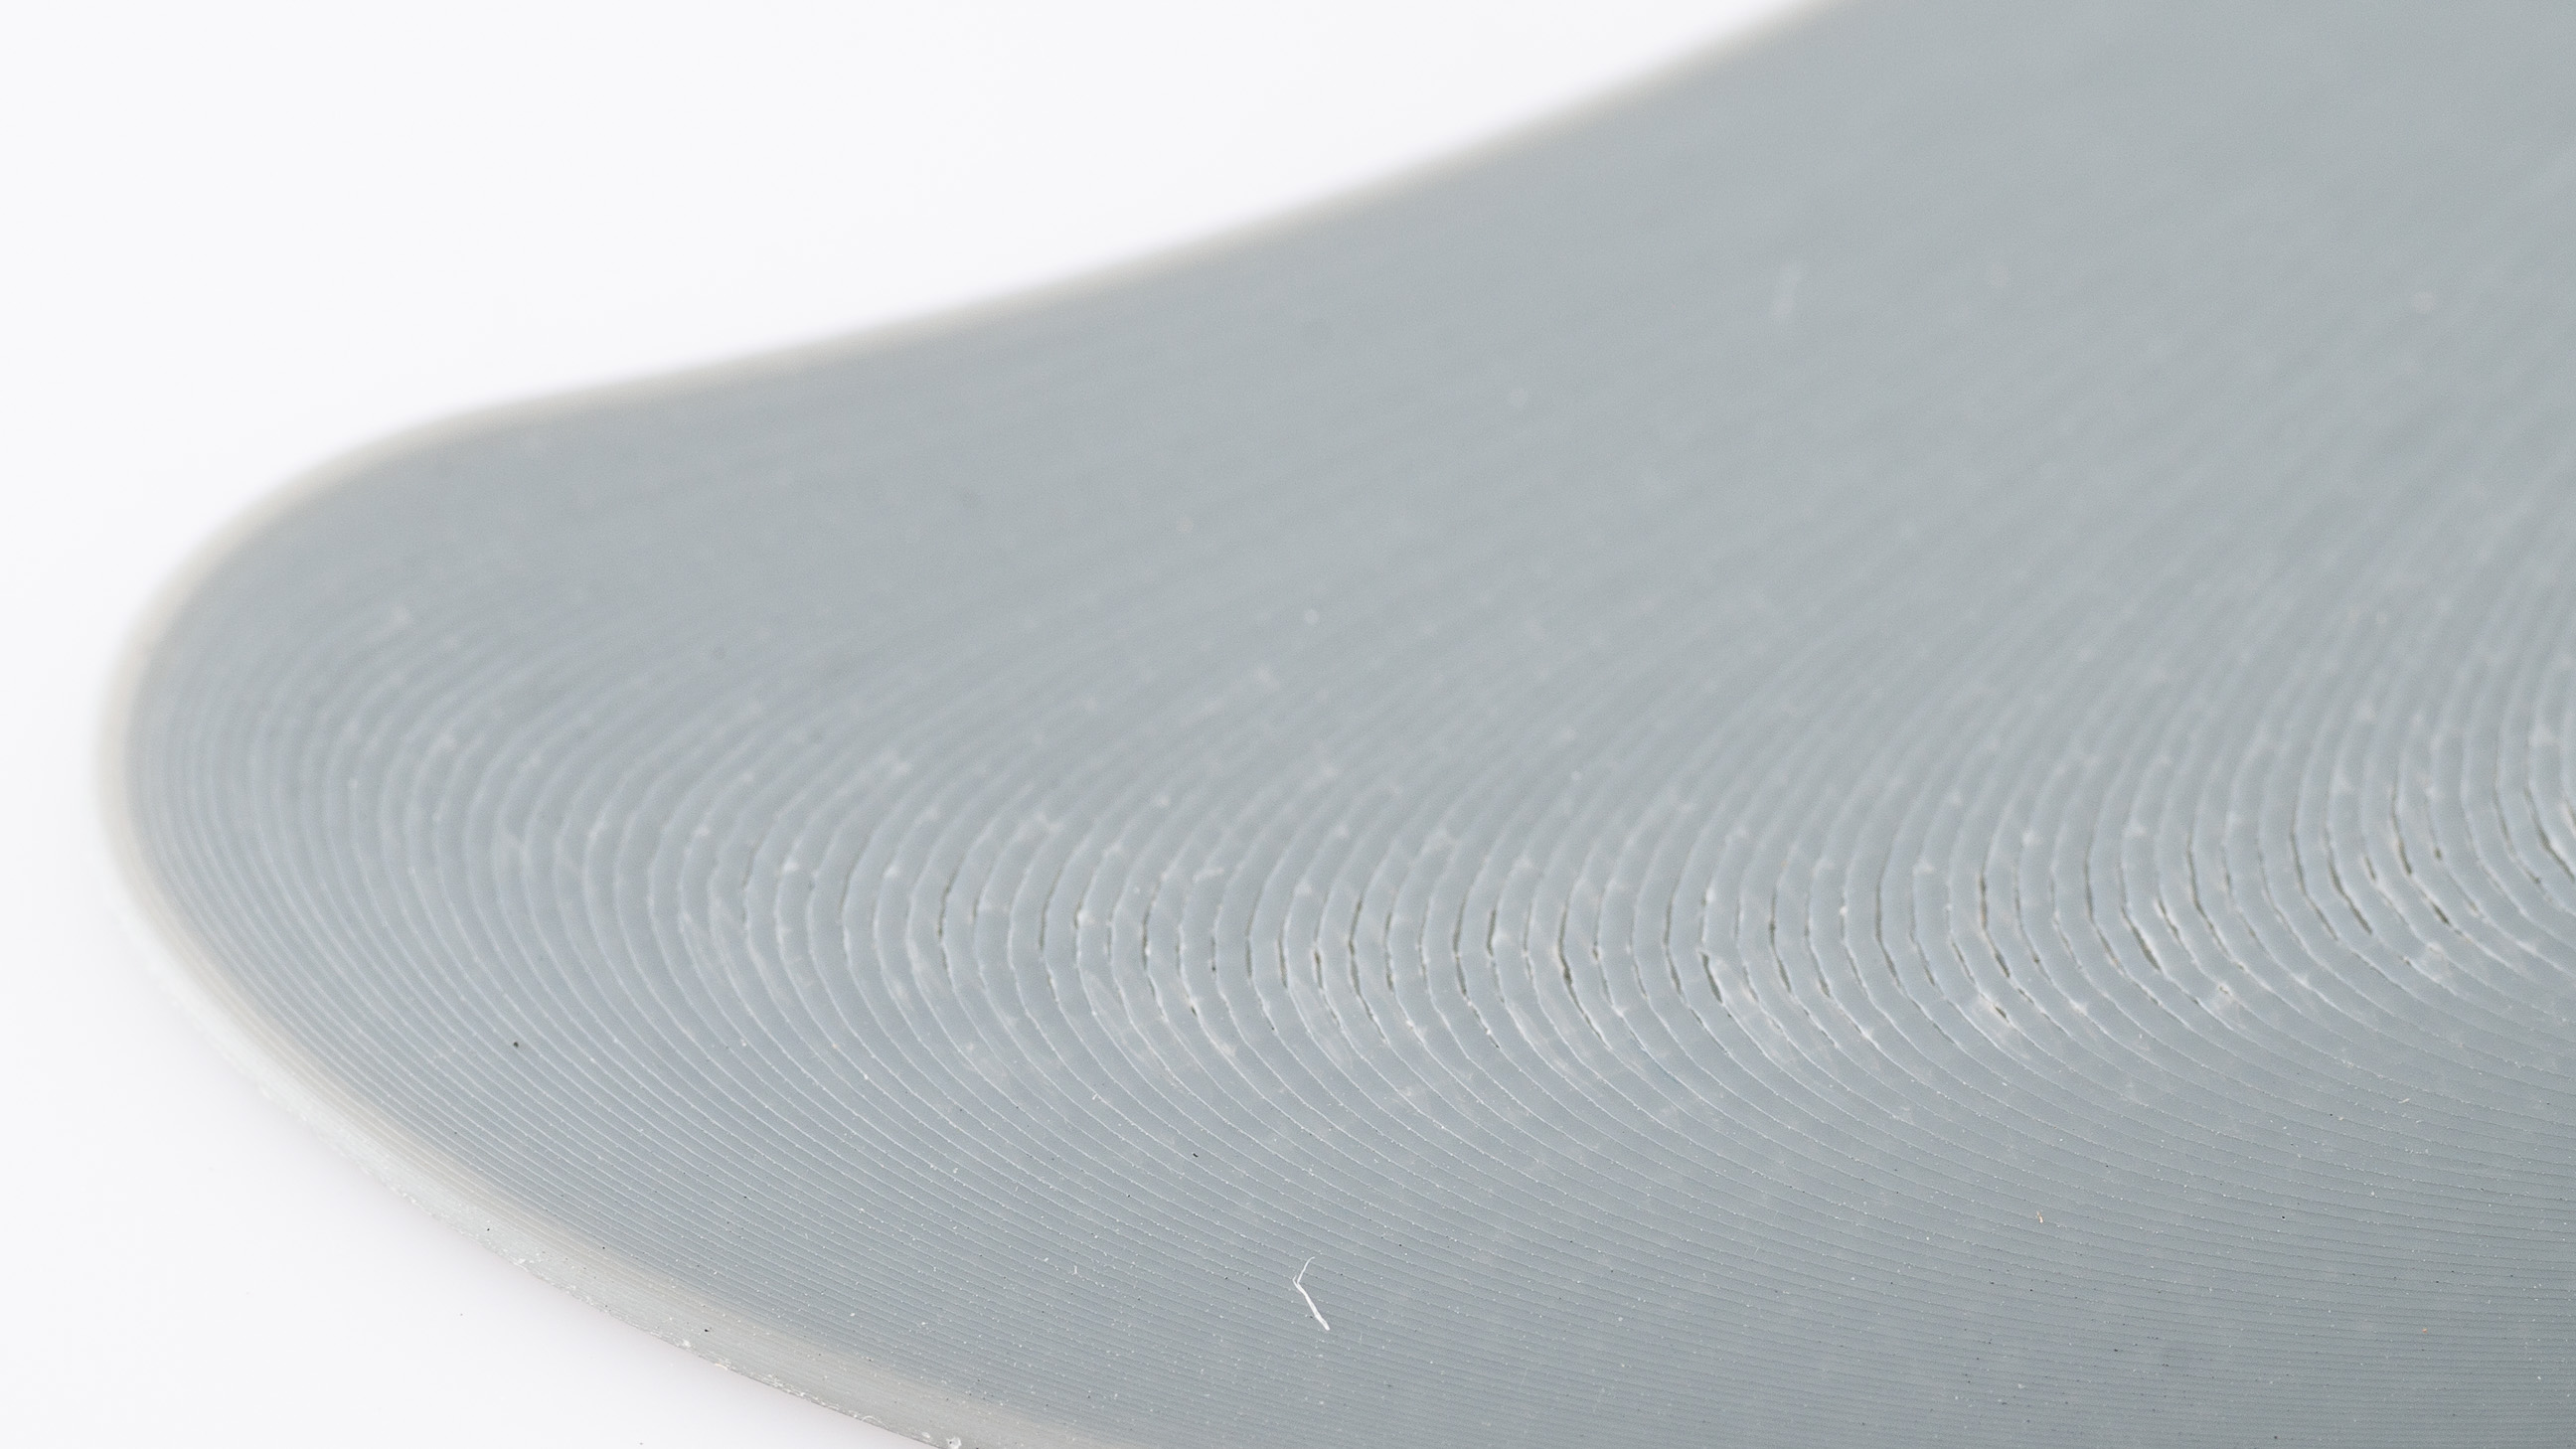
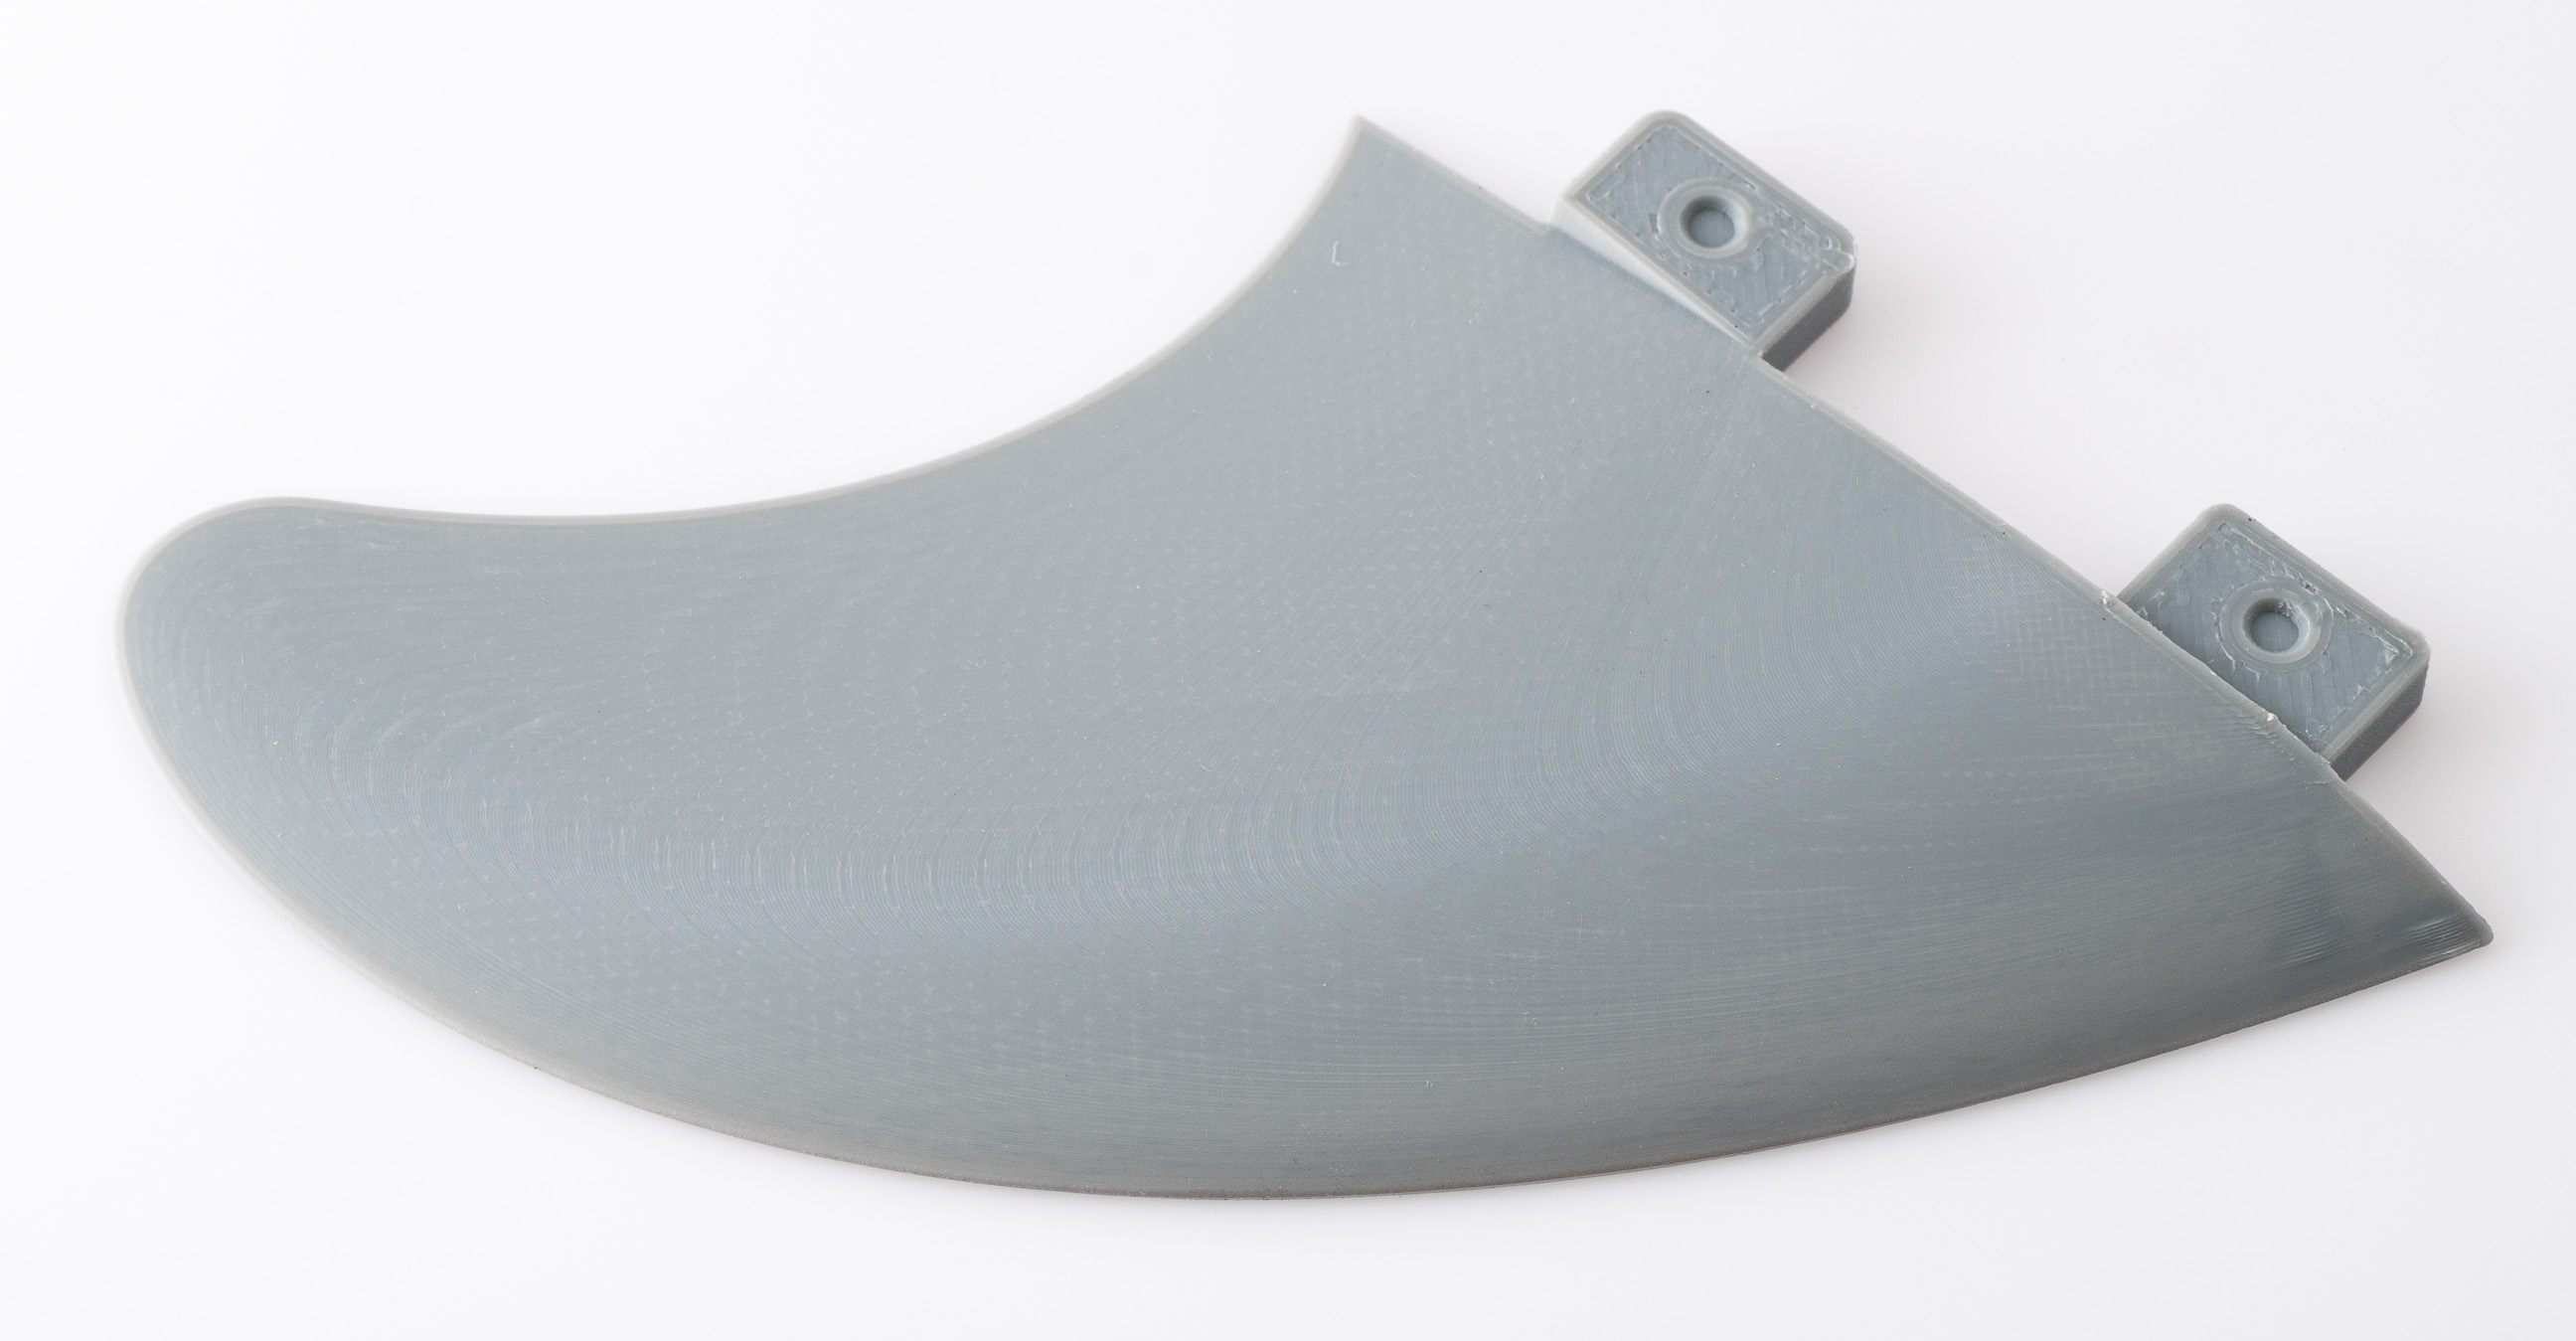
 Most FFF printers support a high resolution z axis, but I rarely find the need to print with a layer height smaller than 100 microns (0.1mm). Of course, there are exceptions, and a surfboard fin is one of them. Here’s a comparison of 5 prints with layer heights from 10 to 200 microns.
Print Settings
80mm/sec print speed, 0.6mm extrusion width, 2 outer perimeters, 100% rectilinear infill, Yasin PLA.
These fins were printed at 75% scale to speed things up and using gray PLA to make the layers more visible. They were printed on the flat part of the foil down, printing them upright would require support material and produce a weaker print. Ignore the dust on the prints, normally I try to photograph right after the print has been made, but these have been sitting around a while and it’s hard to get them completely dust free.
Examples
200 microns [40min] – I rarely print at this resolution, unless it’s a large print. If I want to print faster, I’ll usually increase the print speed and extrusion width before increasing the layer height. If I had to use this layer height on this kind of print, I’d use a smaller extrusion width to reduce the gaps in the infill (not sure why it came out so underextruded). I included this example because it seems to be one of the more popular settings.
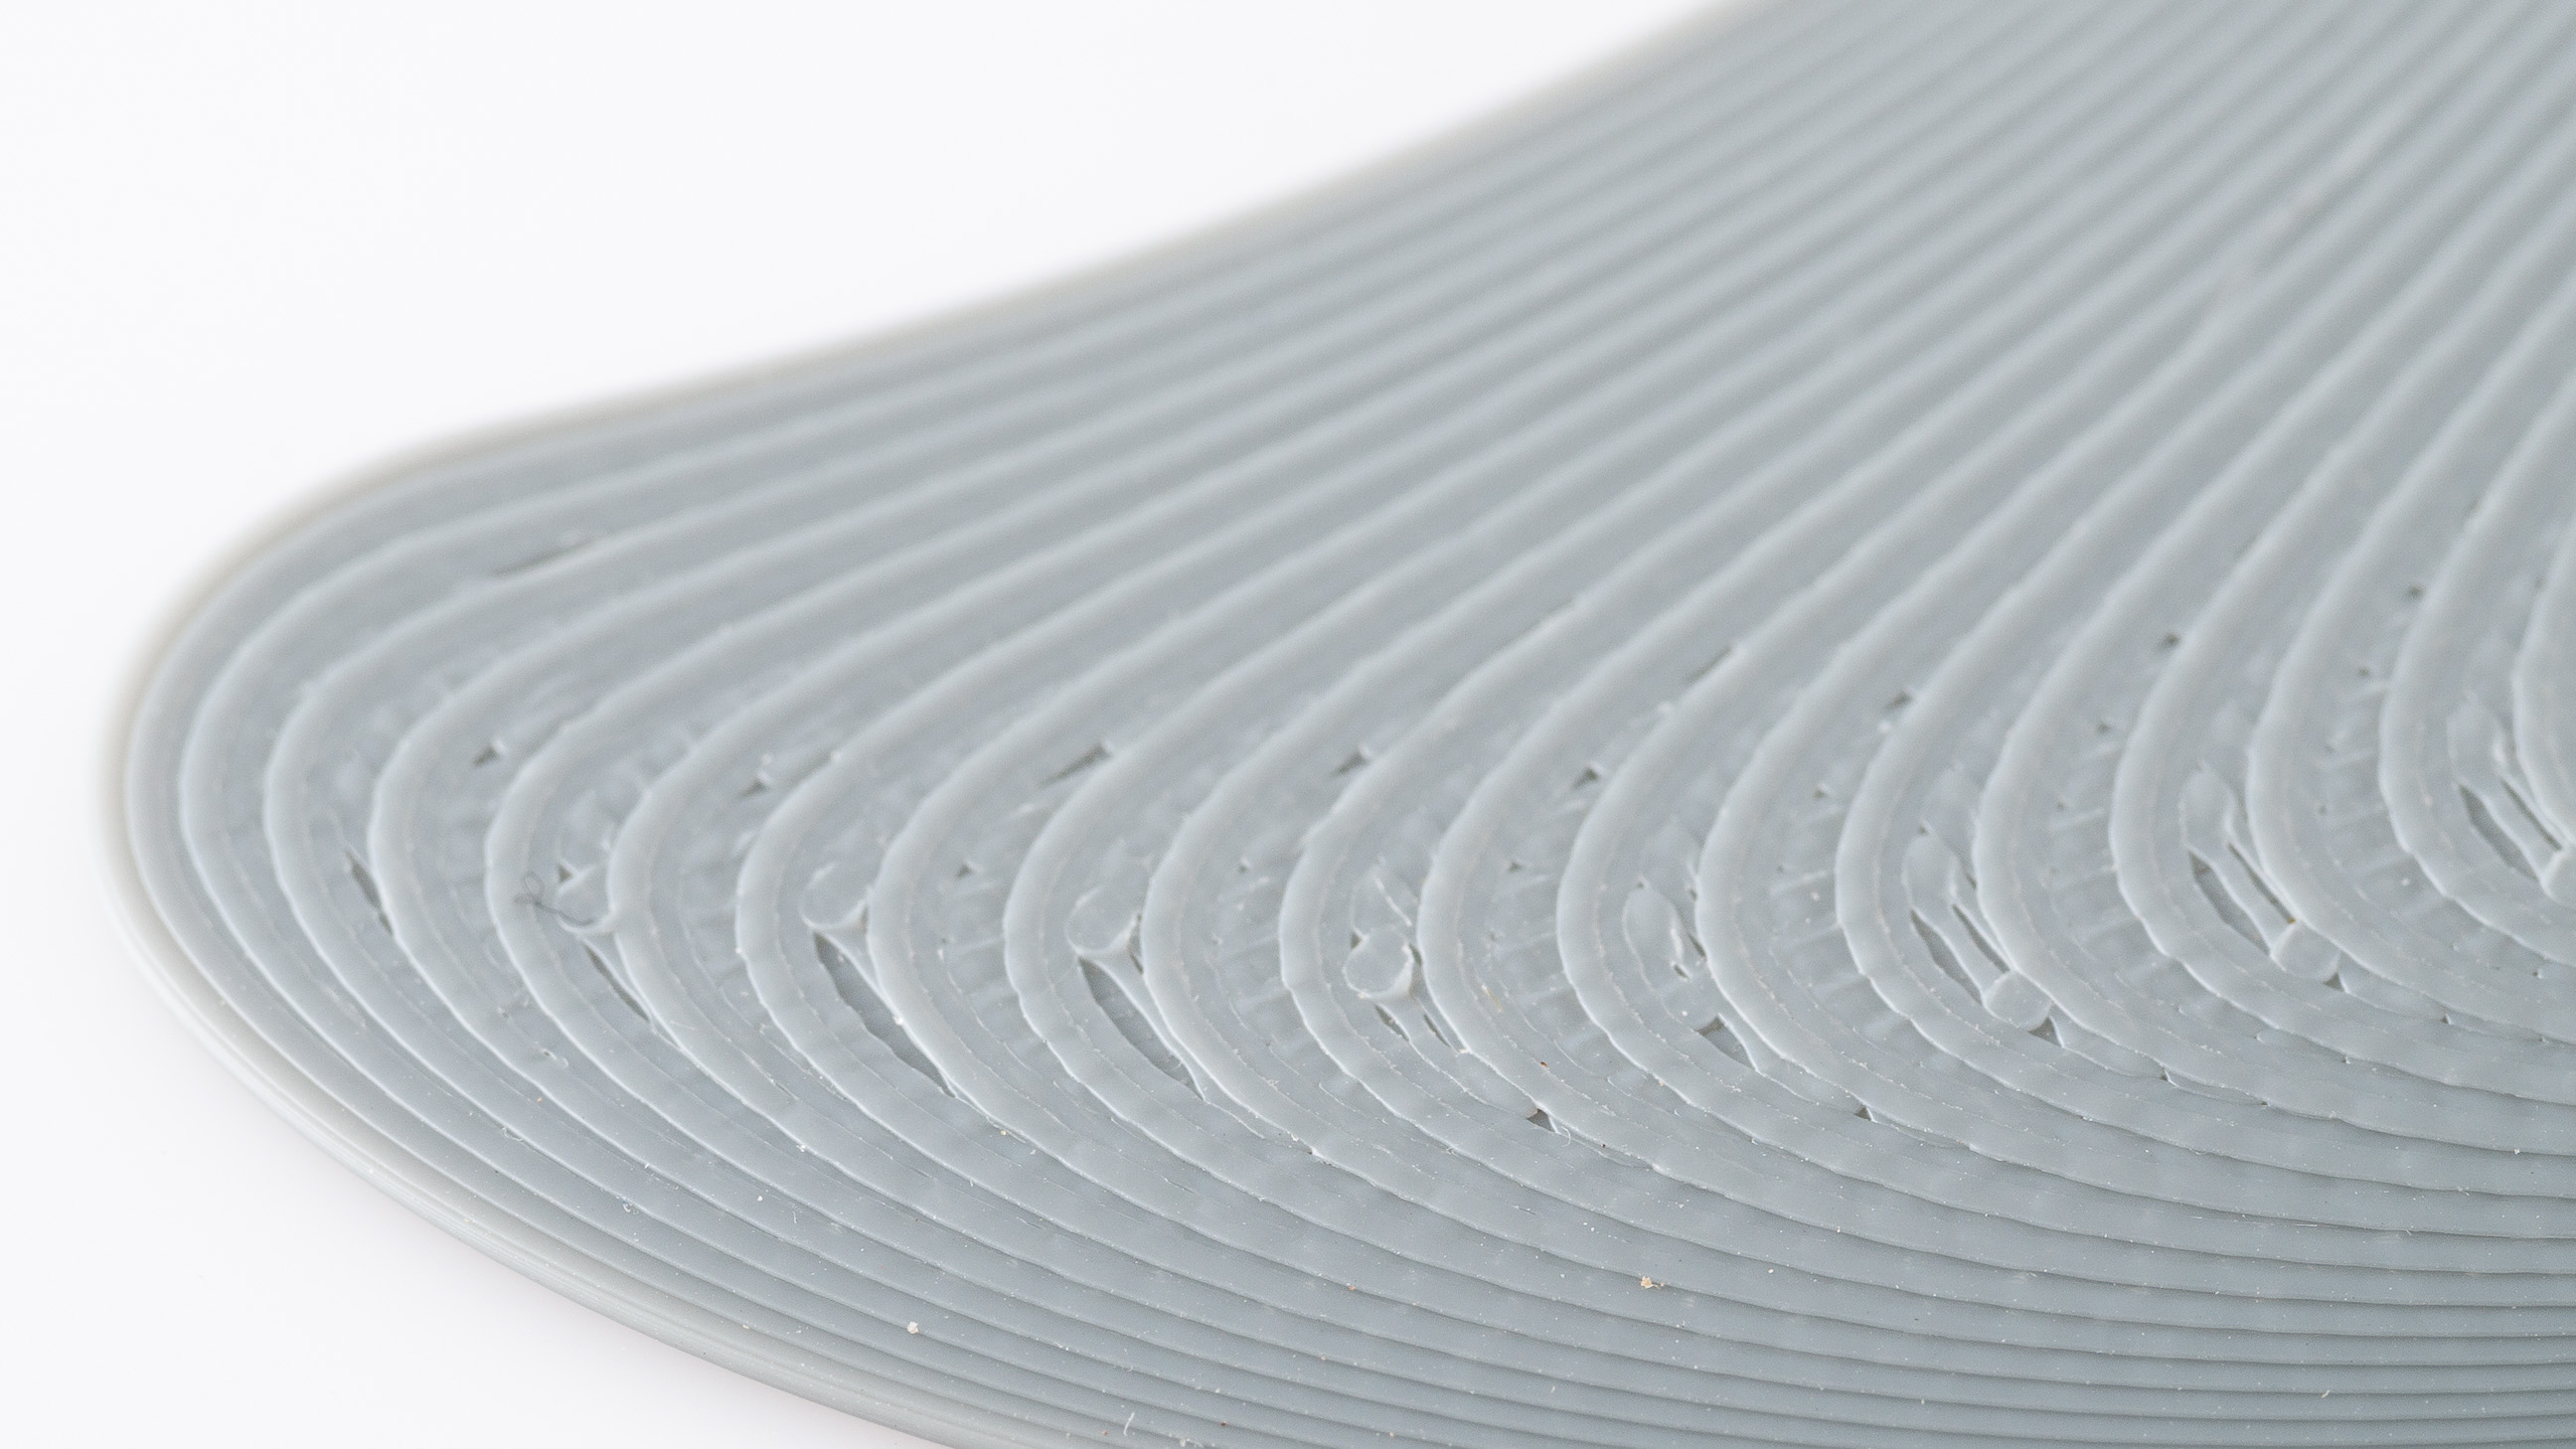
100 microns [1hr 16 min] – For prints that don’t have shallow angles on the top surfaces, I find there’s isn’t much benefit to going beyond 100 microns on my printer (I normally use 125 microns with this printer). But with the fin, the print quality at 100 microns is still very rough.
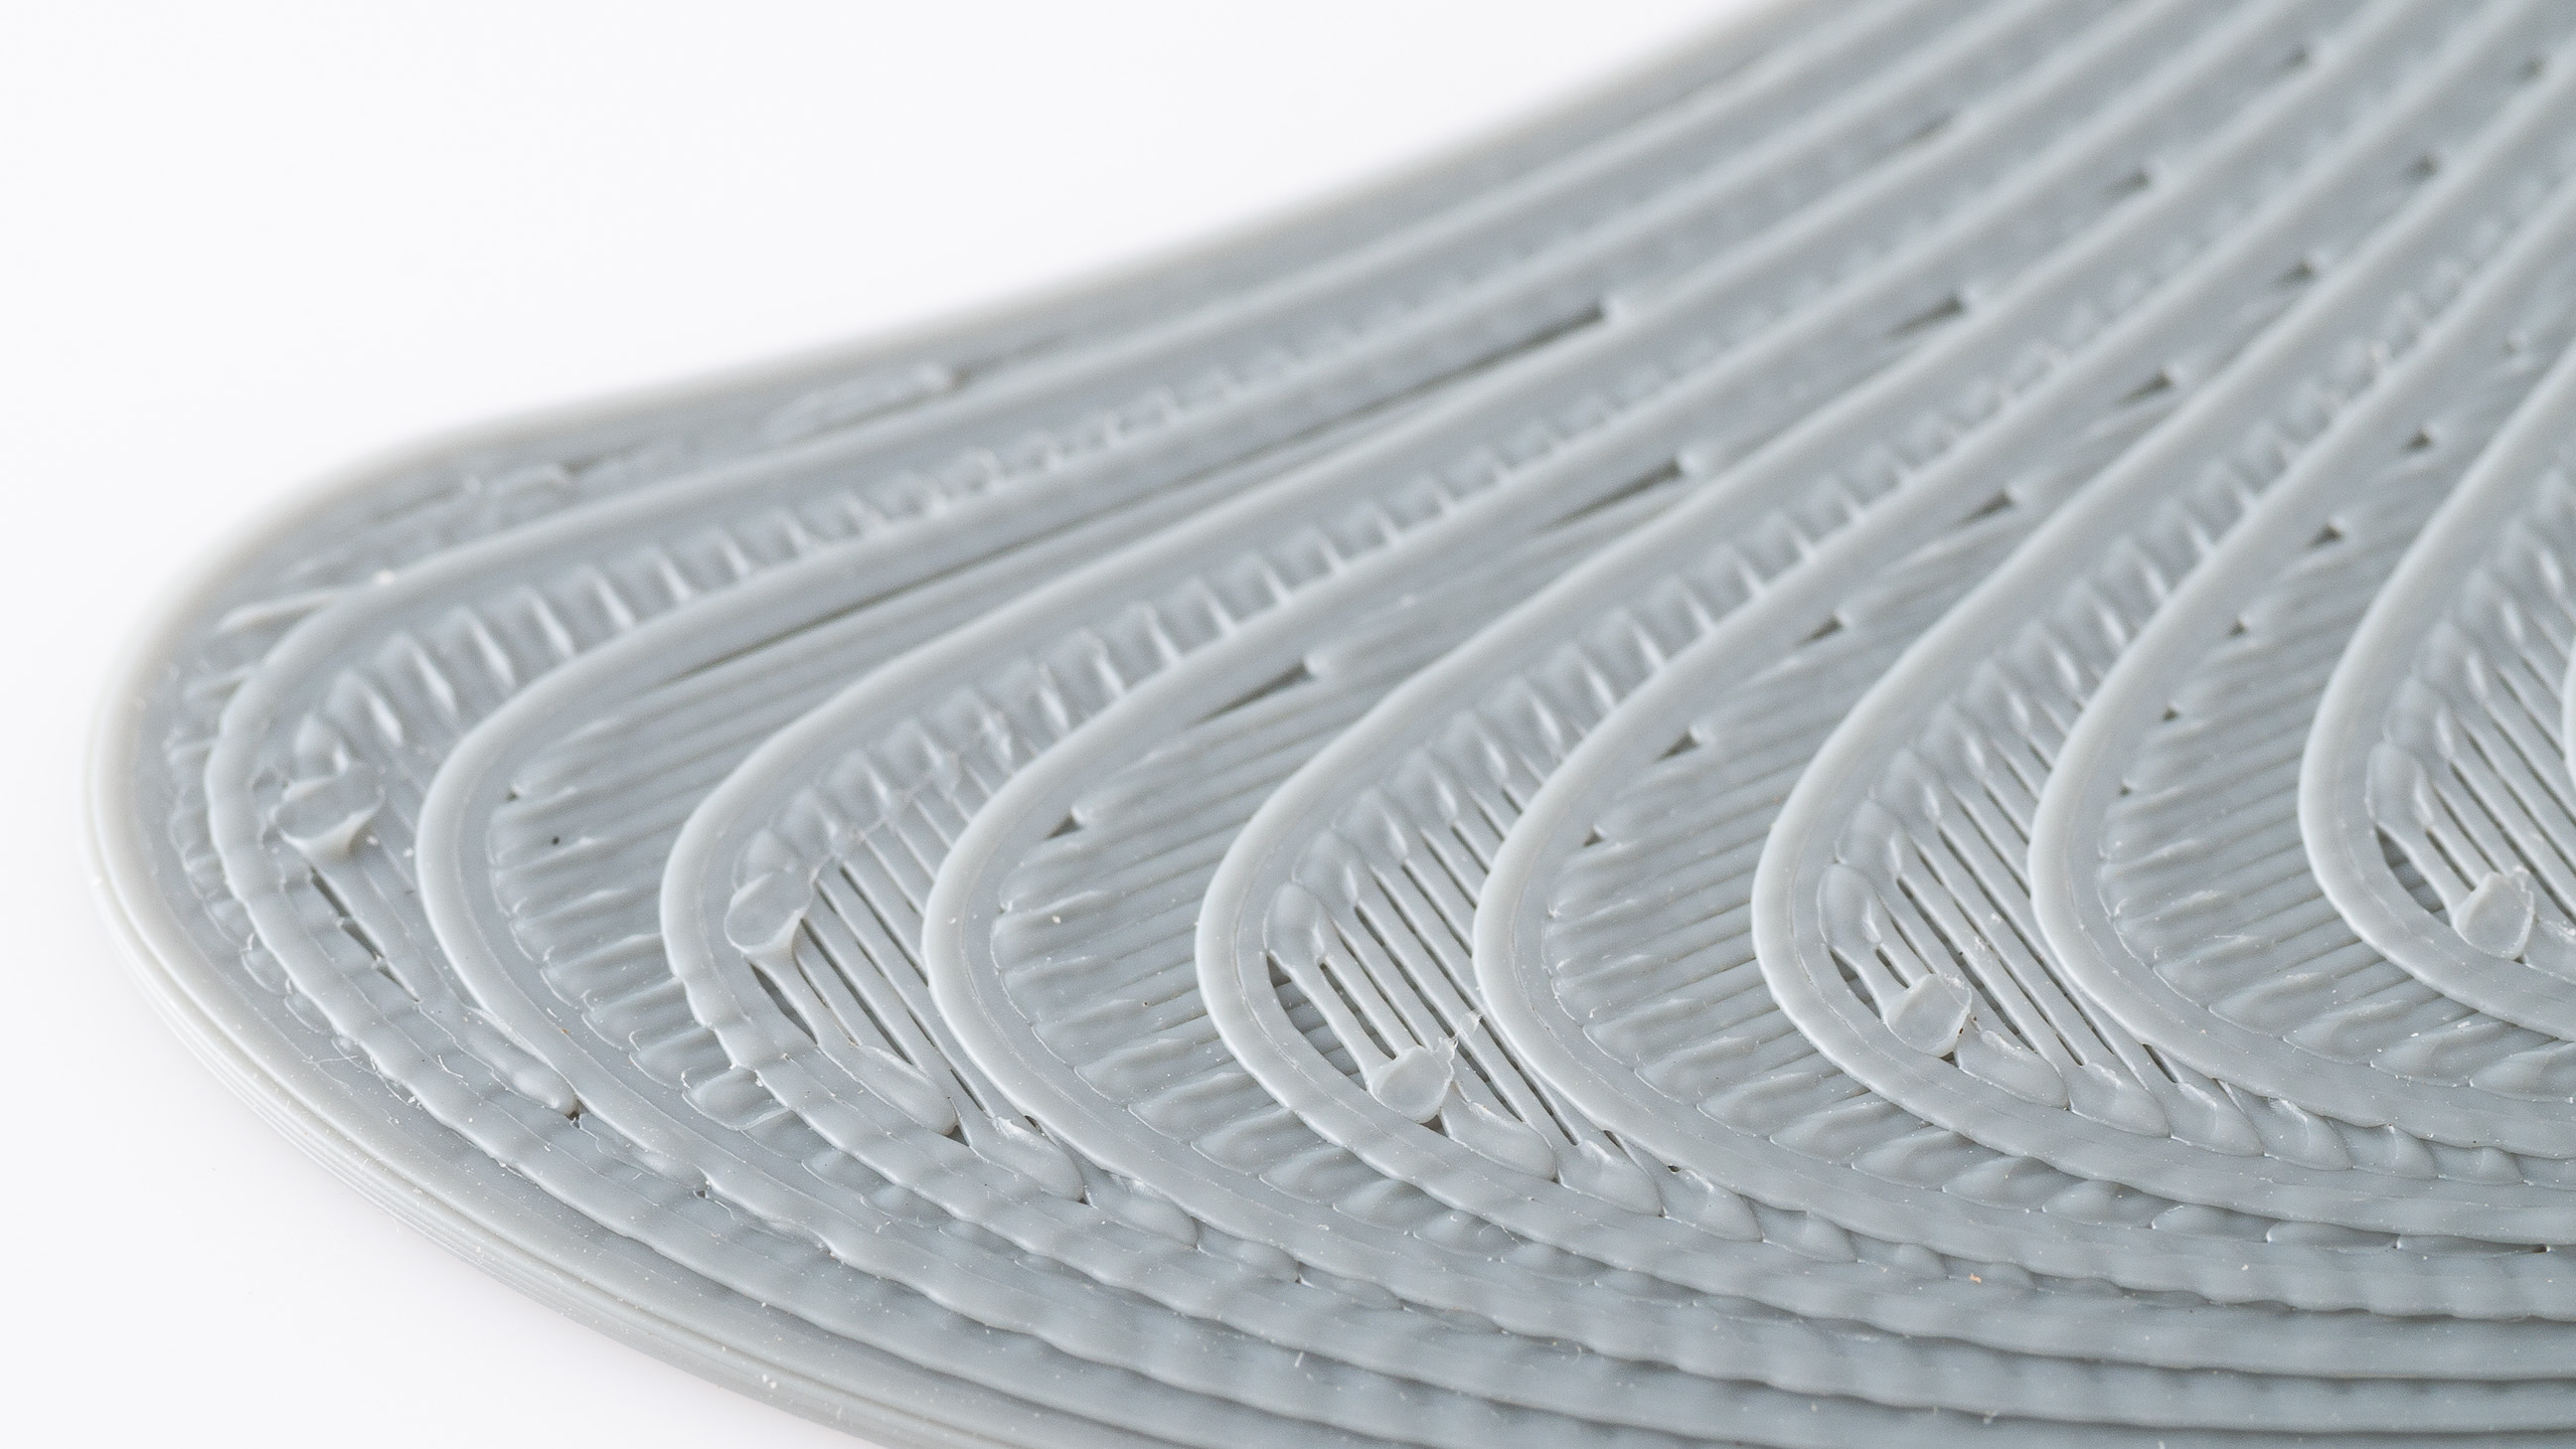
50 microns [1hr 35min] – At 50 microns, the offset is small enough to hide the rectilinear infill. It’s still a bit rough to the touch, but would look ok with most other colors (gray shows the laters, which is why I used it here). Once I start getting to layer heights smaller than 100 microns, I’ll often print the infill with larger layer heights, which is part of the reason the print time don’t scale linearly with layer height (infill printed at 100 microns).
25 microns [2hr 25min] – The print looks decent, but the layers don’t quite full overlap the outer perimeter in the most shallow areas. A small increase the extrusion width or decrease in layer height might improve this print significantly. Beyond 50 microns, can be hard to get the bed height and level accurate, so I printed the first layer at 50 microns.

10 microns [4hr 22min] – While this setting is a bit excessive and not one I’ve used before, there’s a clean overlap with the outermost perimeter and the fin surface feels smooth. Only the outline was printed at 10 microns, infill and first layers were printed at 50 microns.
High Z Resolution Fin Printing Tips
Here’s some factors to consider when printing these fins or prints like them, some of this advice is specific to Simplify3D.
extrusion width – On prints like this where there isn’t a lot of detail or sharp corners, I’ll often use a wider nozzle and extrusion width. It speeds up the print and makes them stronger. The larger extrusion widths can result in gaps between the infill and the perimeters.
infill layer height – When printing at higher z-resolutions, printing the infill at multiples of the layer height can significantly improve print times without much impact on print quality.
100% infill – It’s easier to print at very small layer heights when printing at 100% infill, otherwise bridging top layers over sparse infill can be challenging. Another benefit of printing at 100% infill is you can print with 0 top layers (and 0 bottom layers if You don’t need to do any bridging). That prevents the interior infill and top layer from being printed separately (see below example, the fin on the left has 1mm of top layers, the one on the right has 0).

number of perimeters – Ideally I prefer to hide the rectilinear infill and the inside perimeters, except on completely horizontal surfaces. If I can’t make the next layer overlap the outermost perimeter, I’ll often increase the number of perimeters so the next layer at least overlaps the innermost one.
temperature – You may need different temperature or cooling settings when using smaller layer heights. Smaller layers cool faster, which can result in weaker bonds between the layers. Using higher temperatures will decrease viscosity and improve layer adhesion.
disclaimer – FFF printing varies from one printer, filament, and design to another. I often find the advice and generally accepted wisdom is inaccurate or contradictory to my experience, and I don’t doubt others will find the same with the recommendations here. So these are things you might want to try, they may help, but ultimately, you should experiment to figure out what works best for you.