
This post describes my initial build of a Eustathios Spider v2 (github link) in 2015. It isn’t a detailed build log, just a list of changes I made from the standard build process and the rationale behind them. I have made other modifications since then, but I will have to save that for a future post.
Why Eustathios?
I had been looking for a 3D printer to build for a while and ended up choosing the Eustathios Spider v2 for several reasons.
- design – I loved the design of both the Eustathios and Herculien, but I didn’t need a printer as large as the Herculien.
- easy to source parts – Almost everything could be bought off the shelf, except for the bed milling, which was easy to work around.
- build volume – At around 1 cubic foot, it was the size I was looking for.
- full 3D model – Eric Lien created an incredibly detailed 3D model of the printer, down to every screw and t-nut. That made it much easier to build and made it possible to customize my build before ordering the parts.
- detailed bill of materials (BOM) – This is one of the most important factors for me, it made this printer almost as easy to build as a kit.
- z-axis bed motion – I was looking for a design where the heated bed was decoupled from the faster moving x and y axis.
- encloseable – I wanted a printer that I could enclose (I haven’t done this and I’m not sure I’m going to)
- helpful community – A helpful google plus community meant if I ran into any issues, I’d be able to find an answer online. A printer with a dedicated community is much more useful than customer service at most printer companies.
Purchasing Deviations
Trimcraft screws
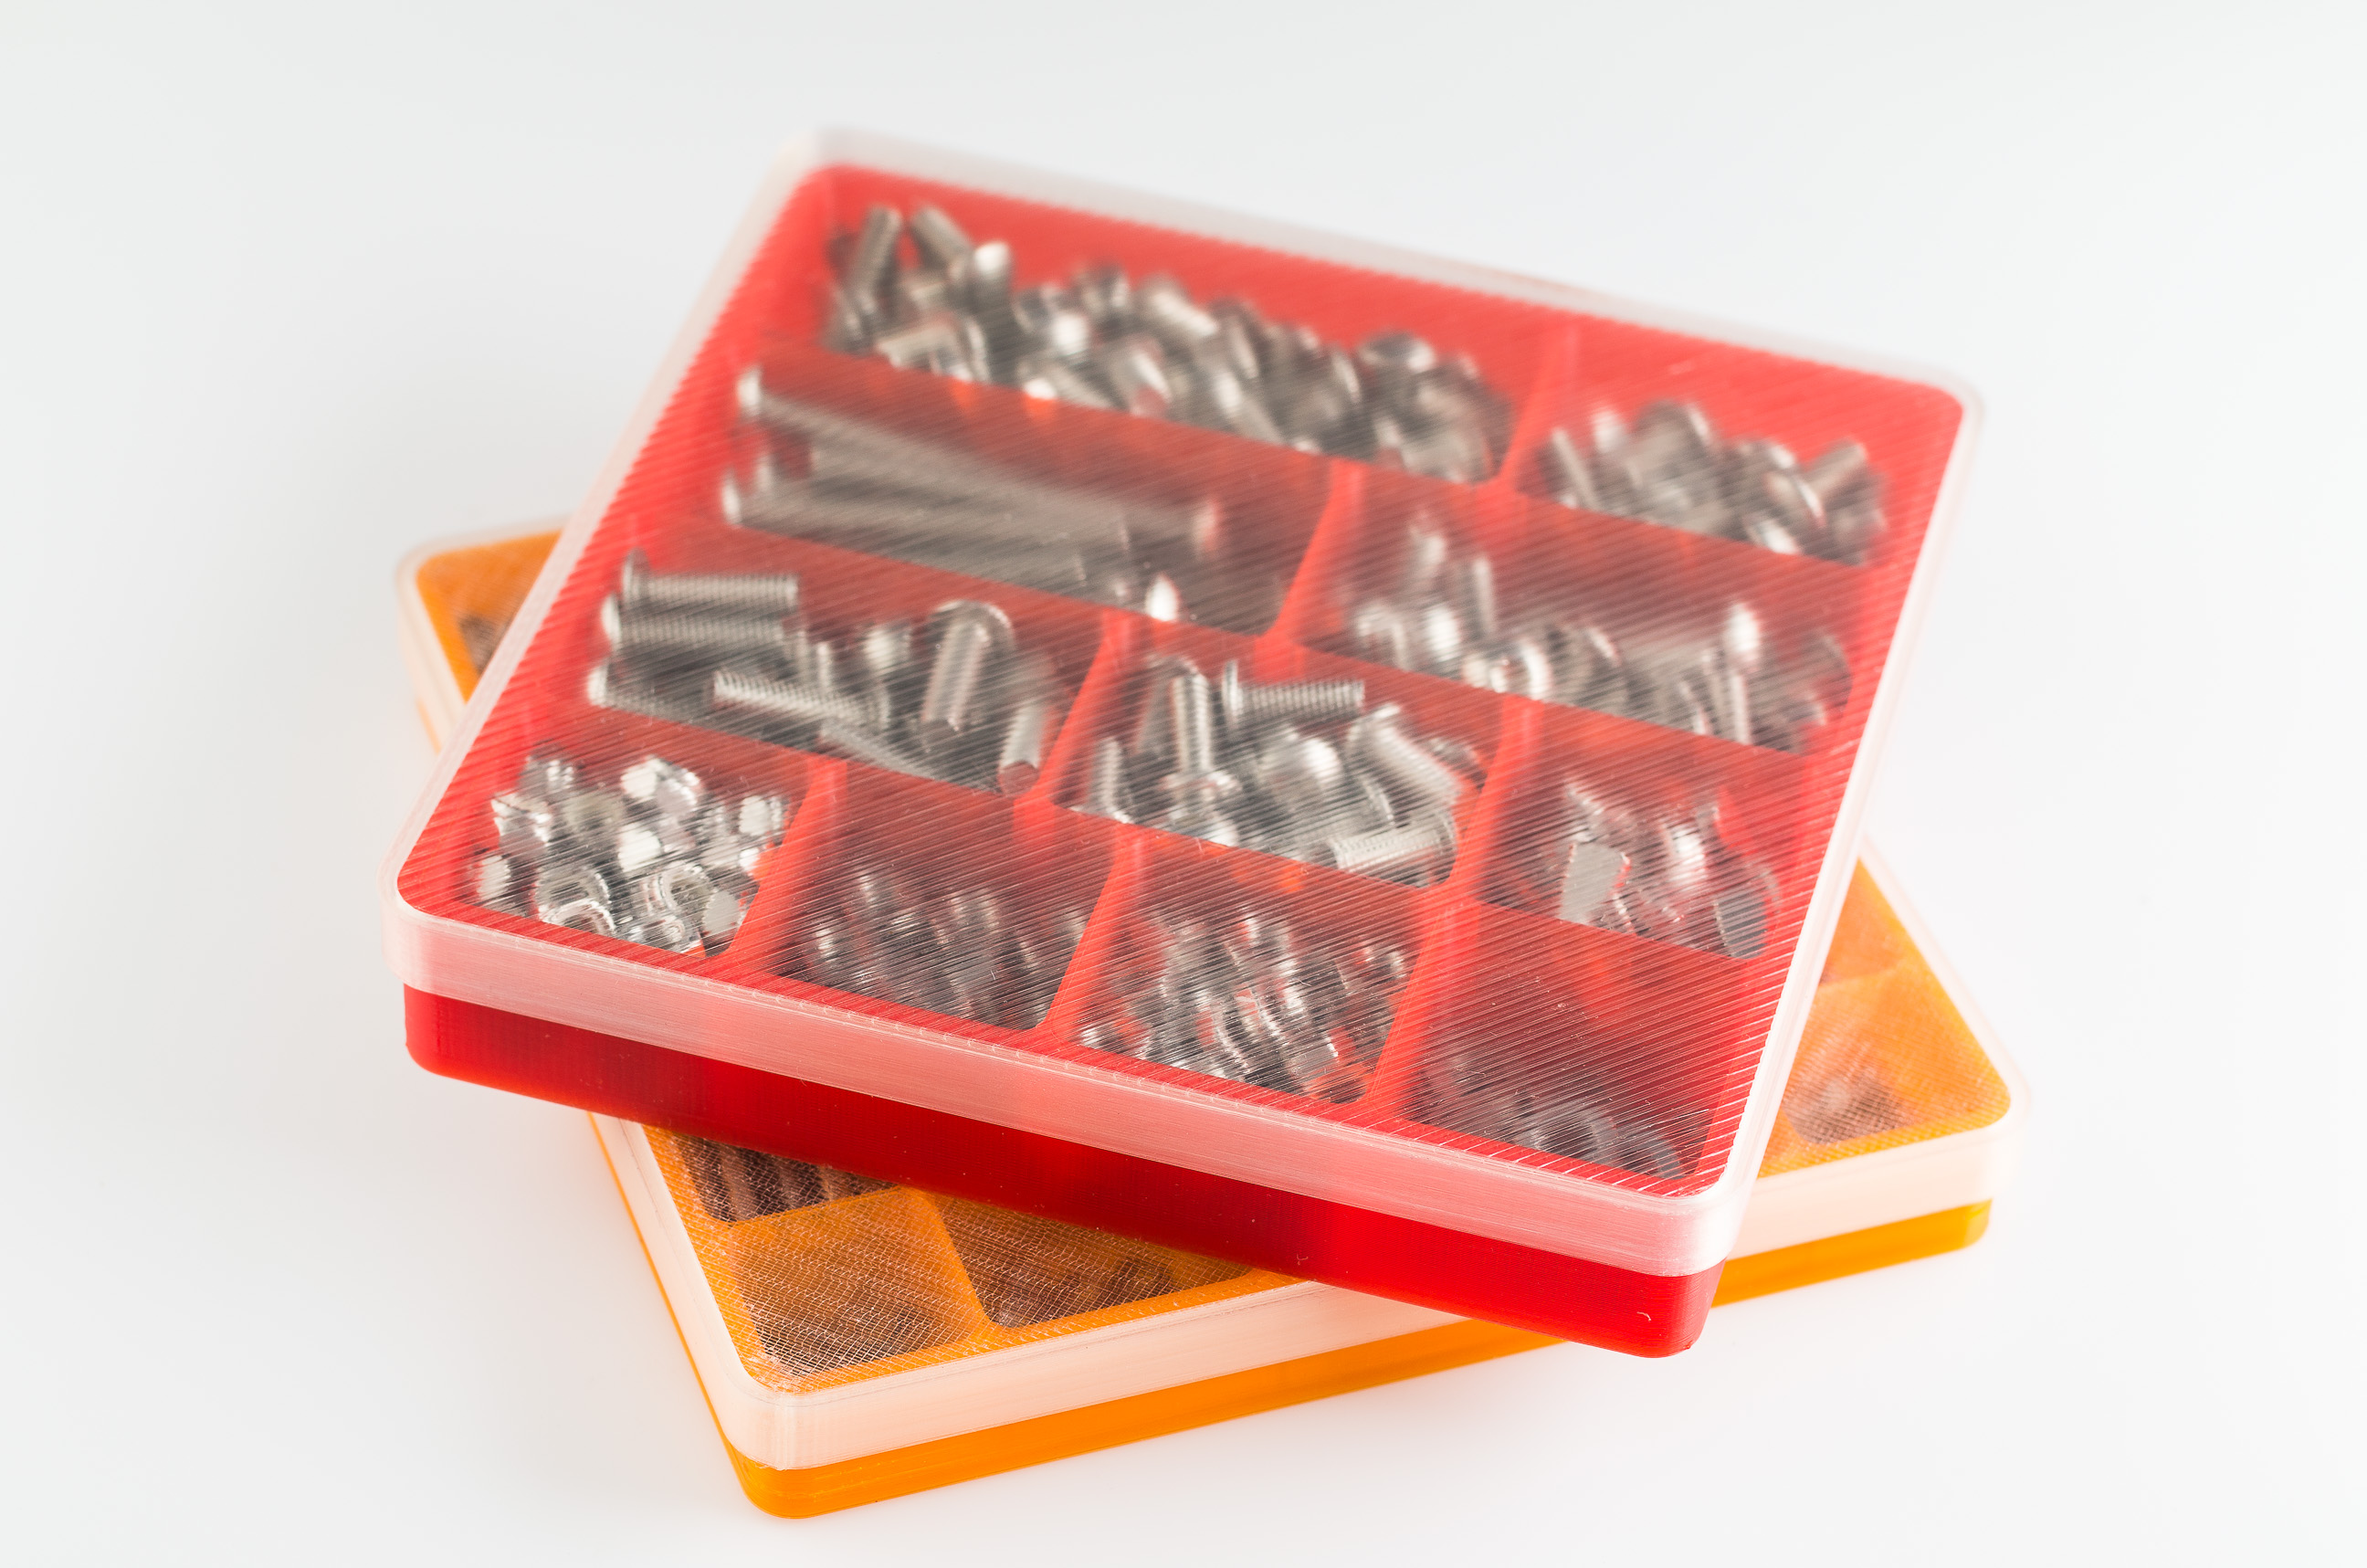
They may not have all the screws needed for the build, but they’ll have most of them at a much lower price than other sources. Since my initial order, they have added more of the items on the Eustathi0s and Herculien BOMs. Shipping is cheap.
T-nuts


I bought t-nuts from RobotDigg instead of Misumi. The t-nuts from RobotDigg were a mistake, I had to file / deburr most of them to get them to fit in the extrusions. I’ve since bought t-nuts from vendors on Aliexpress which have worked without issue. I also bought twist in t-nuts, but I prefer the spring loaded drop in ones as they’re much easier to use (pictured on the right).
Extra Aluminum Extrusions

I ended up buying a few extra aluminum extrusions, a some of which have been added to the printer to allow for more mounting options.
Corner Brackets

I ordered extra brackets for attaching the extra aluminum extrusions and for reinforcing the frame. It makes it much easier to add additional extrusions since they don’t require drilling.
Mods and Deviations
Ball Screws
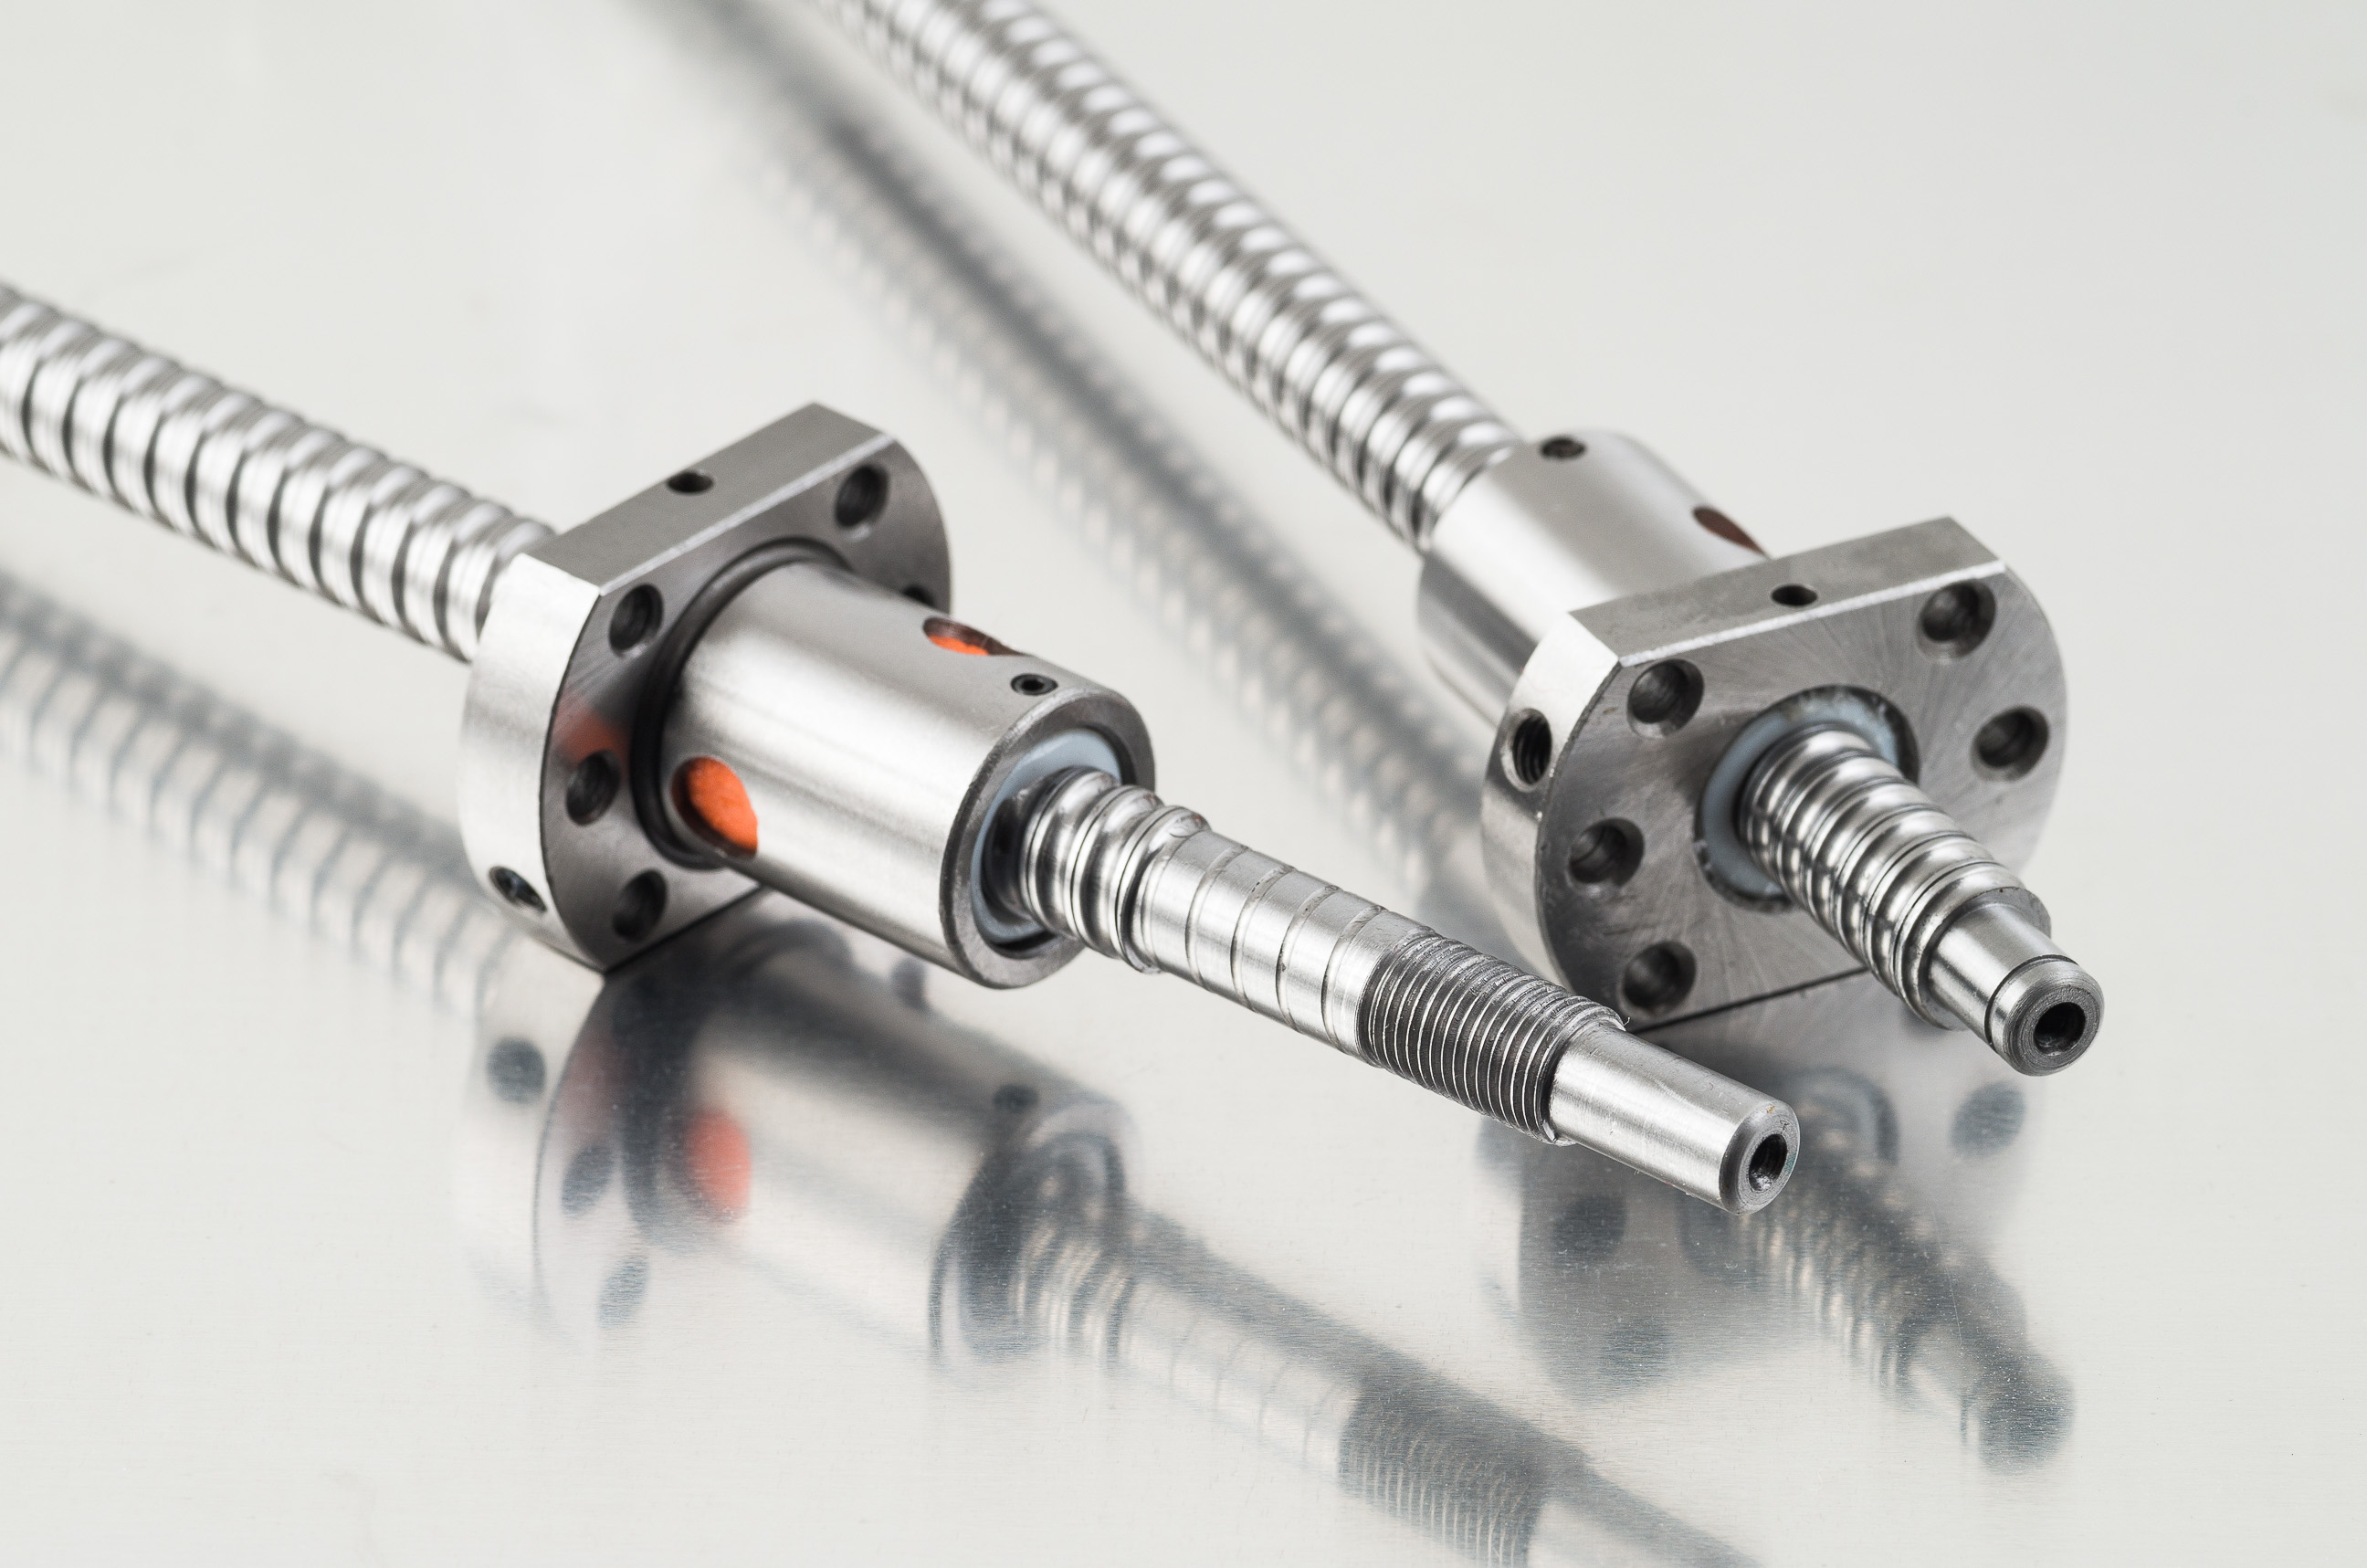

I used ball screws from Aliexpress (GolMart) partially to save money (~$60 USD vs $150 for the machined lead screws), but also because I wanted to try out ball screws. I chose one of the standard machining options, but many of the ballscrews include custom machining of the ends. You can use the diagram above or order them from here if you want one that is compatible with the mounting blocks.
Switching to ball screws meant I had to modify the bed mounting blocks. That gave me the opportunity to add a height adjustment screw for quick tweaks to the nozzle height. Since I didn’t get custom machining on the ball screws, I had to modify the ball screw mounting block as well (I would recommend getting the ball screw custom machined instead).
Graphite Bushings

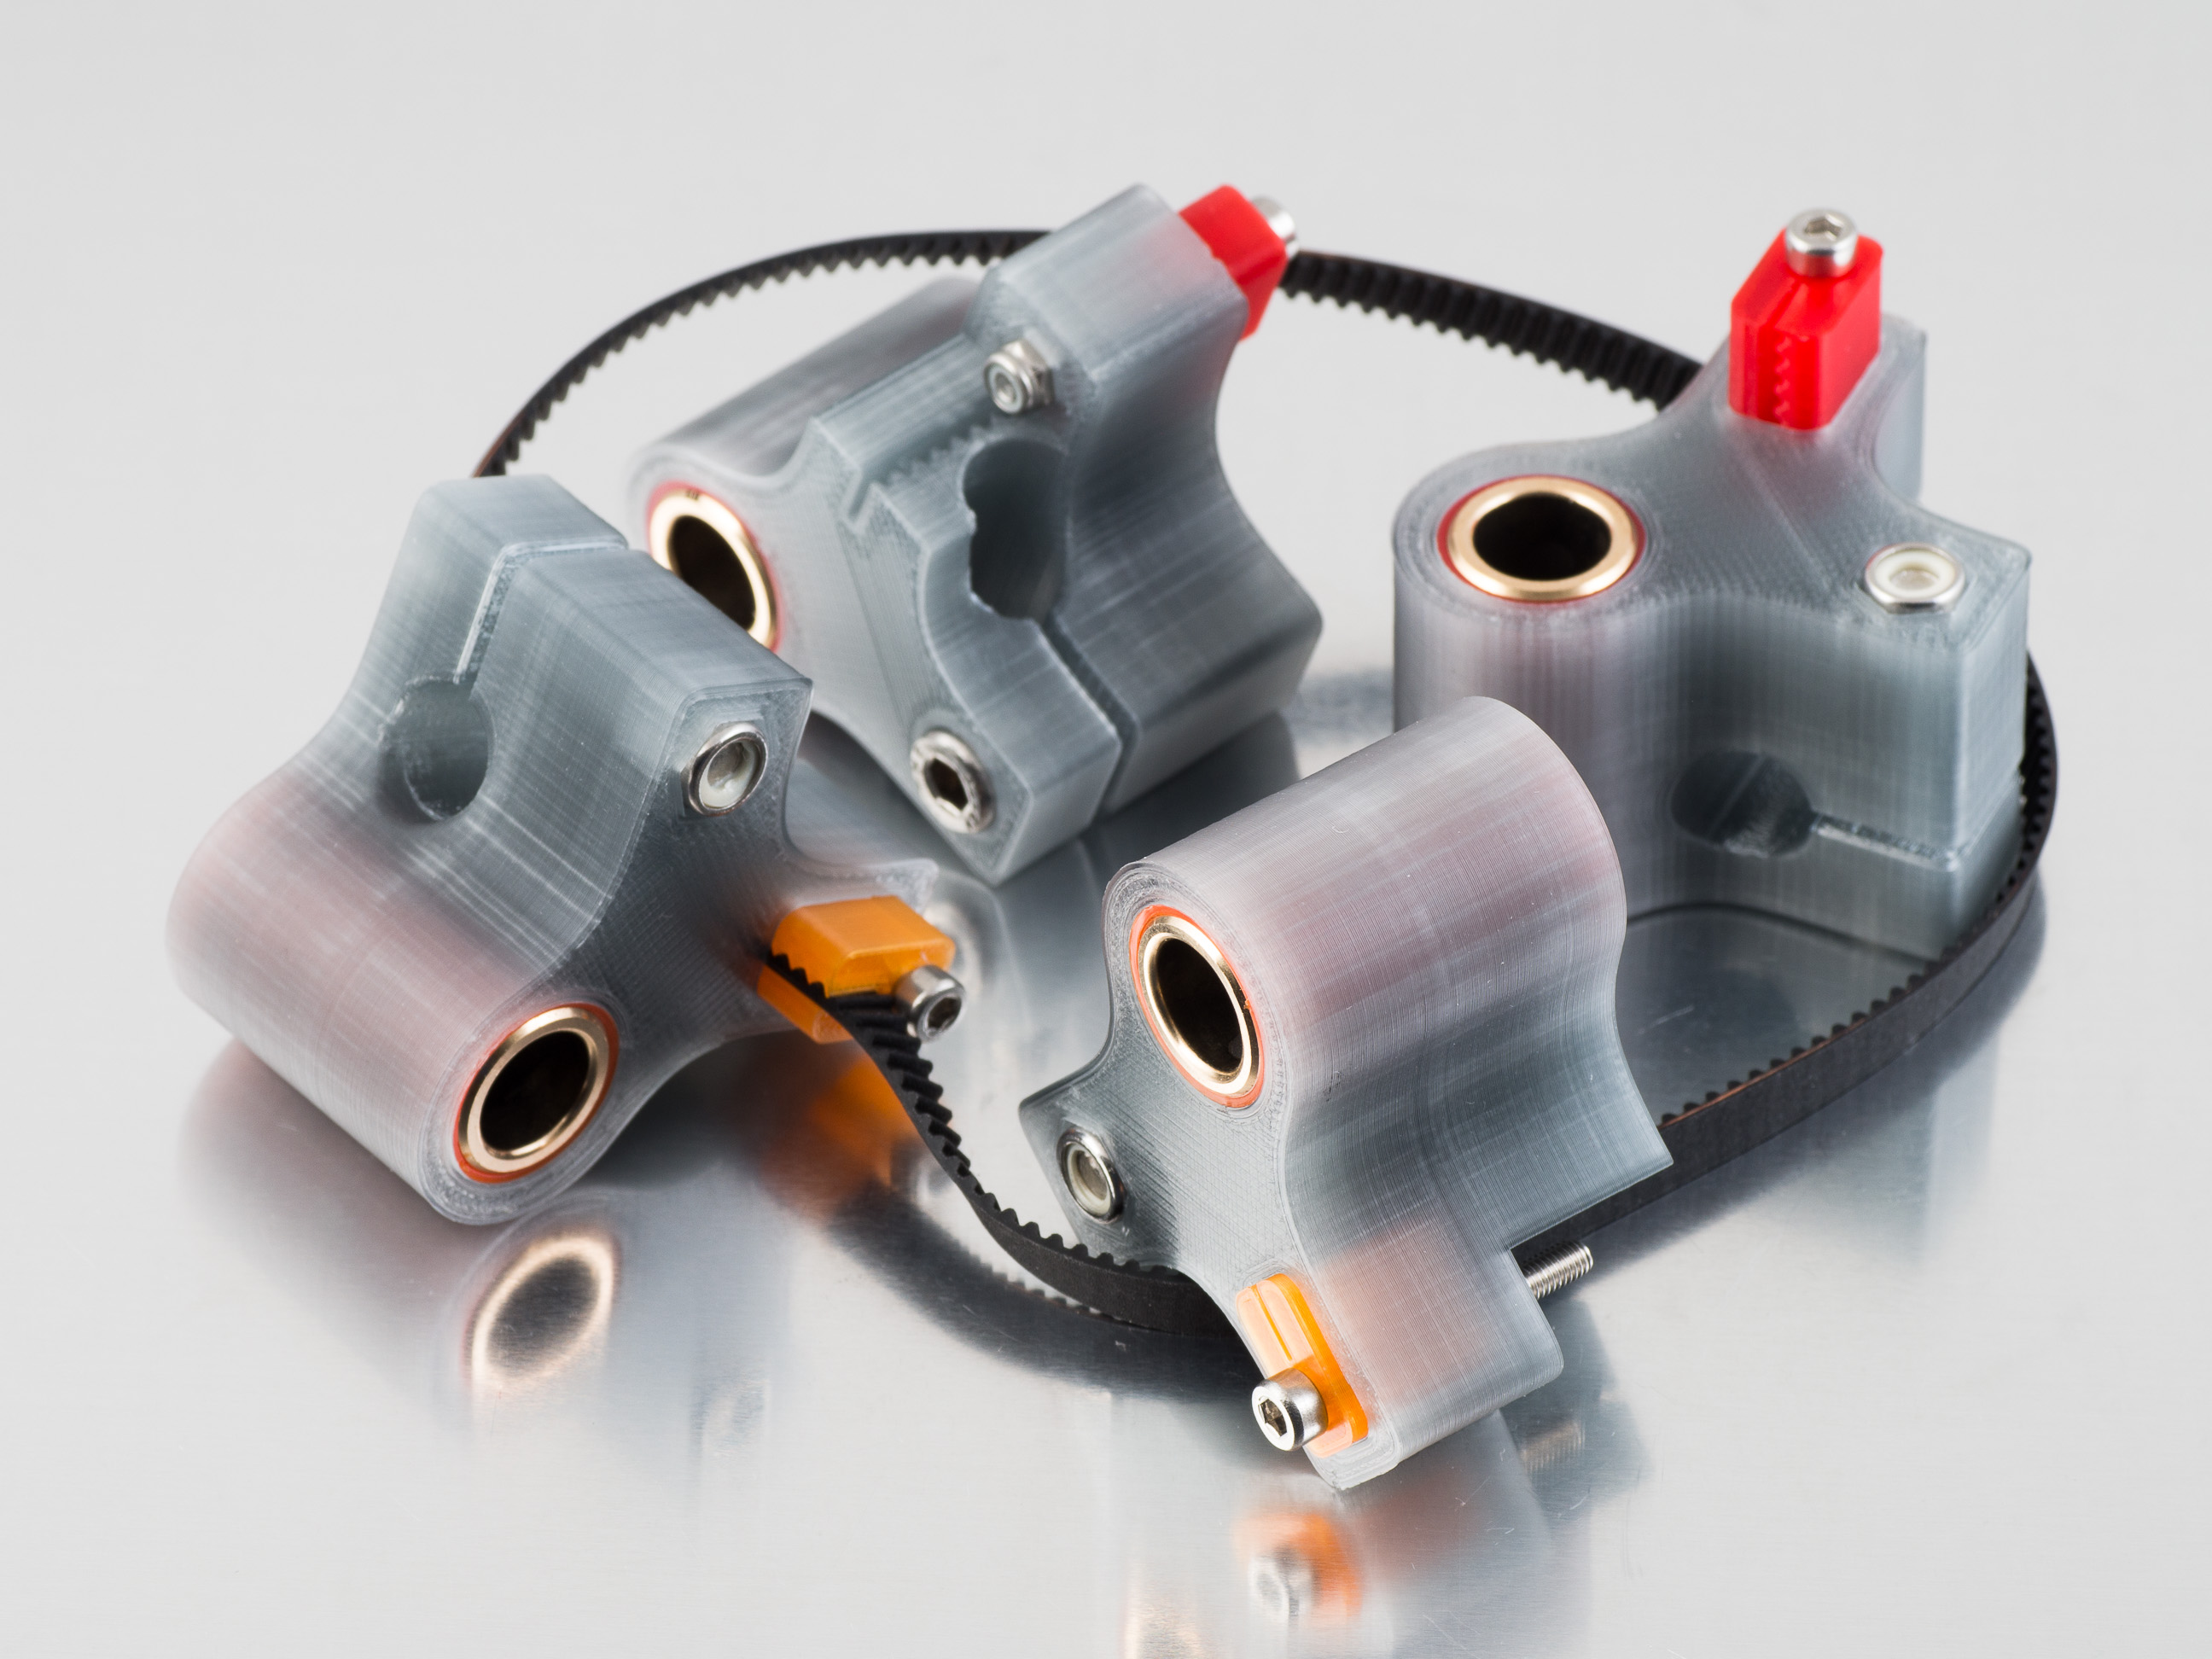
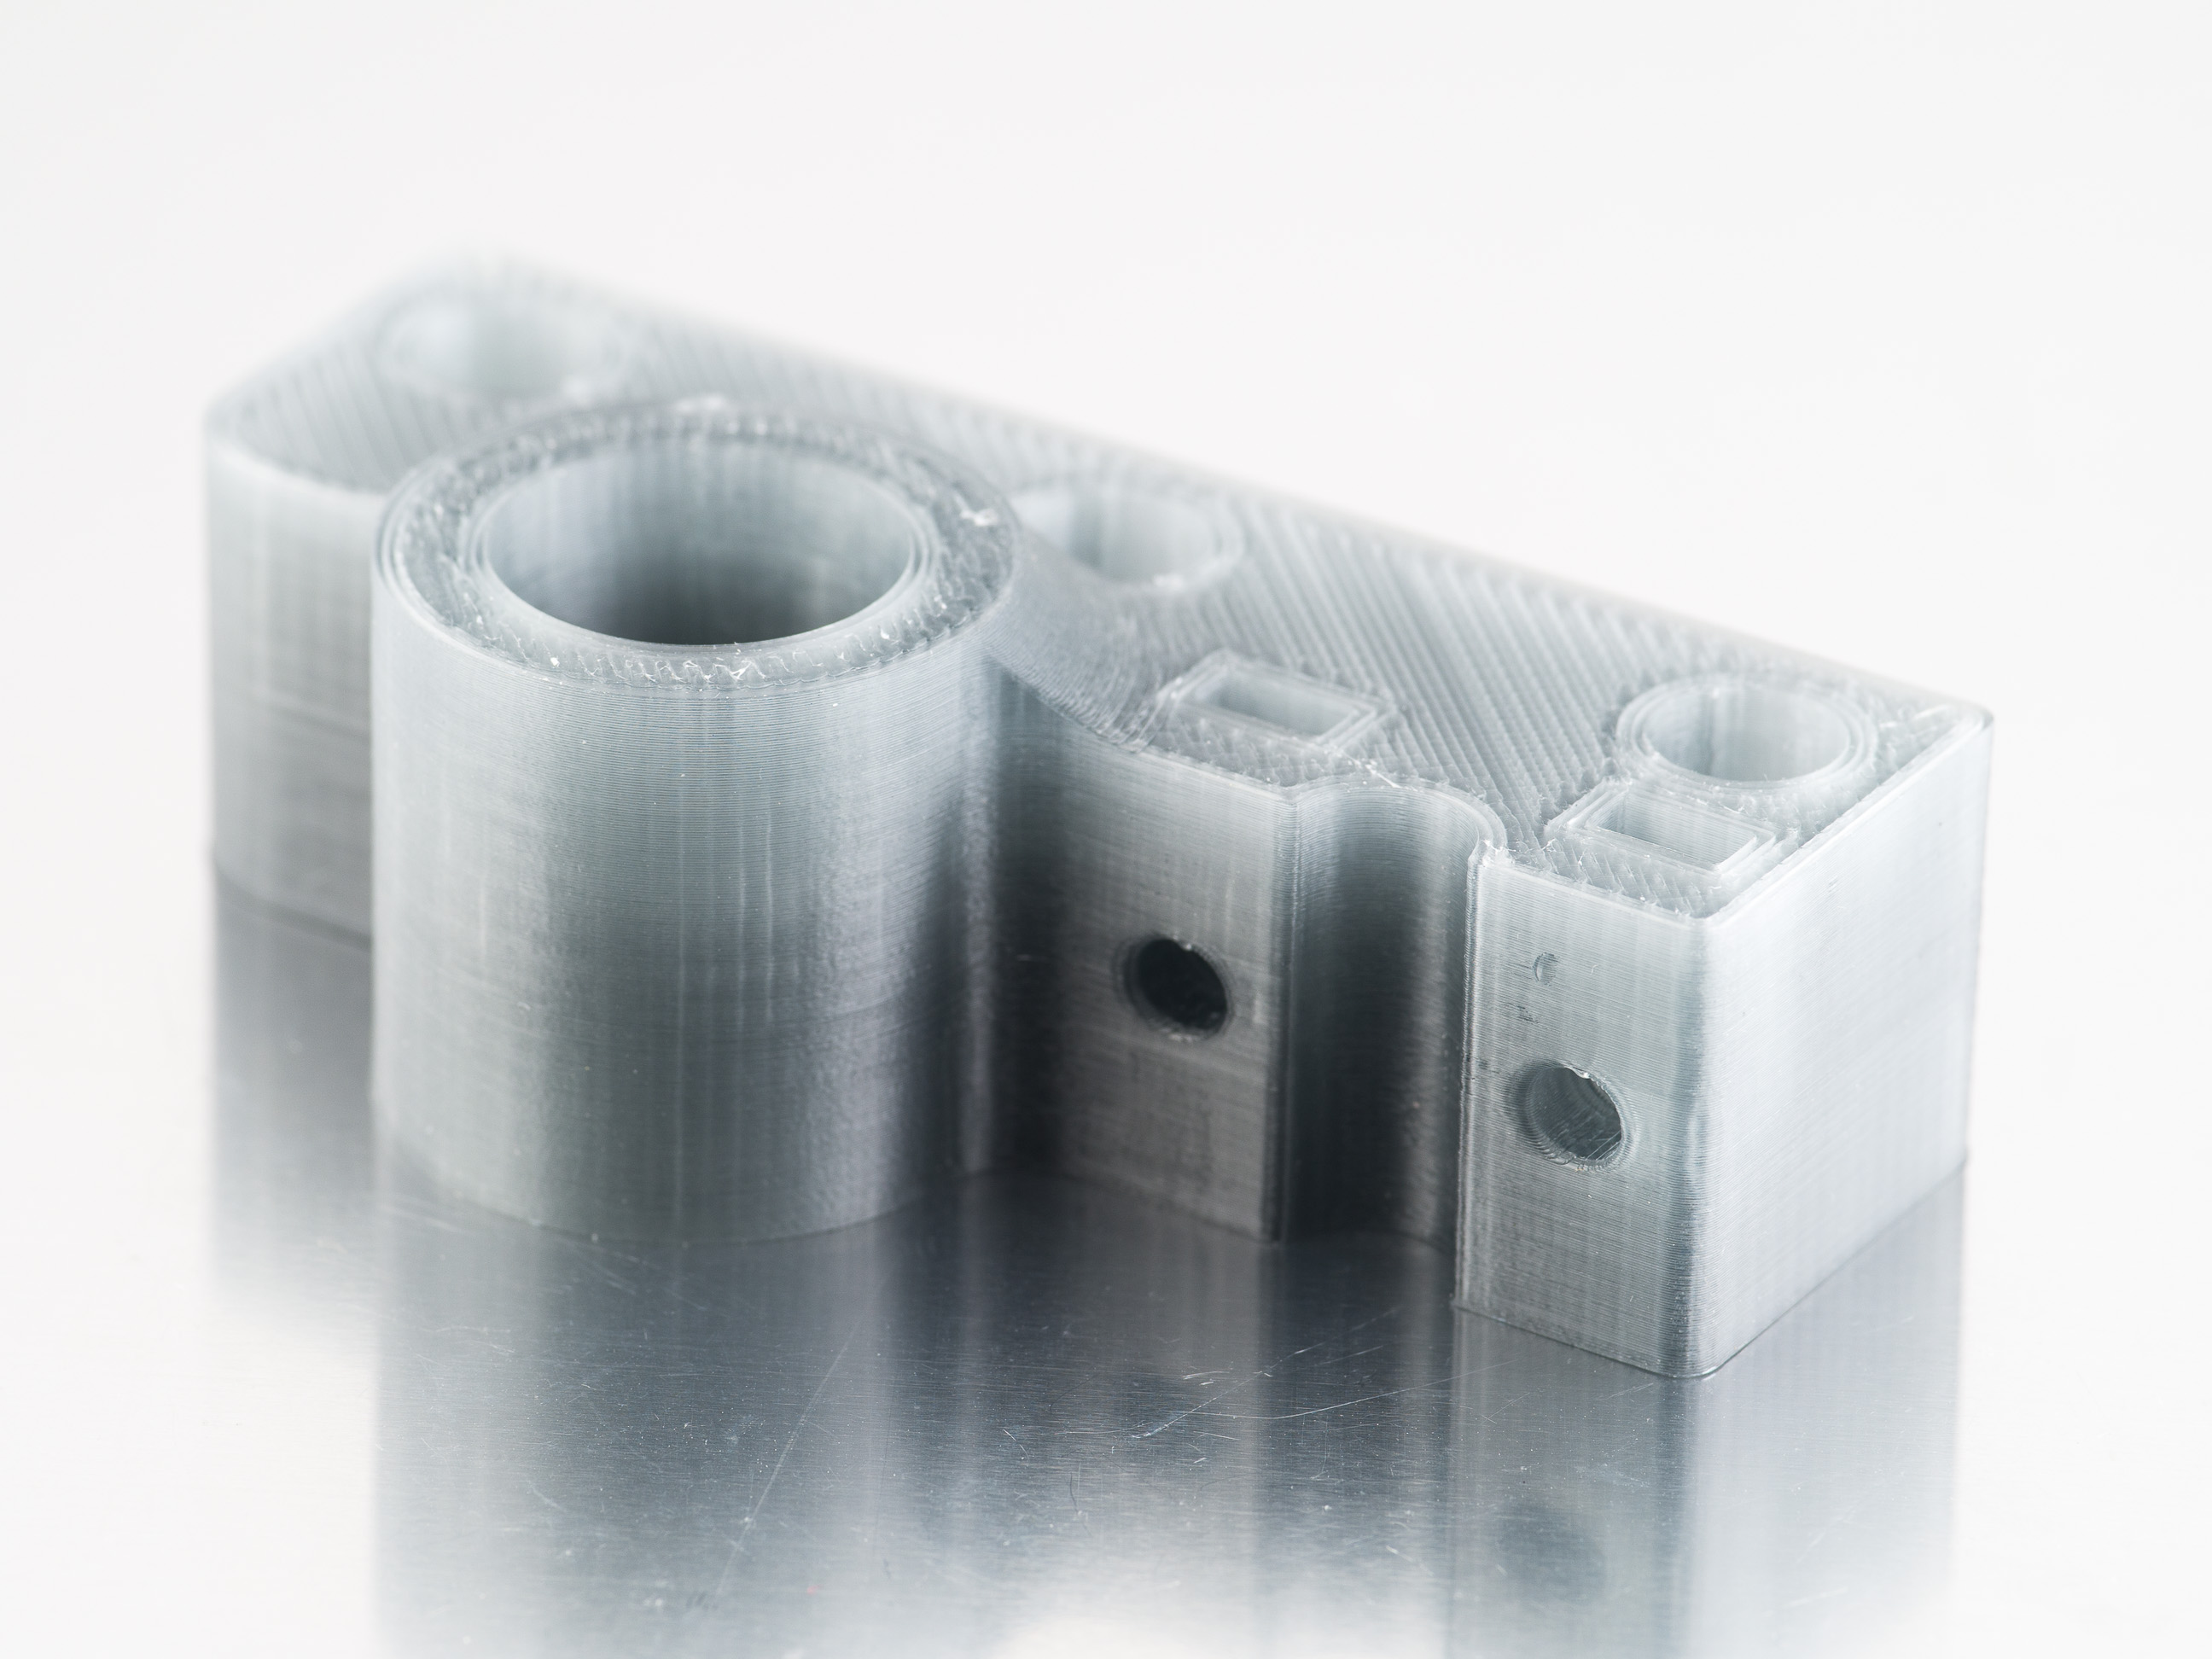
I used graphite bushings to save a bit on the build. I’ve been very happy with how they work on the rod holders, they were very easy to install or switch out. For the extruder carriage, I initially went with the graphite bushings, but switched them to the self-aligning, press in bushings in the BOM. The main reason for going with the press in style bushings was size, they gave a lot more working room with the extruder design. The also have the benefit of being adjustable, they’re easier to use and you can intentionally misalign them slightly to remove any play between the rods and the bushings.
Rectangular Build Plate

The original design used a custom milled build plate. I switched it out for a rectangular aluminum plate to avoid the inconvenience and cost of milling a build plate. I also went with a 1/4″ plate on the theory that it would be less likely to be bent (it was purchased from a scrapyard) and less likely to warp when heated. I also made the plate extra large so it would be compatible with commonly available 12″x16″ picture glass.
Turns out the aluminum plate wasn’t quite flat, and it still does shift slightly with changes in temperature so I don’t know if there was any benefit to going with the thicker aluminum plate.
16T Z-axis pulley
I switched the 20 tooth Z-axis pulley to a 16 tooth version. This makes the math easier when selecting layer heights with my particular setup (0.005mm per full step).
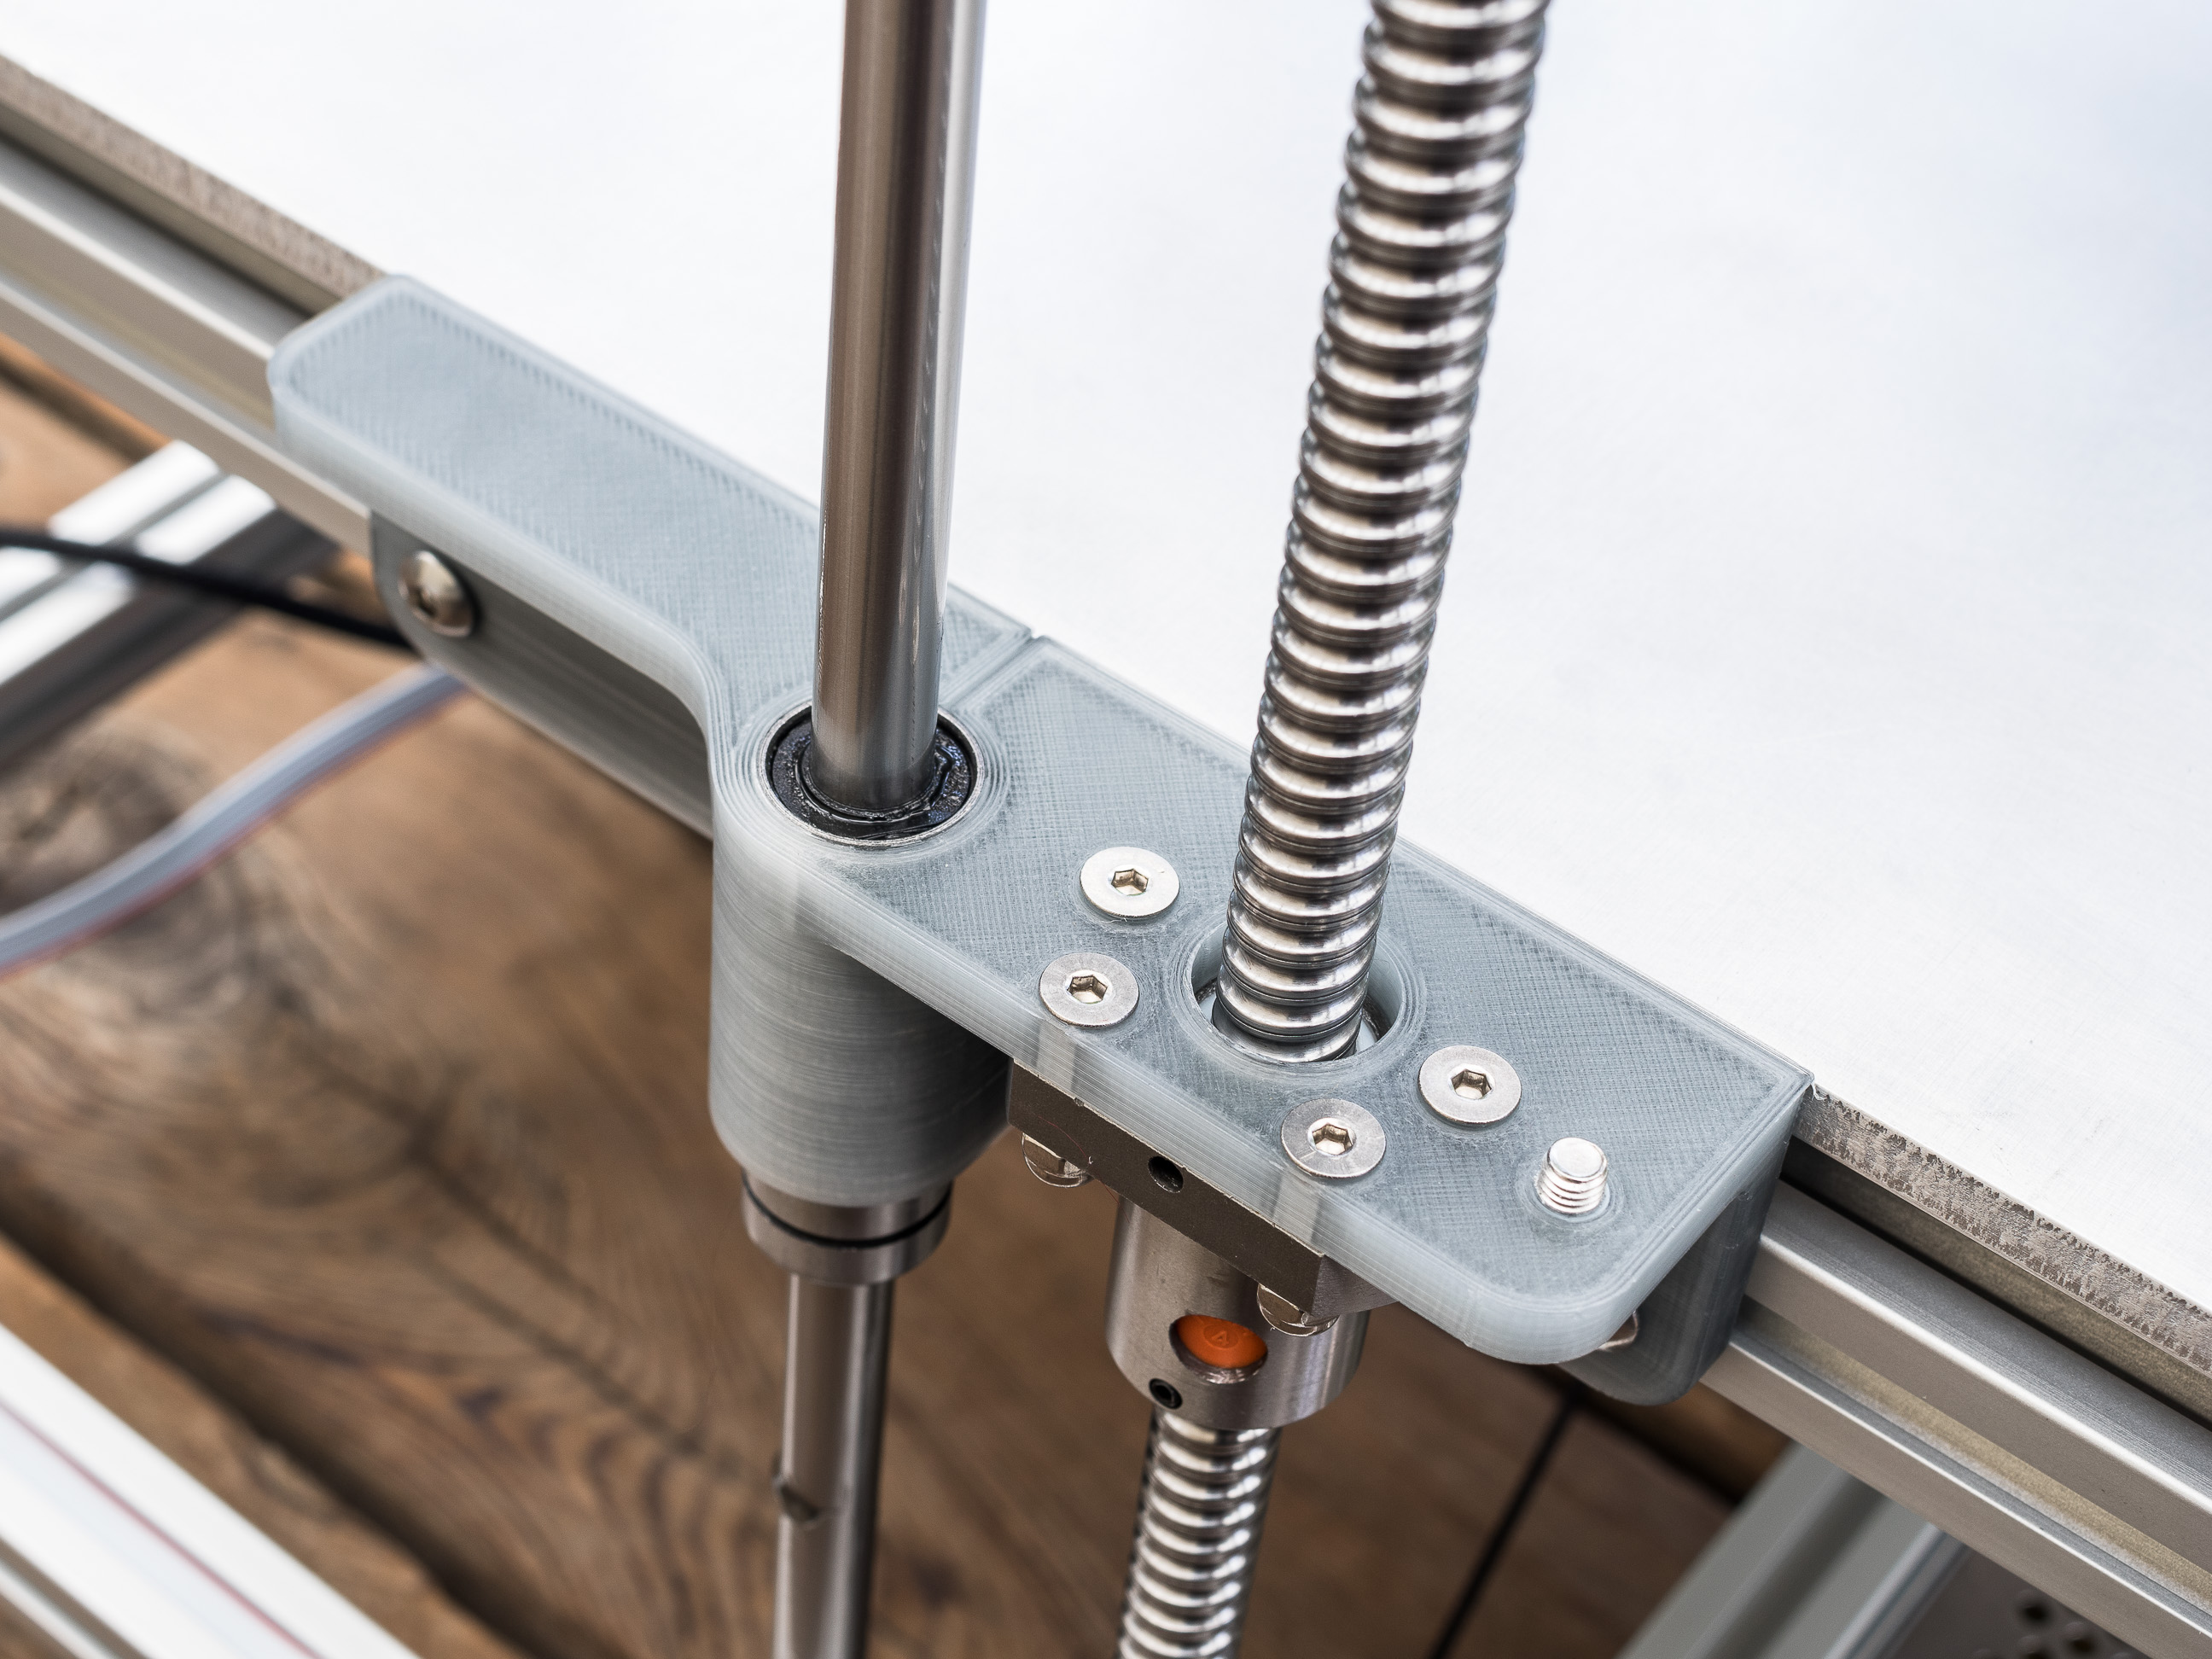
10mm rods
Used 10mm bars for the cross rods since I was planning on converting to a direct drive setup. I did some tests with a direct drive extruder but ended up prefering a flying extruder. I don’t know if the 10mm rods help, it’s more likely they’re just adding unnecessary weight.
0.9 degree stepper motors on X, Y, and Z
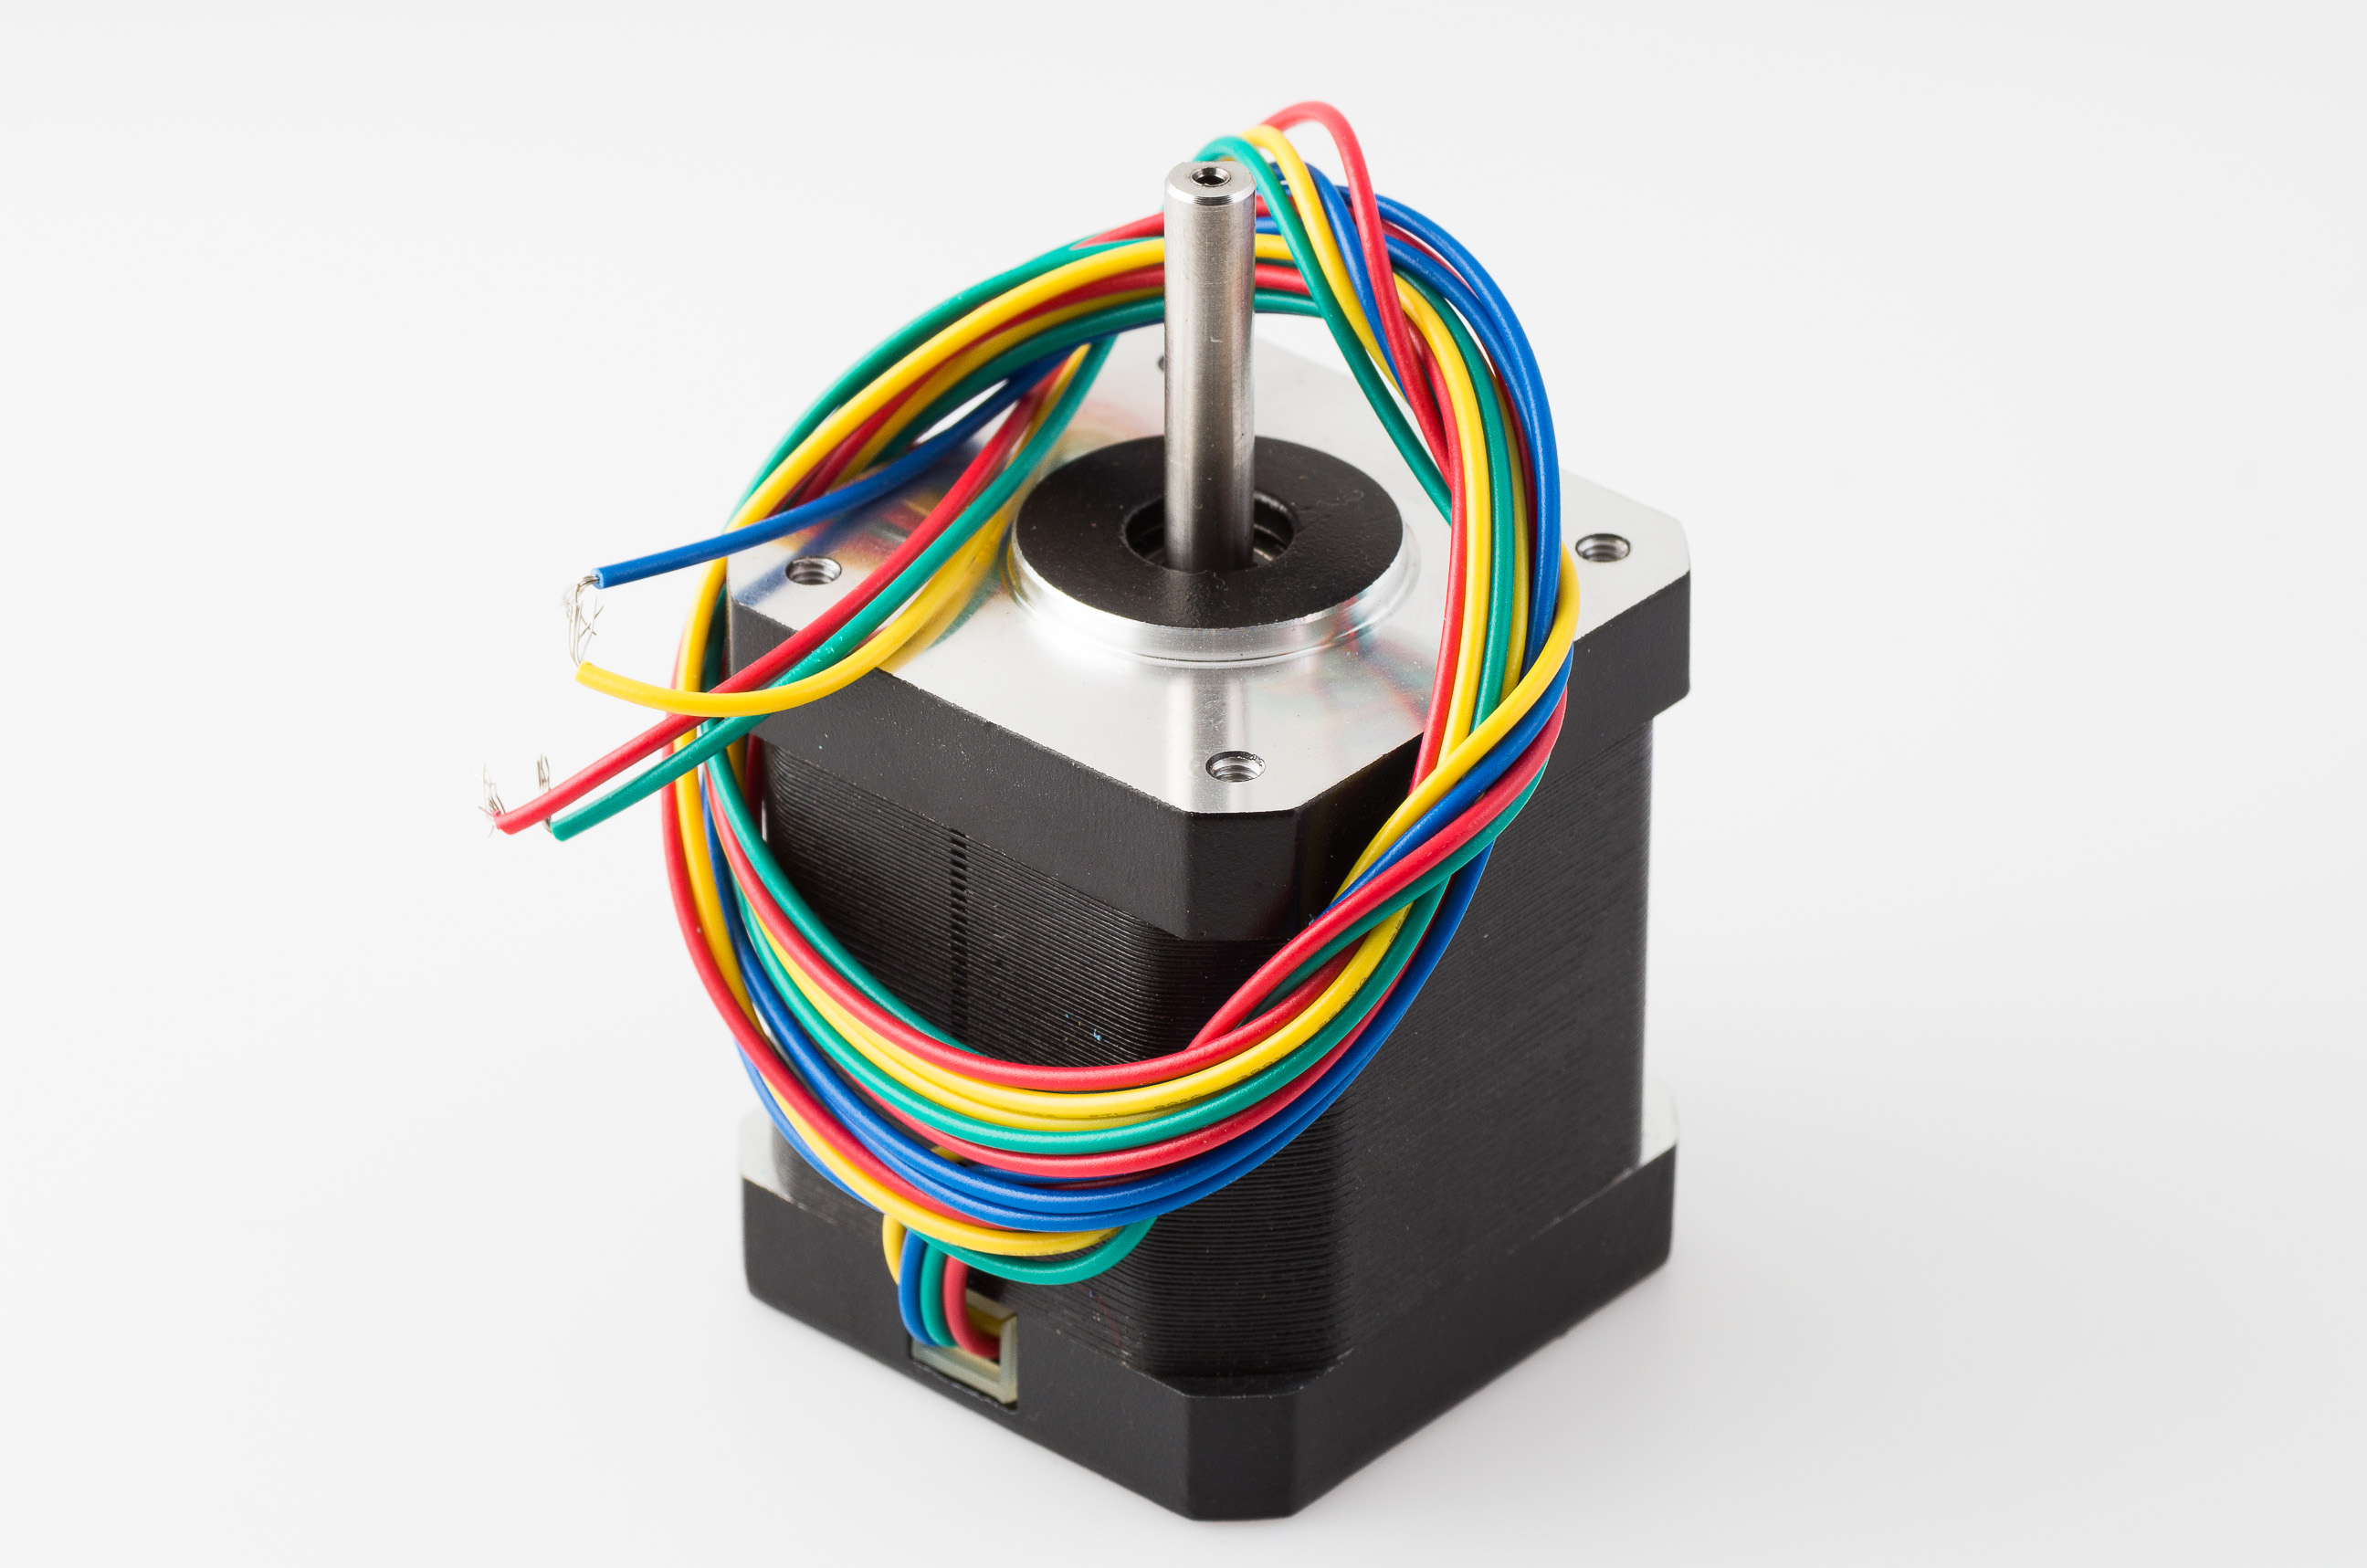
I chose 0.9 degree steppers for the x, y, and z axes on the assumption that they’d be less likely to cause banding than the 1.8 degree steppers. Since I never tried 0.9 degree steppers, I don’t know if it made any difference. The recommended 1.8 degree steppers would have more torque and are probably a better option for those who want to print faster, but the current steppers work for the speeds I print at ( usually 50-100mm/sec).
Bondtech

Everyone was raving about the Bondtech so I purchased a set of drive gears and they have been working very reliably. I’ve moved the extruder from the side of the printer to a spot above the printer, and then converted it to a flying extruder.
Smoothieboard
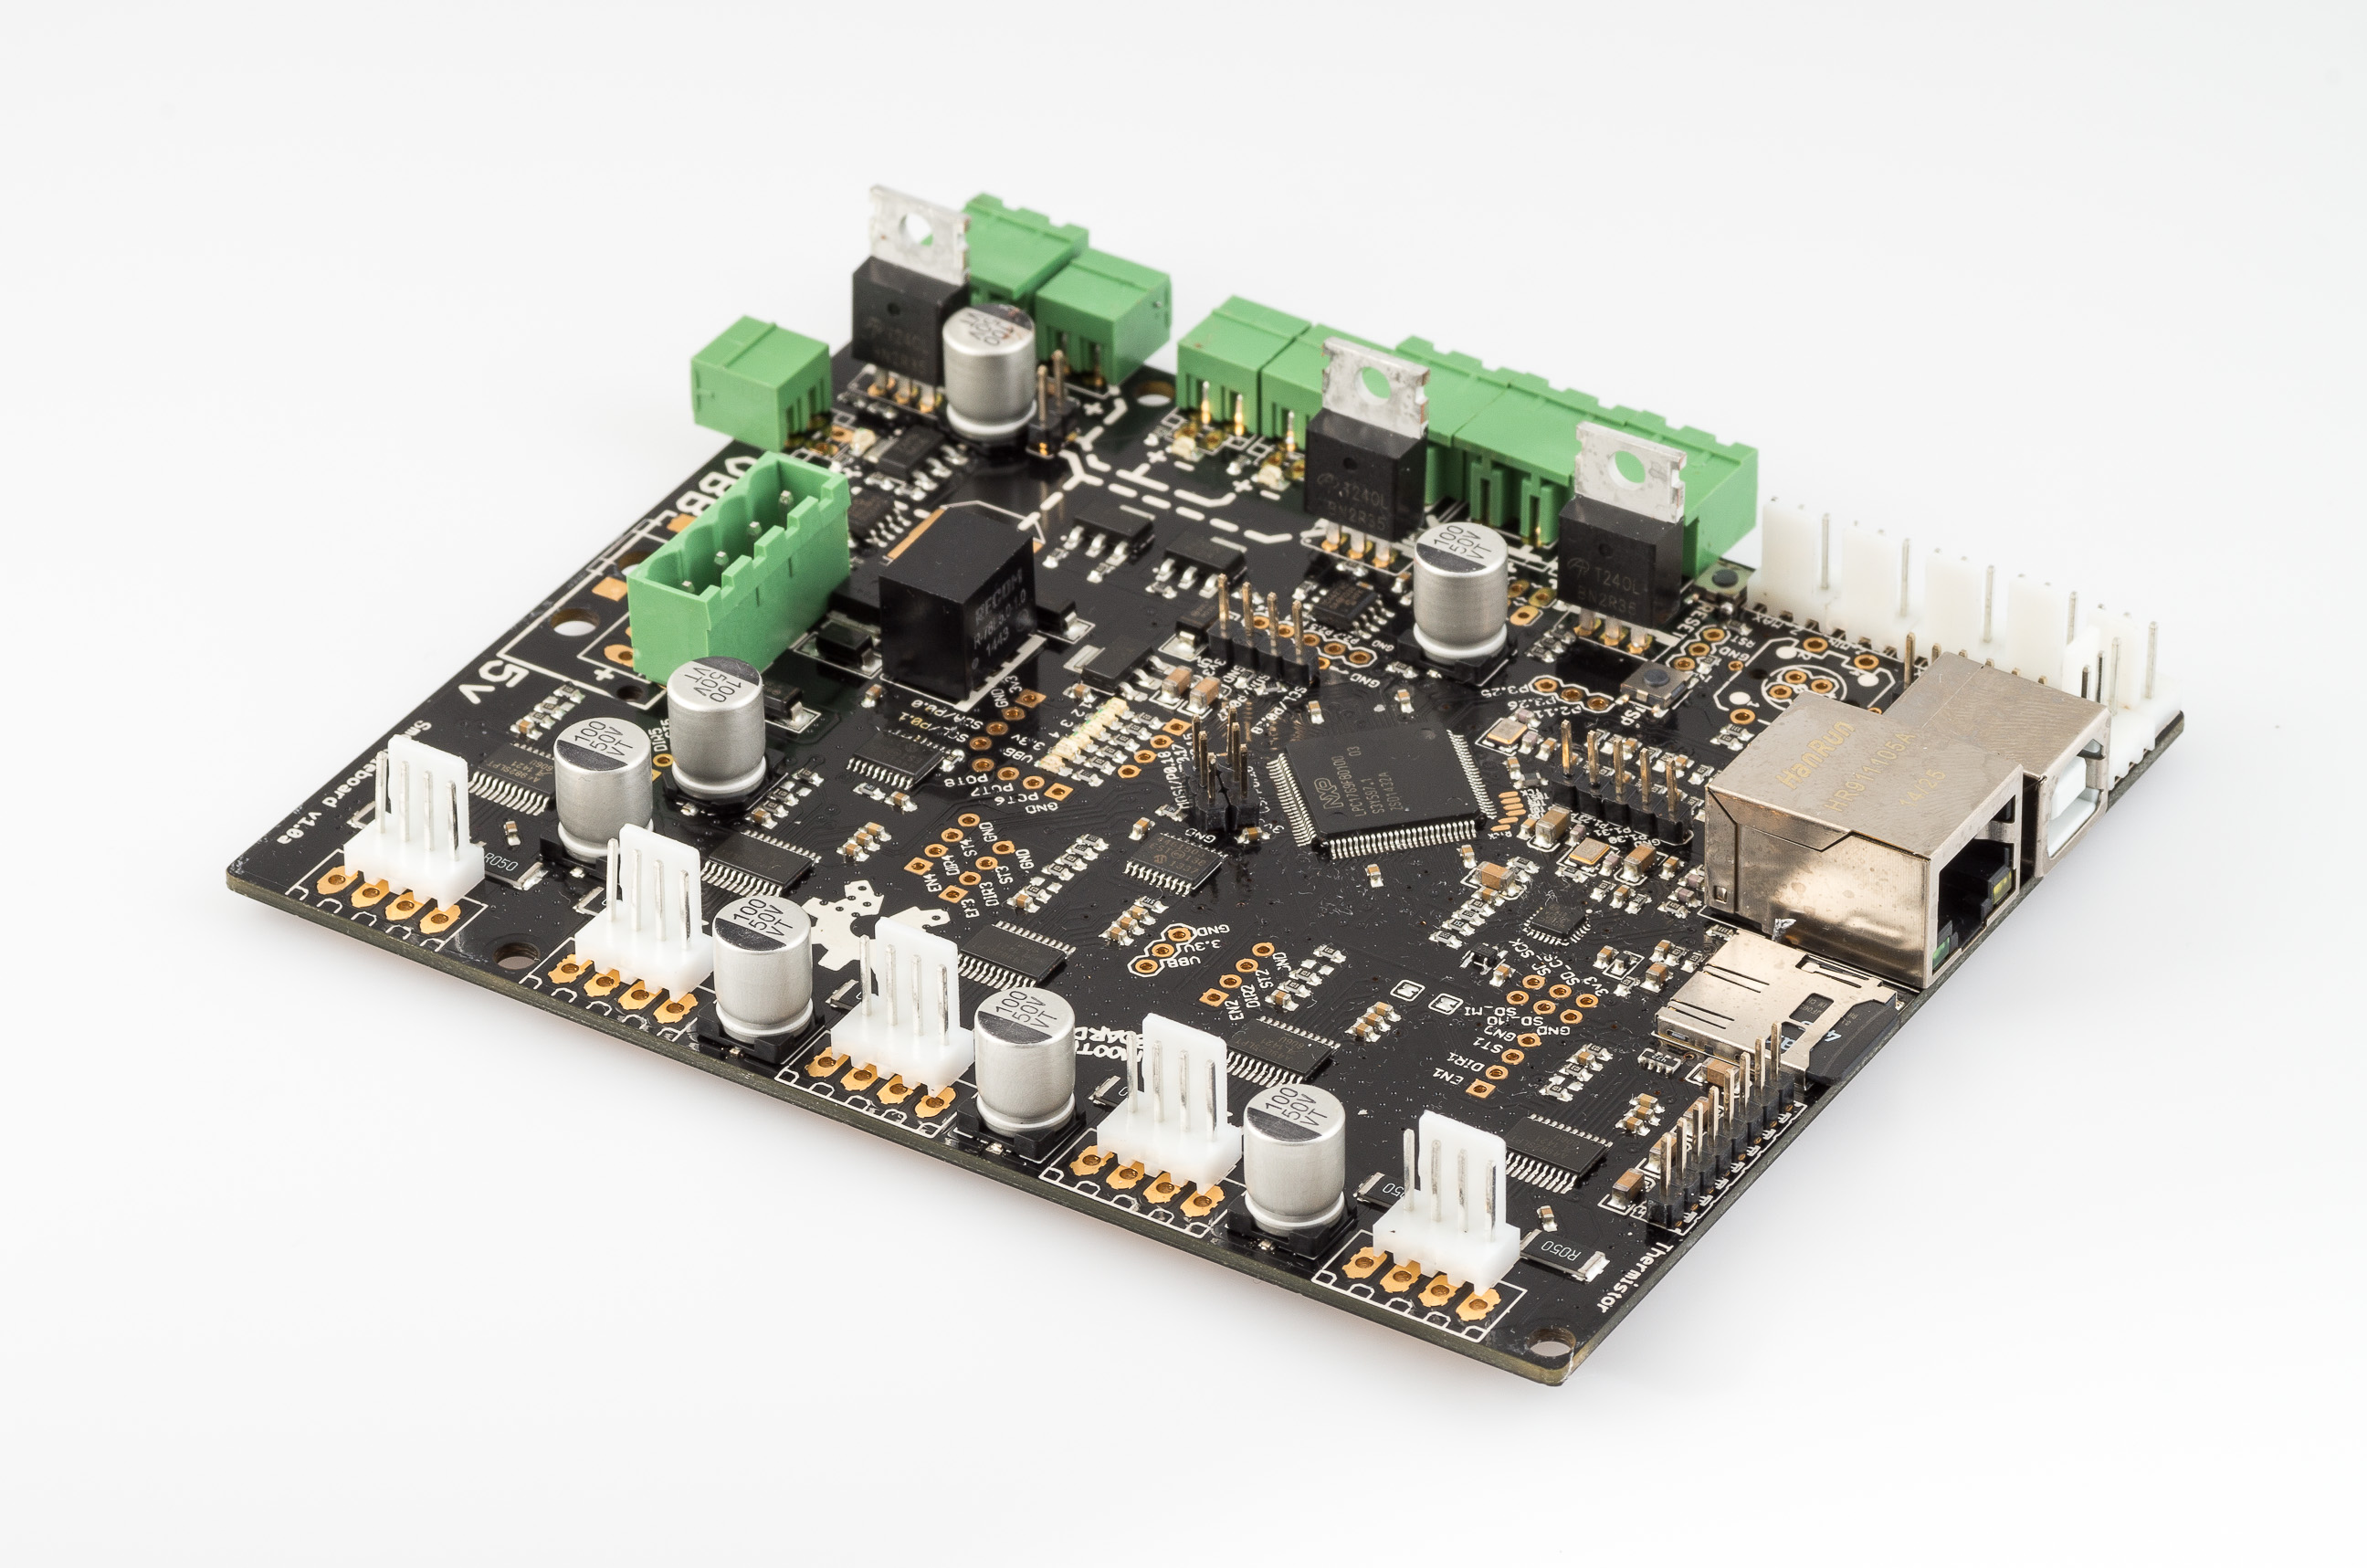
I got a smoothieboard as part of a group buy, so I had it ready for this printer. I really like having all the extra IO on the smoothieboard, being able to control the lights and fans makes this printer much nicer to use. Its worked really well so far, though I’ve had to do a few hardware and software hacks to get it working the way I wanted.
Octoprint

I run my print jobs through Octoprint to free up my computer during the print. There’s a bit more info on how I have Octoprint configured in this post.
Post-build changes
Since the original build, I’ve replaced the hotend carriage, bearing holders, added max endstops, added motor vibration dampers, redesigned the Bondtech housing, installed a flying extruder, etc. Someday I’ll add a post describing those changes.