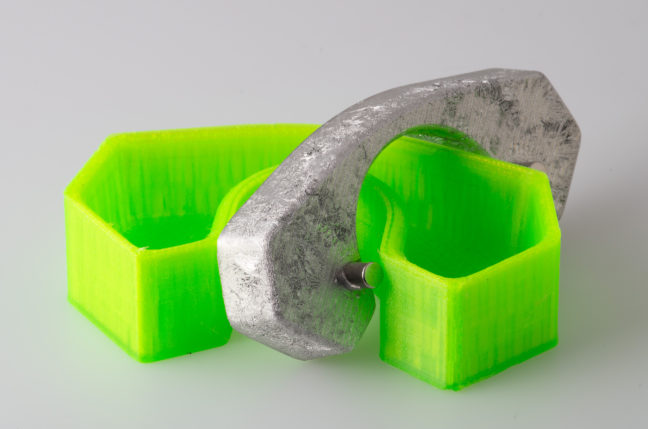
I’ve been wanting to try metal casting in printed molds for years, but never had a use for the heavy, low melt alloys that would work in a printed mold. When I saw this mod for anti-backlash weights by Pratyeka in the Tiko 3D forums, I figured I’d finally give it a try and ordered a block of metal.
Wood’s Metal and Field’s Metal
I bought a 1 pound / 450kg block of wood’s metal*, a toxic mix of bismuth, lead, tin, and cadmium. There are different melt points for different alloys, I chose the classic 70°C/158°F version (there are several options*, some with melting points below 50°C that may work in PLA molds). Melting lead and cadmium in your kitchen is probably as bad of an idea as it sounds, I wouldn’t recommend it (I often do things I don’t recommend). I should have been using field’s metal*, which is non-toxic and has a melting point of 62°C/144°F. Unfortunately, it’s also a lot more expensive.
Melting the Alloy
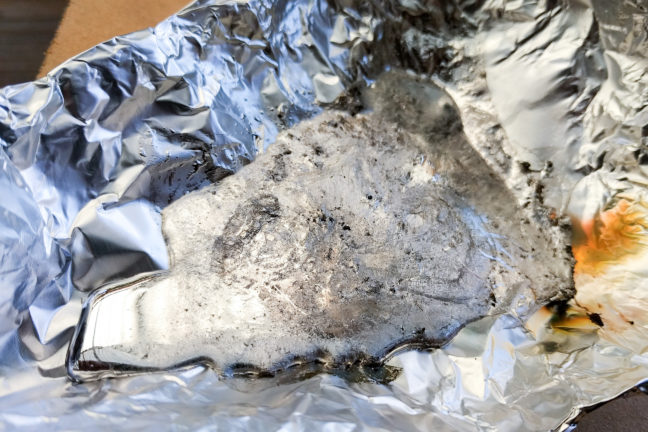
I tried melting the alloy in the oven, but it was taking too long. So I used a blowtorch* to melt chunks of the alloy cut from the main block, then transferred it to the oven to control the final temperature. When melting with the blowtorch, I would run it until only a few small chunks were left, then swirl it around until they dissolved. The metal around the edges would often begin to congeal, but about 10 minutes in the oven seemed enough for the temperature to stabilize.
ABS Mold
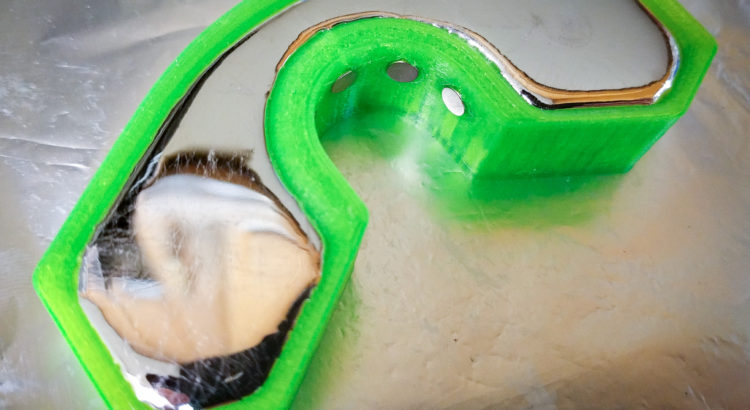
First I tried a mold made out of ABS, but the metal was probably too hot (the result of impatience and my initial attempts to melt the block by turning up the oven temperature). The high temperature made the mold pull in around the metal, giving the mold a large negative draft angle and making it impossible to remove the metal without destroying the mold.
Next I tried again with ABS, but this time I stabilized the temperature of the alloy down to around ~200°C in the oven. I sprayed mold release* in the mold, then poured the melted alloy into the mold. That worked much better, and I was able to remove the part by turning it upside-down and giving it a good whack on a solid surface.
I chose ABS because of it’s high glass transition temperature. I used transparent ABS in particular because I’ve found it to be more resistant to warping than regular ABS. PLA’s glass transition temperature is too low for this alloy and PETG might have worked, but the temperature range between PETG’s glass transition temperature and the alloy’s melting point is very narrow. I don’t think the mold release was really necessary, and if it was, cooking oil would probably work just as well.
TPU Mold
I also tried TPU*. It has a lower printing temperature than ABS, but I know it’s stable at 90°C and maybe higher, I’ll sometimes print TPU with the heated bed at 90°C. The TPU made the parts even easier to remove, and probably made the 5° draft angle I designed into the mold unnecessary. If I make more of these molds in the future, I’ll probably continue to use TPU or TPE.
Magnets
You may notice some magnets in the molds and different versions of the molds. I embedded magnets into the the part by placing magnets on the outside of the mold to hold the embedded magnets in place. This makes attaching and removing the weights much easier. I’m not sure if the magnets will cause any issues with the motors (I haven’t noticed any yet).
The wood’s metal seems to resist sticking to the TPU or the magnets, so making more complex molds with removable inserts is probably fairly easy to do and something I might try in the future.
Surface Texture
The surface texture of the wood’s metal varies from one casting to another. Sometime it forms a finer granular structure on the surface, sometimes a larger crystalline structure. I believe the variation comes from temperature and cooling rate and is something I might experiment with more in the future. it’s fun to watch as the surface crystallizes as it cools.


