I’m always surprised when a 3D printer designed around printing PLA comes without a part cooling fan. Though less so in the case of the Tiko, given the pricepoint. If you’ve seen some of my extruder designs, I prefer printing with a lot of airflow, the more the better (as long as you have control over it). So here’s one way to add part cooling to the Tiko.

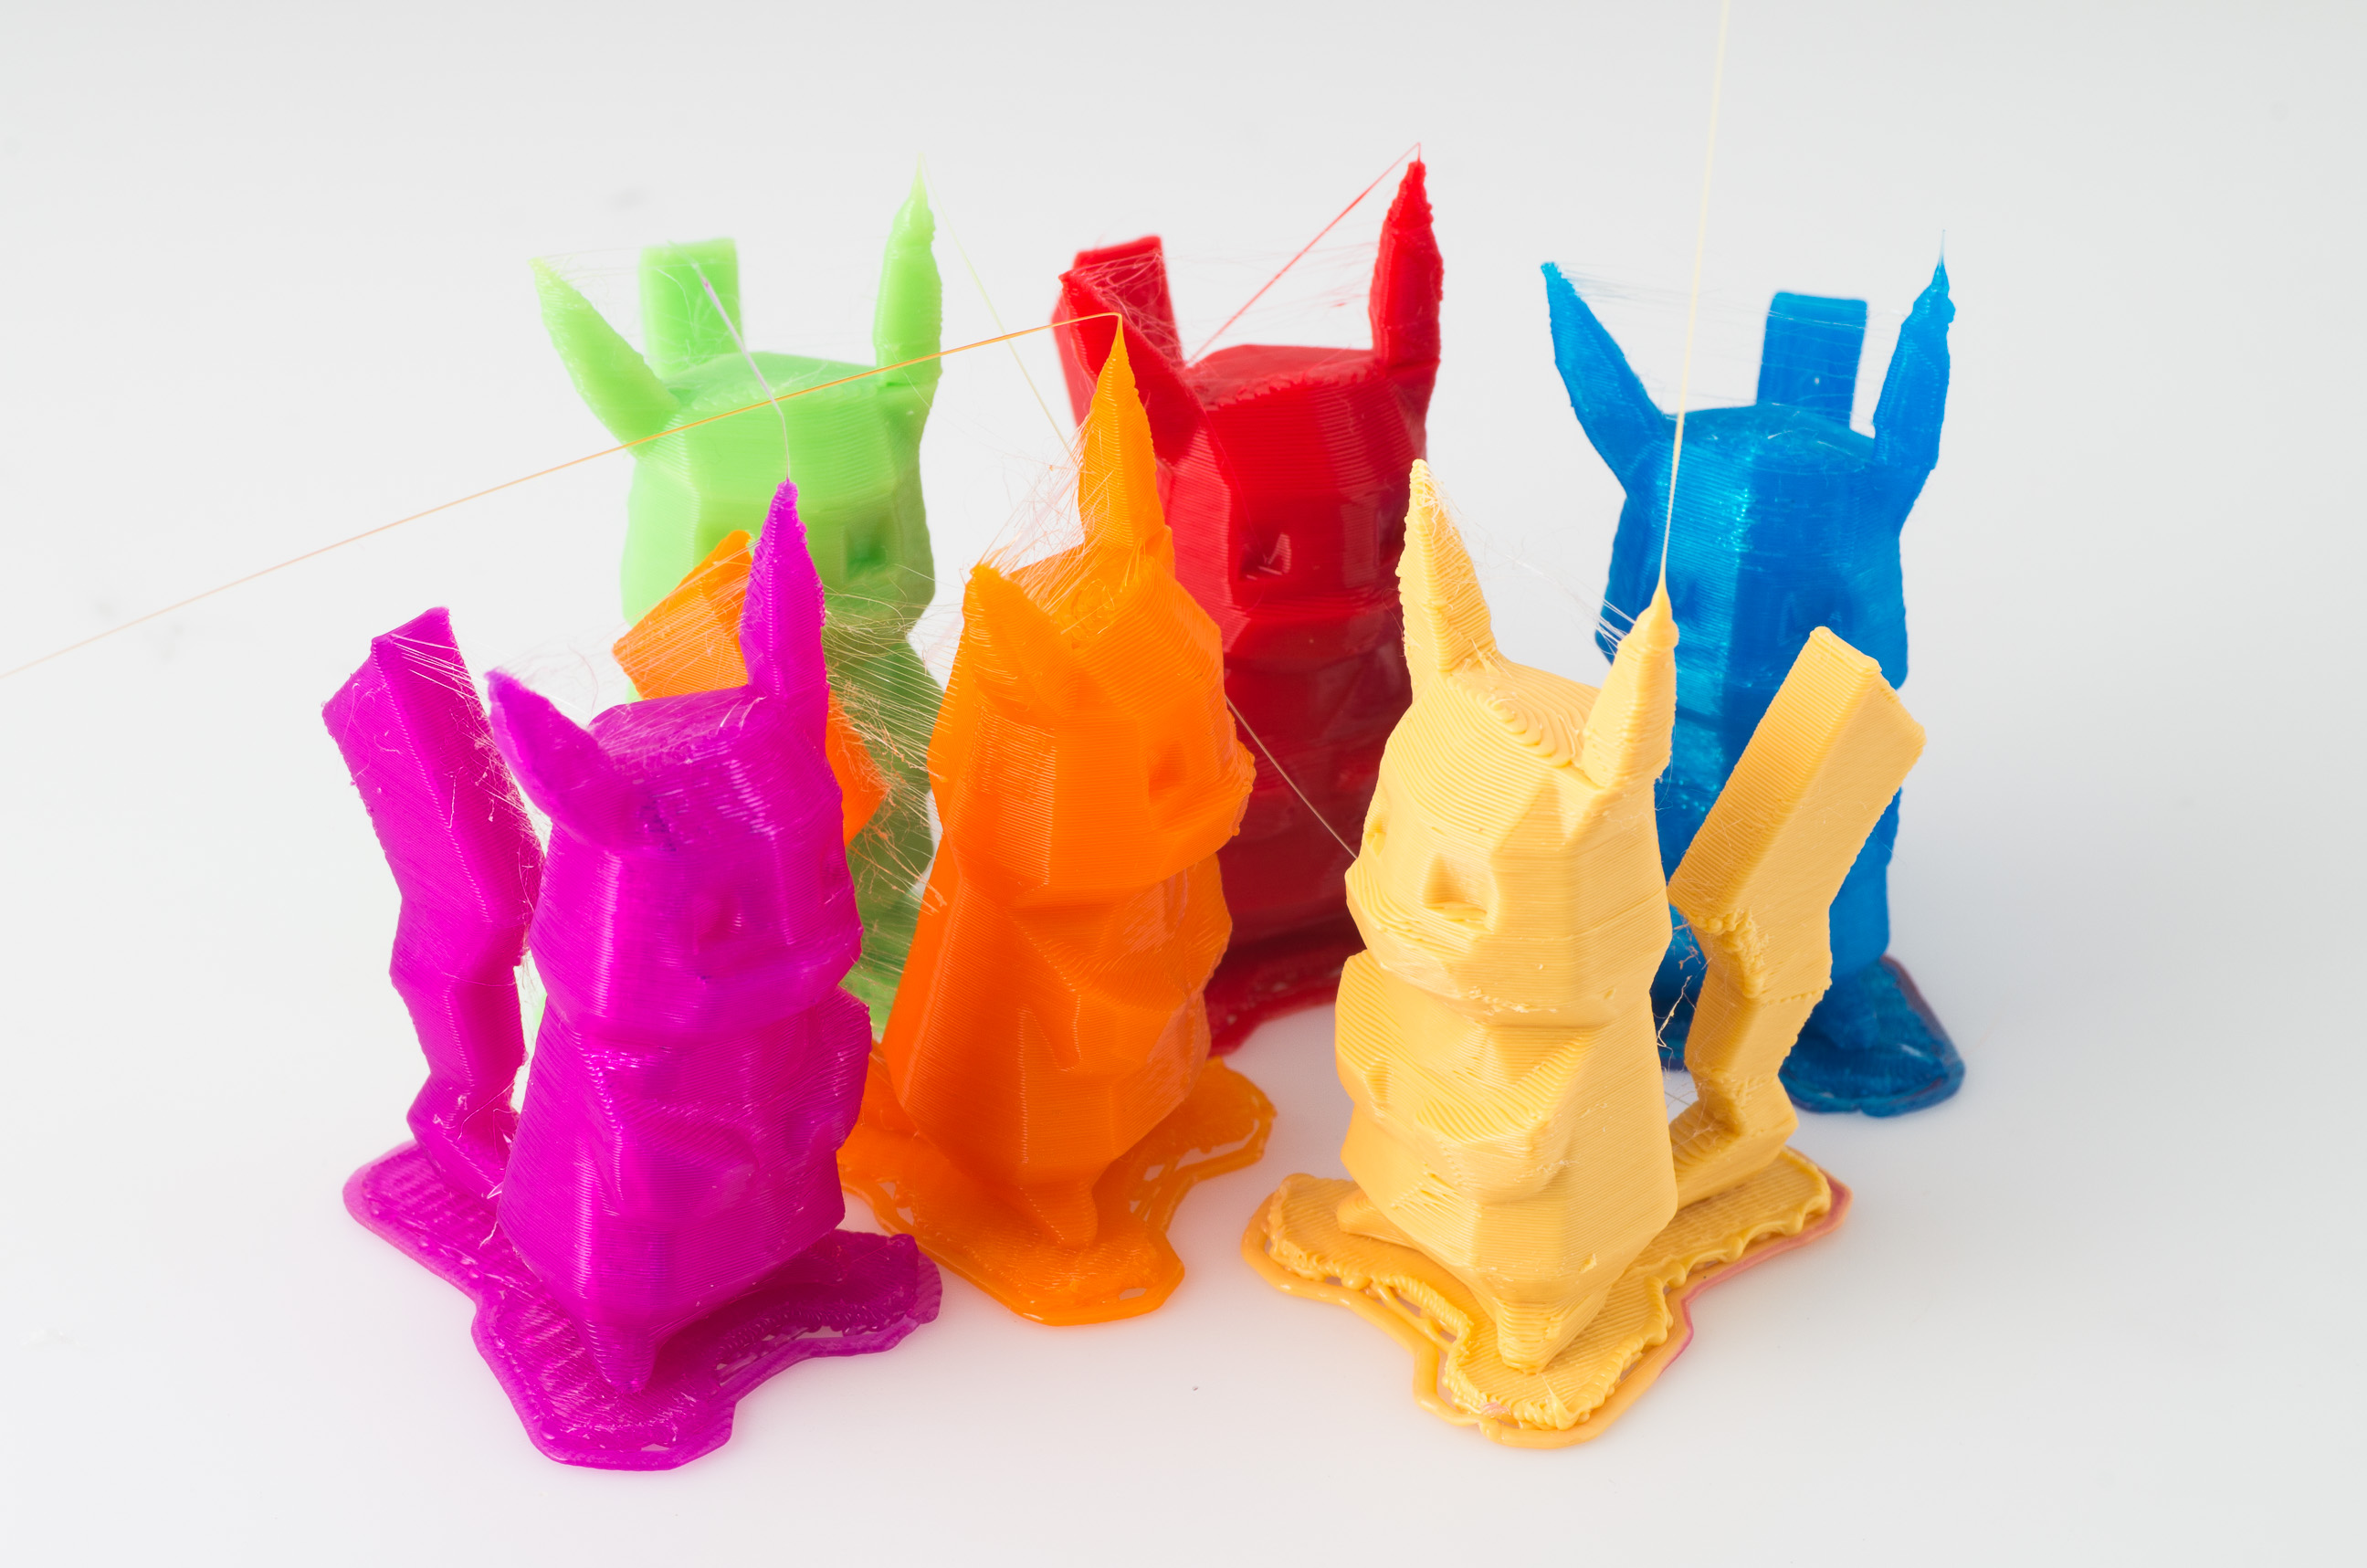
I’m using 6mm outer diameter air tubing to direct air around the nozzle. To push air down the long tubes, I’m using aquarium air pumps. A 3D printed piece holds the tubs in place. More details on assembly and parts can be found on the Thingiverse page where I posted the clip design. Need to tweak the tolerances? You can do so with the design files in Onshape.
Why Part Cooling?
There are a lot of reasons to use a part cooling fan, especially when printing with PLA. Here are a few of them.
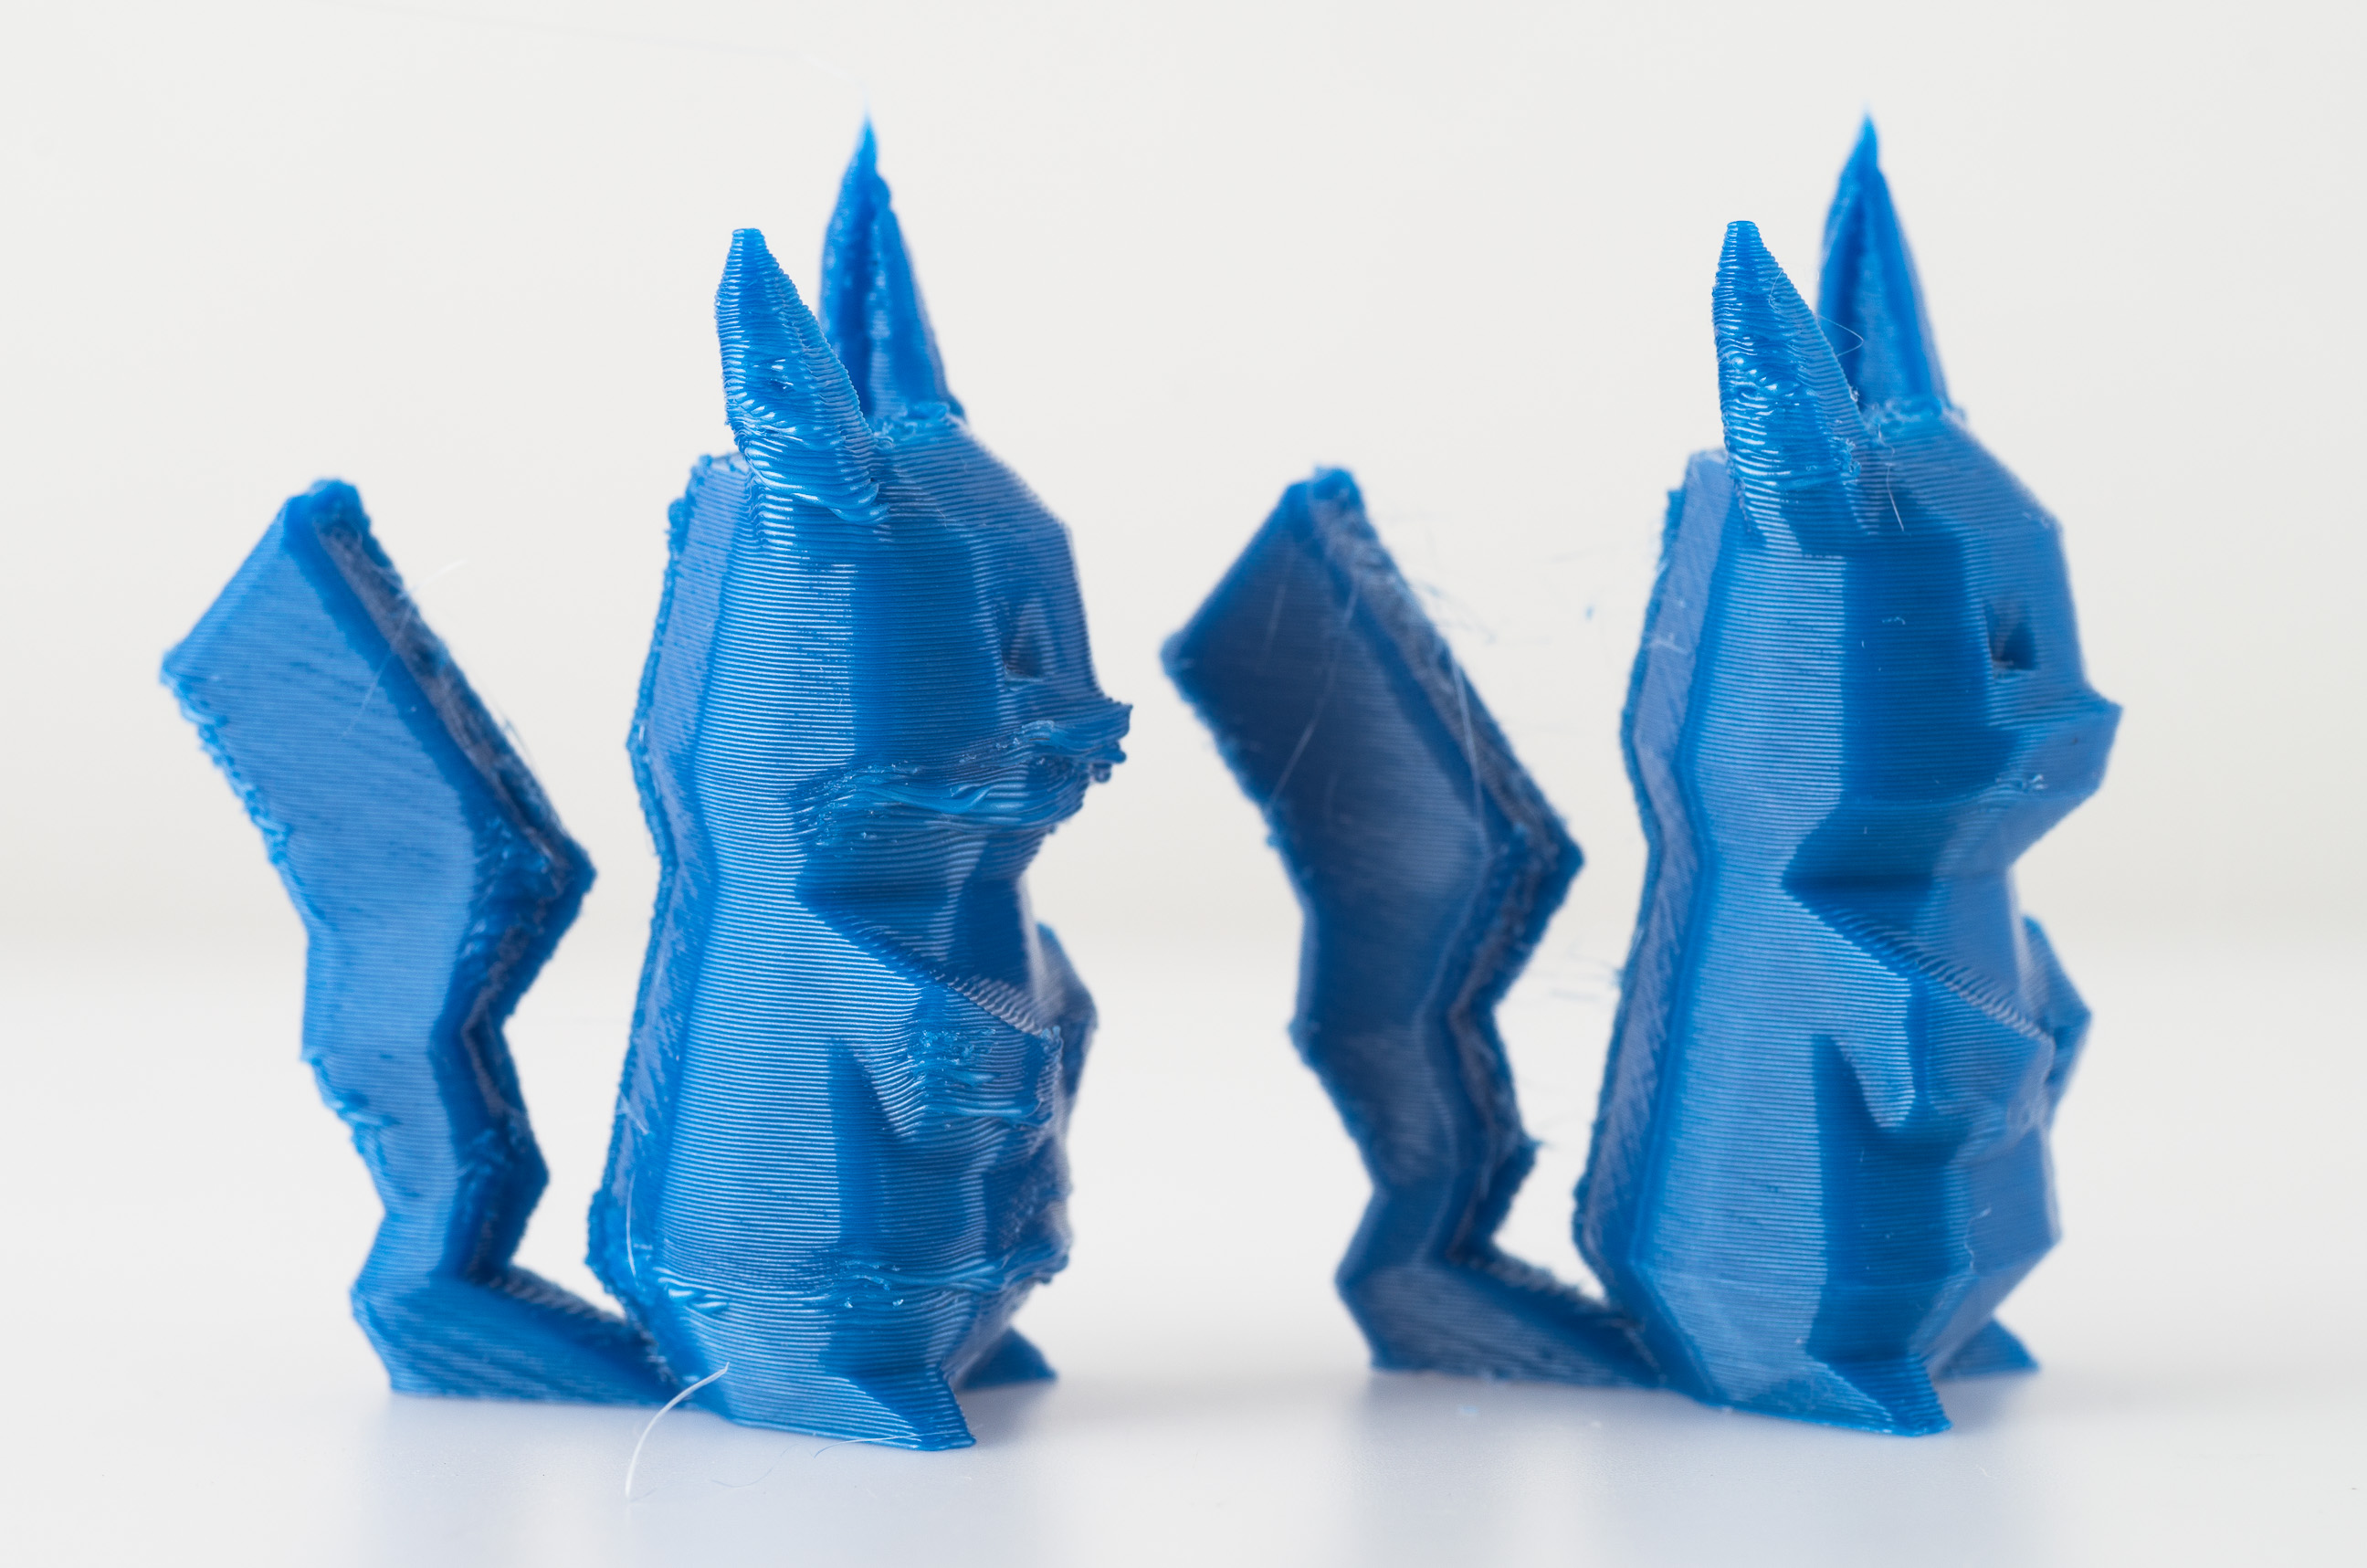
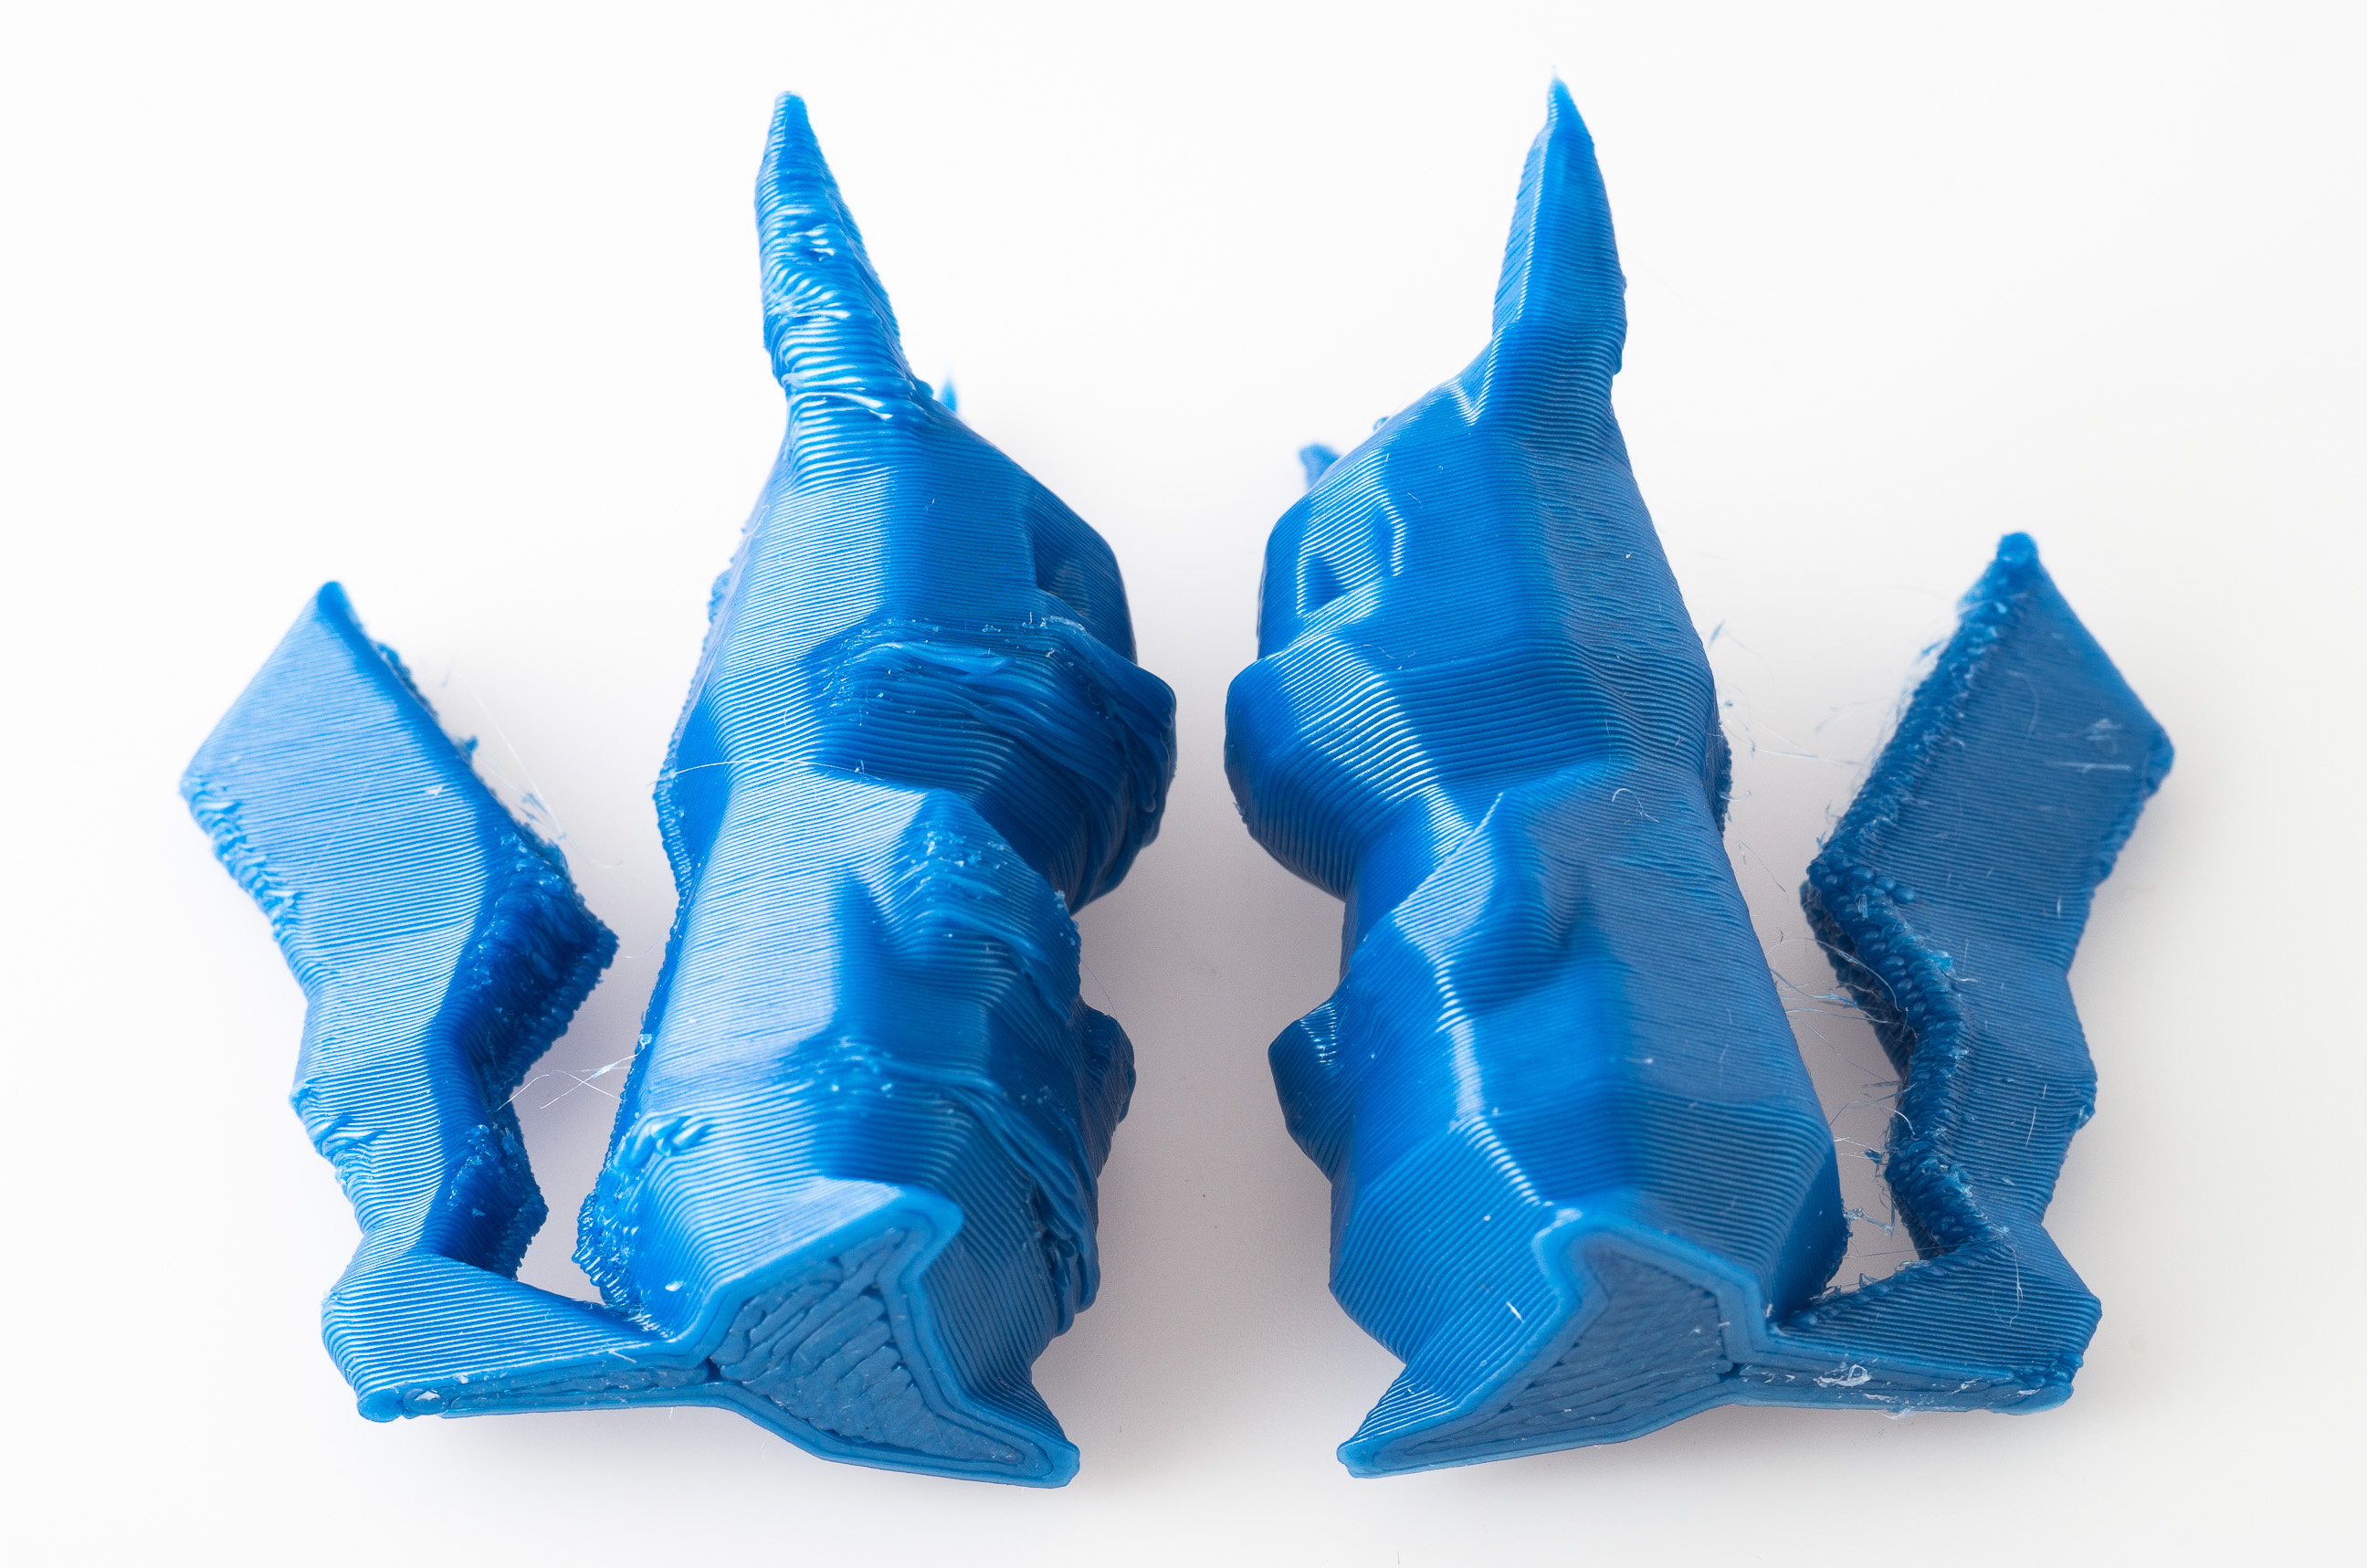
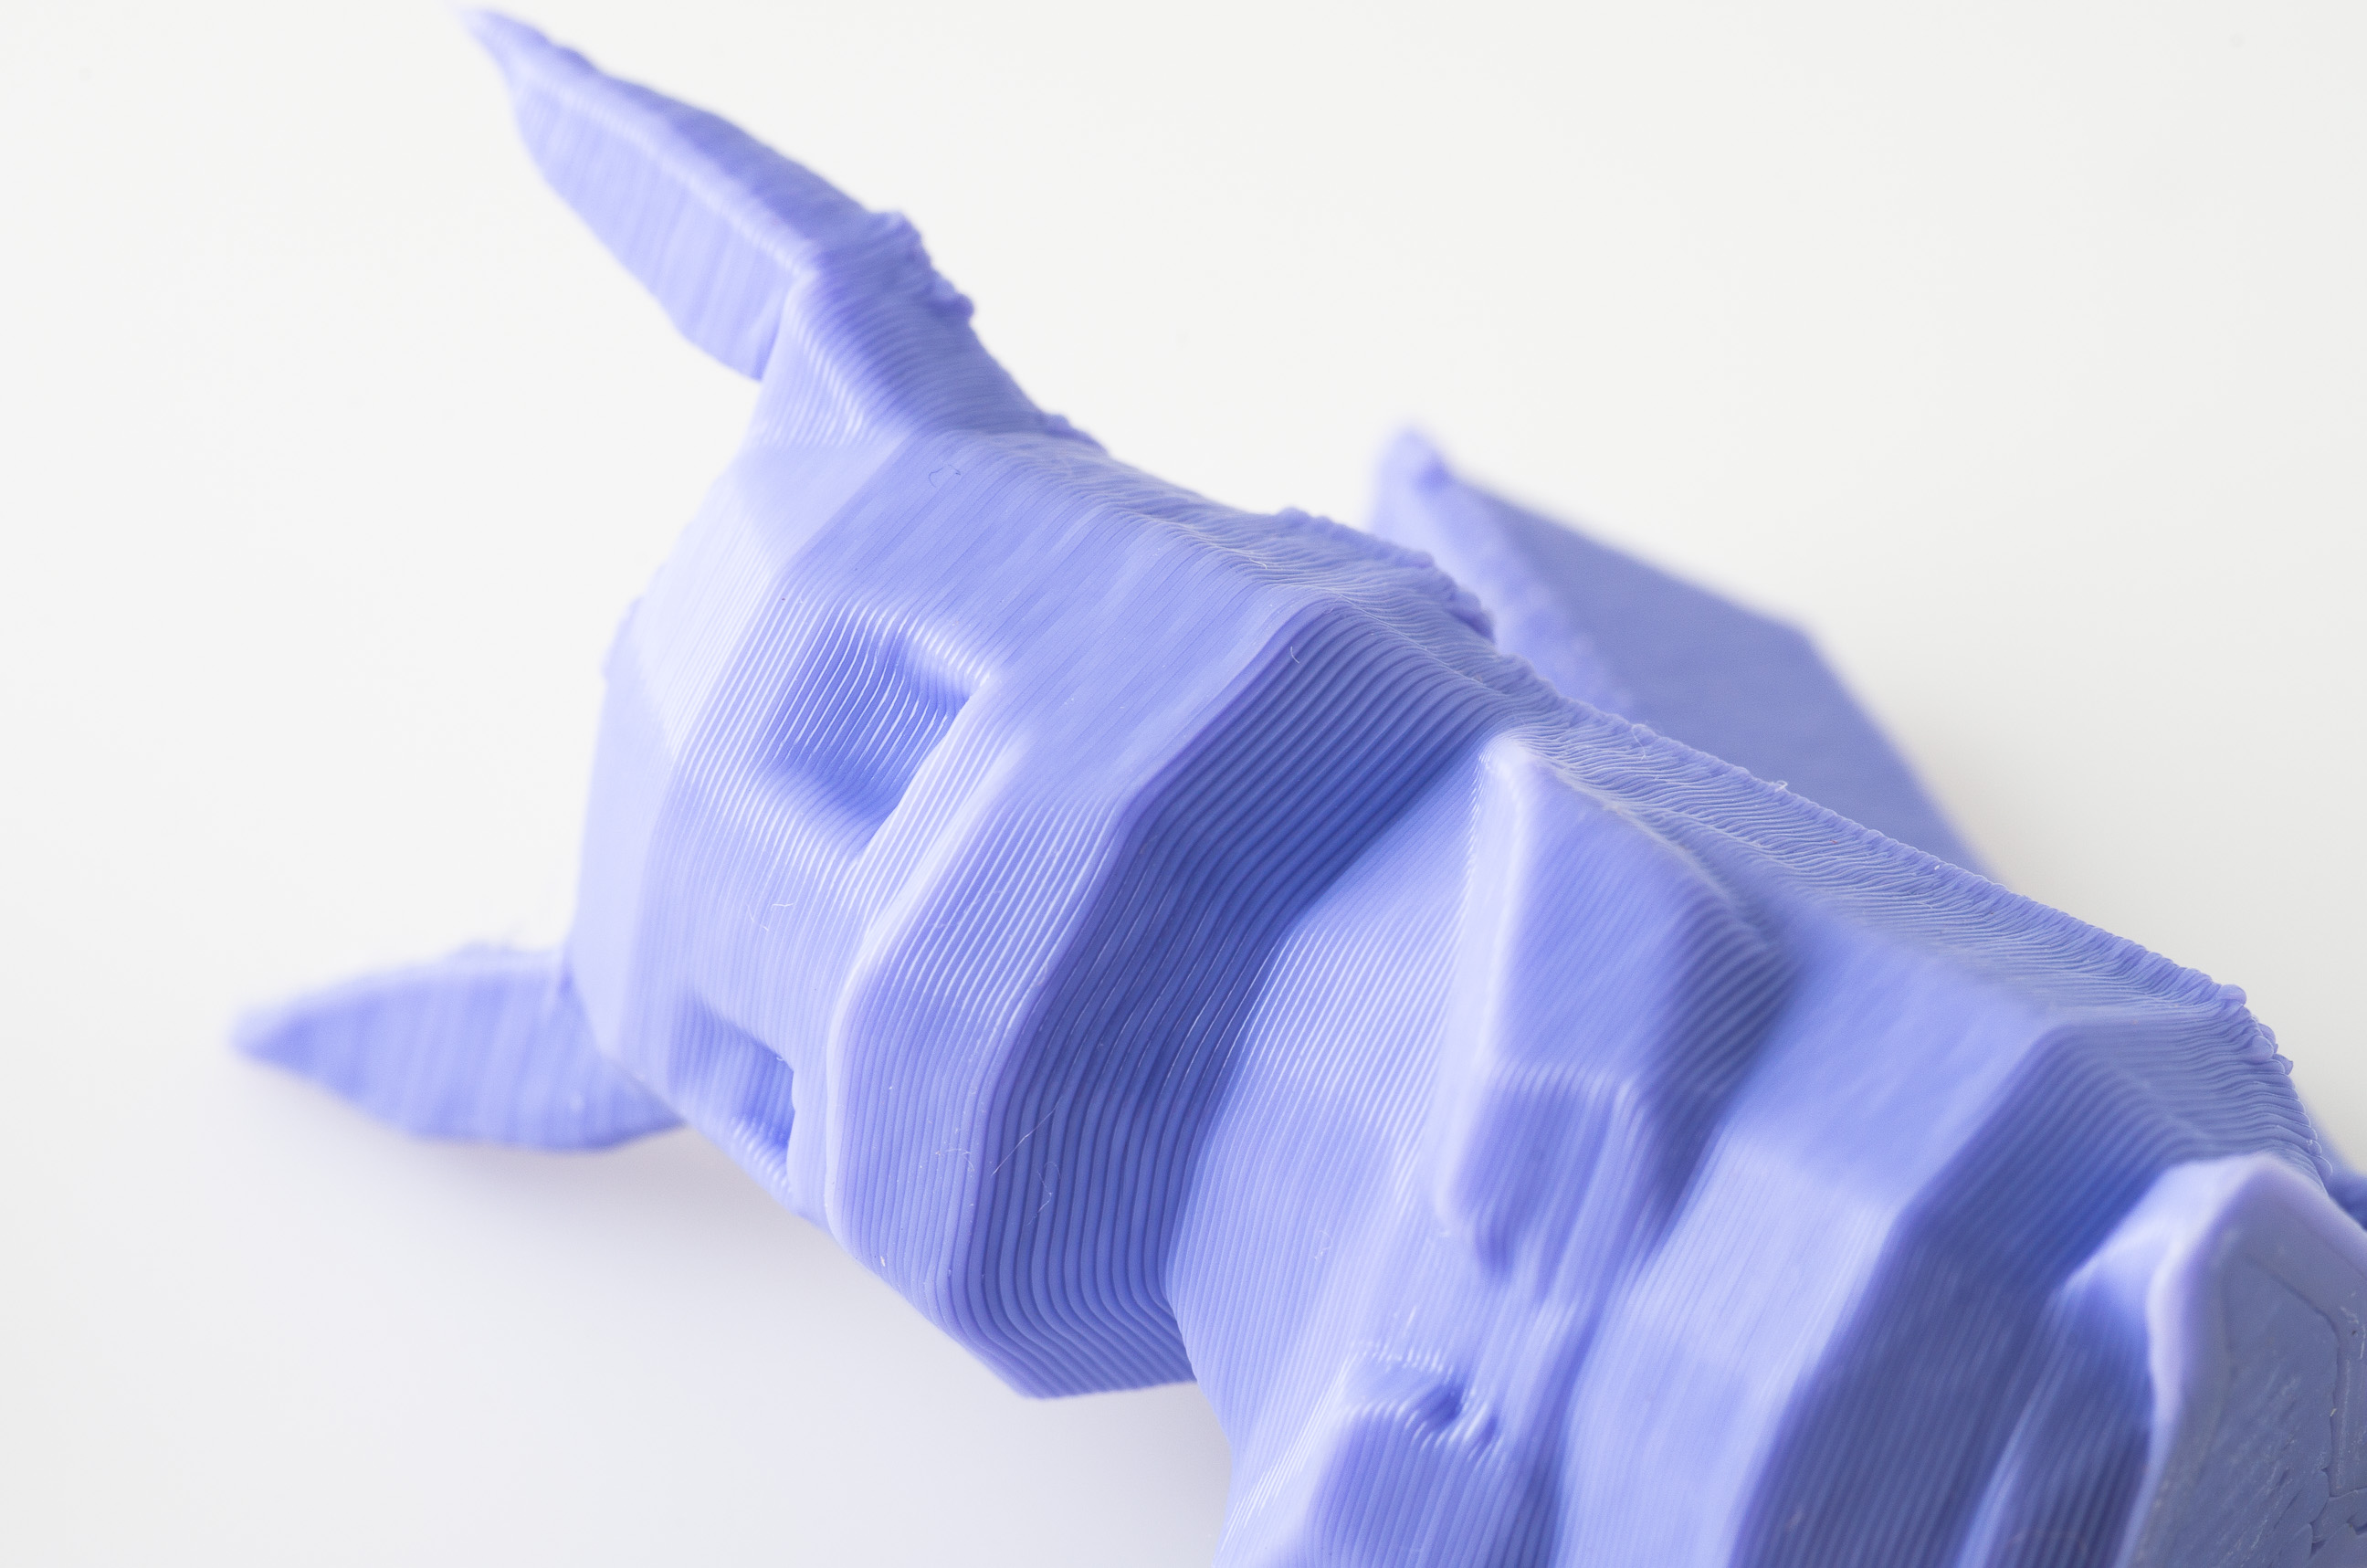
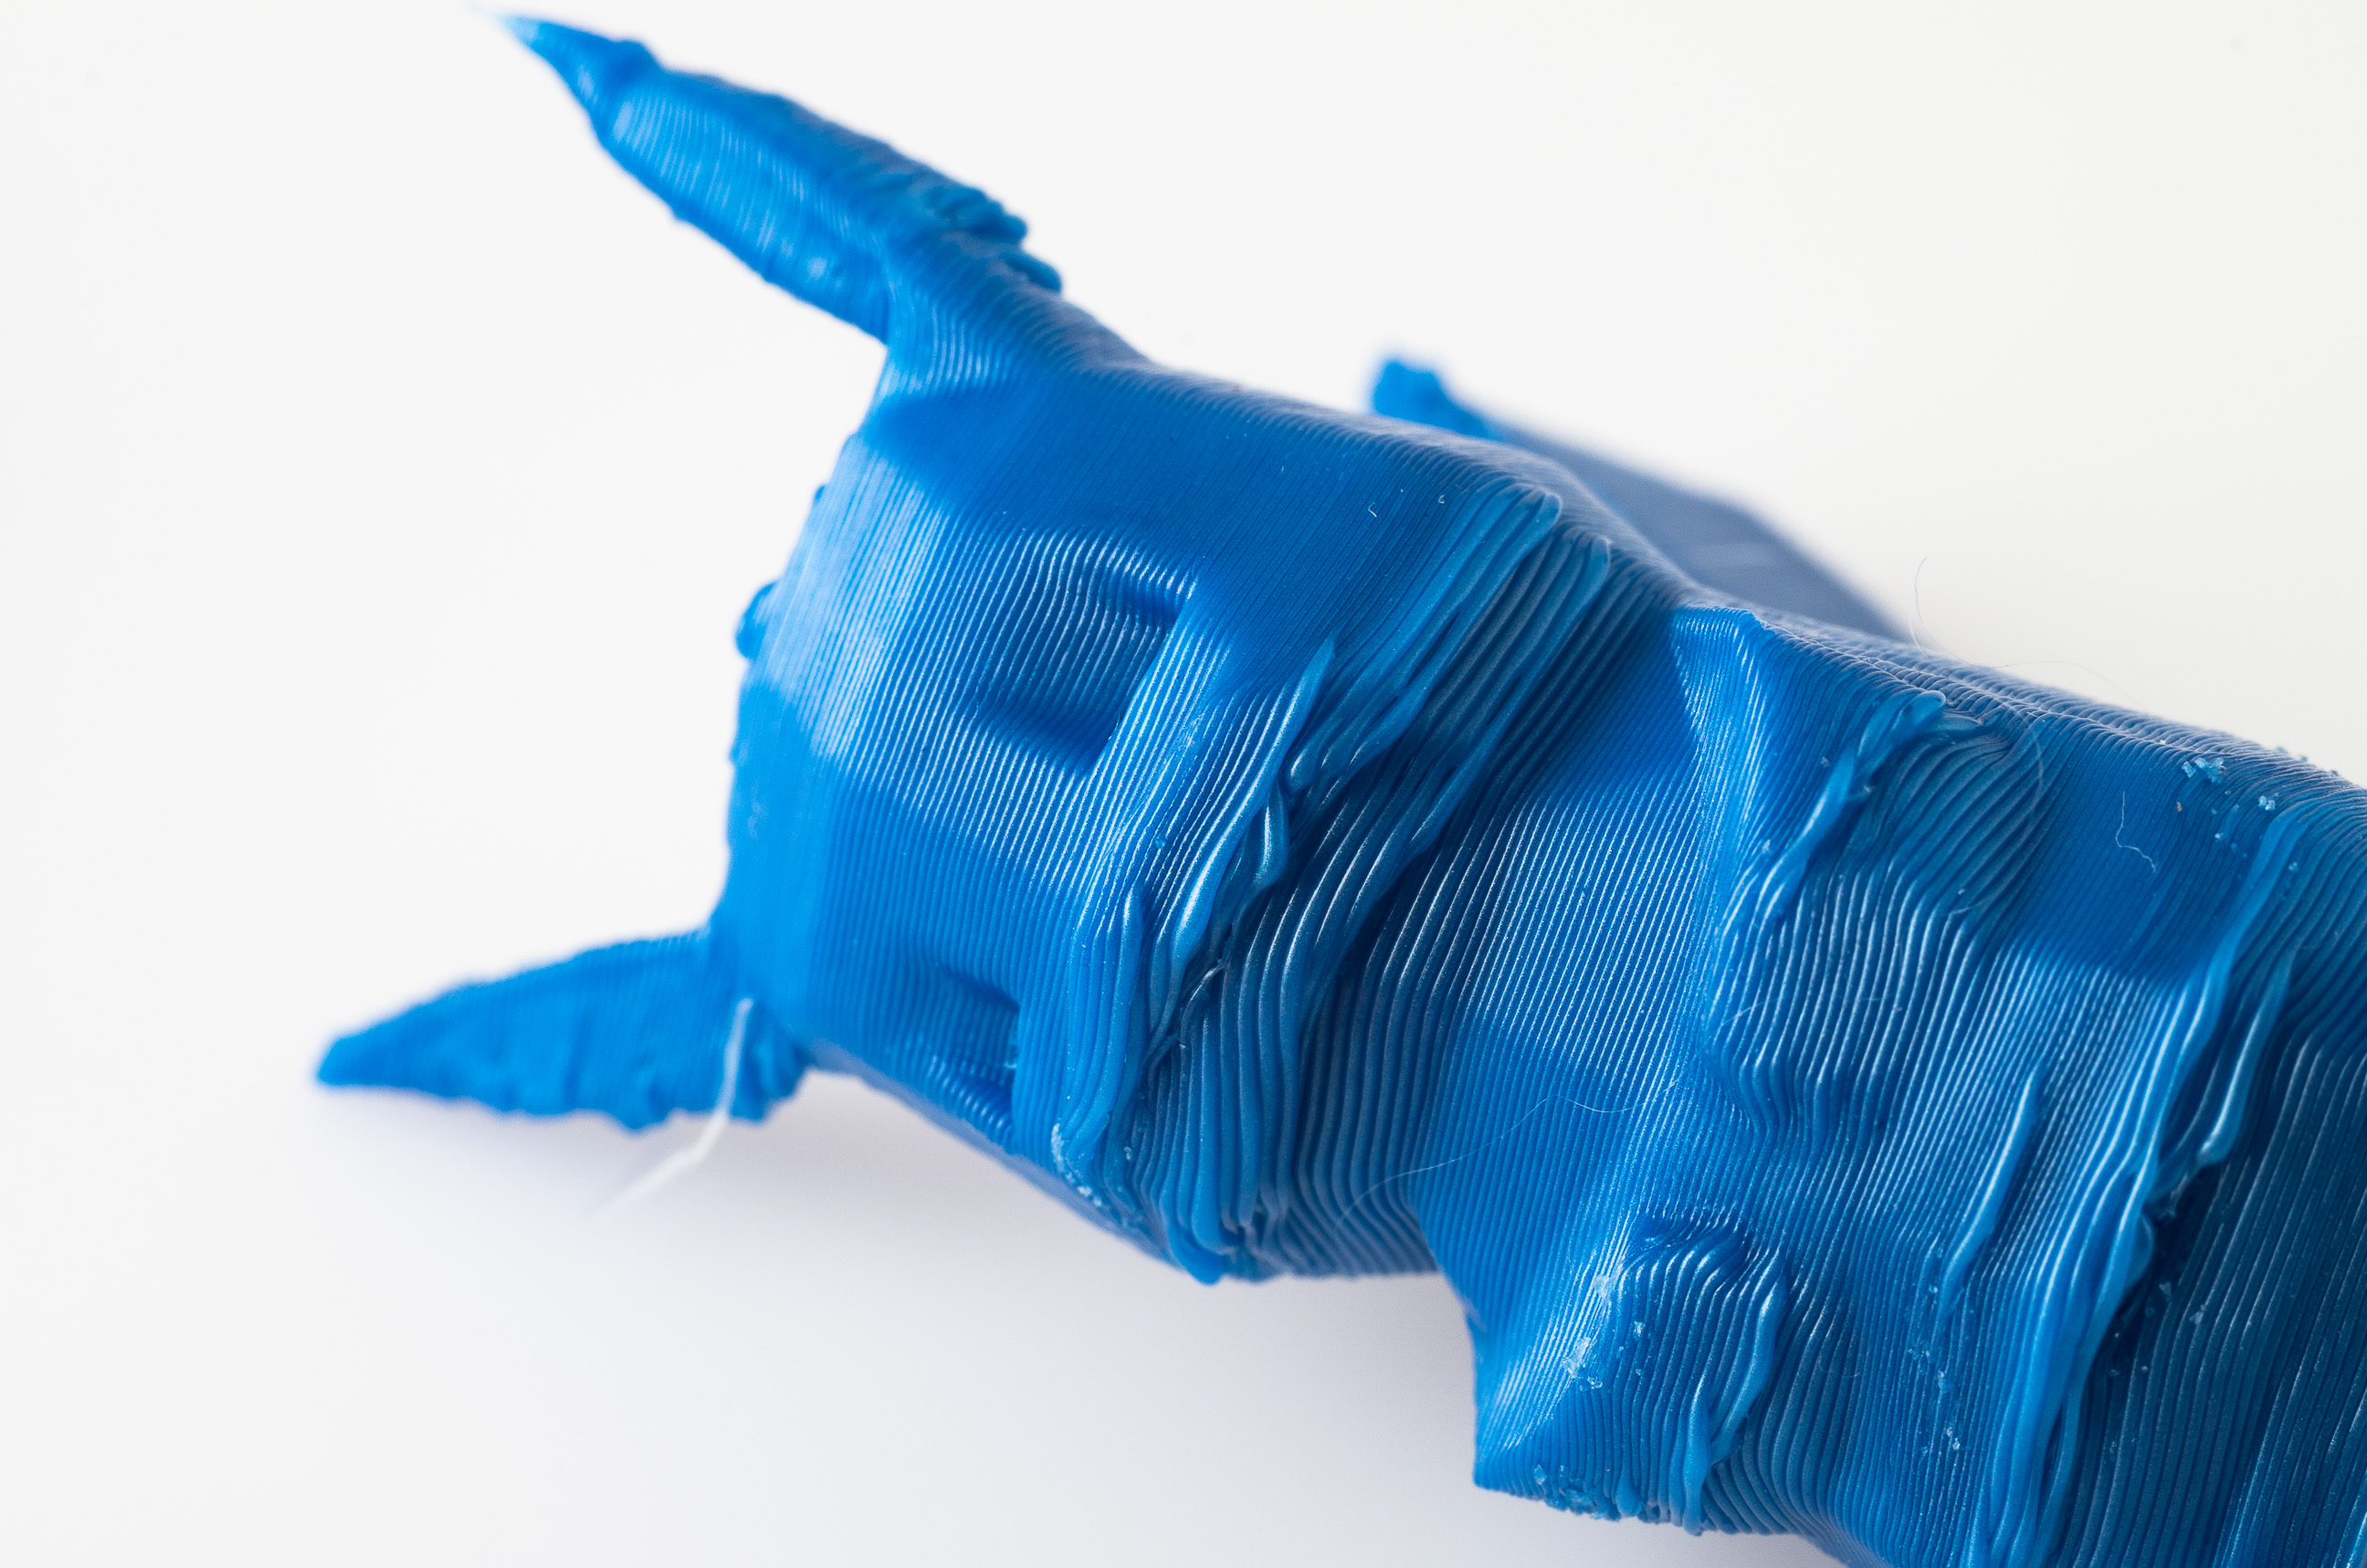
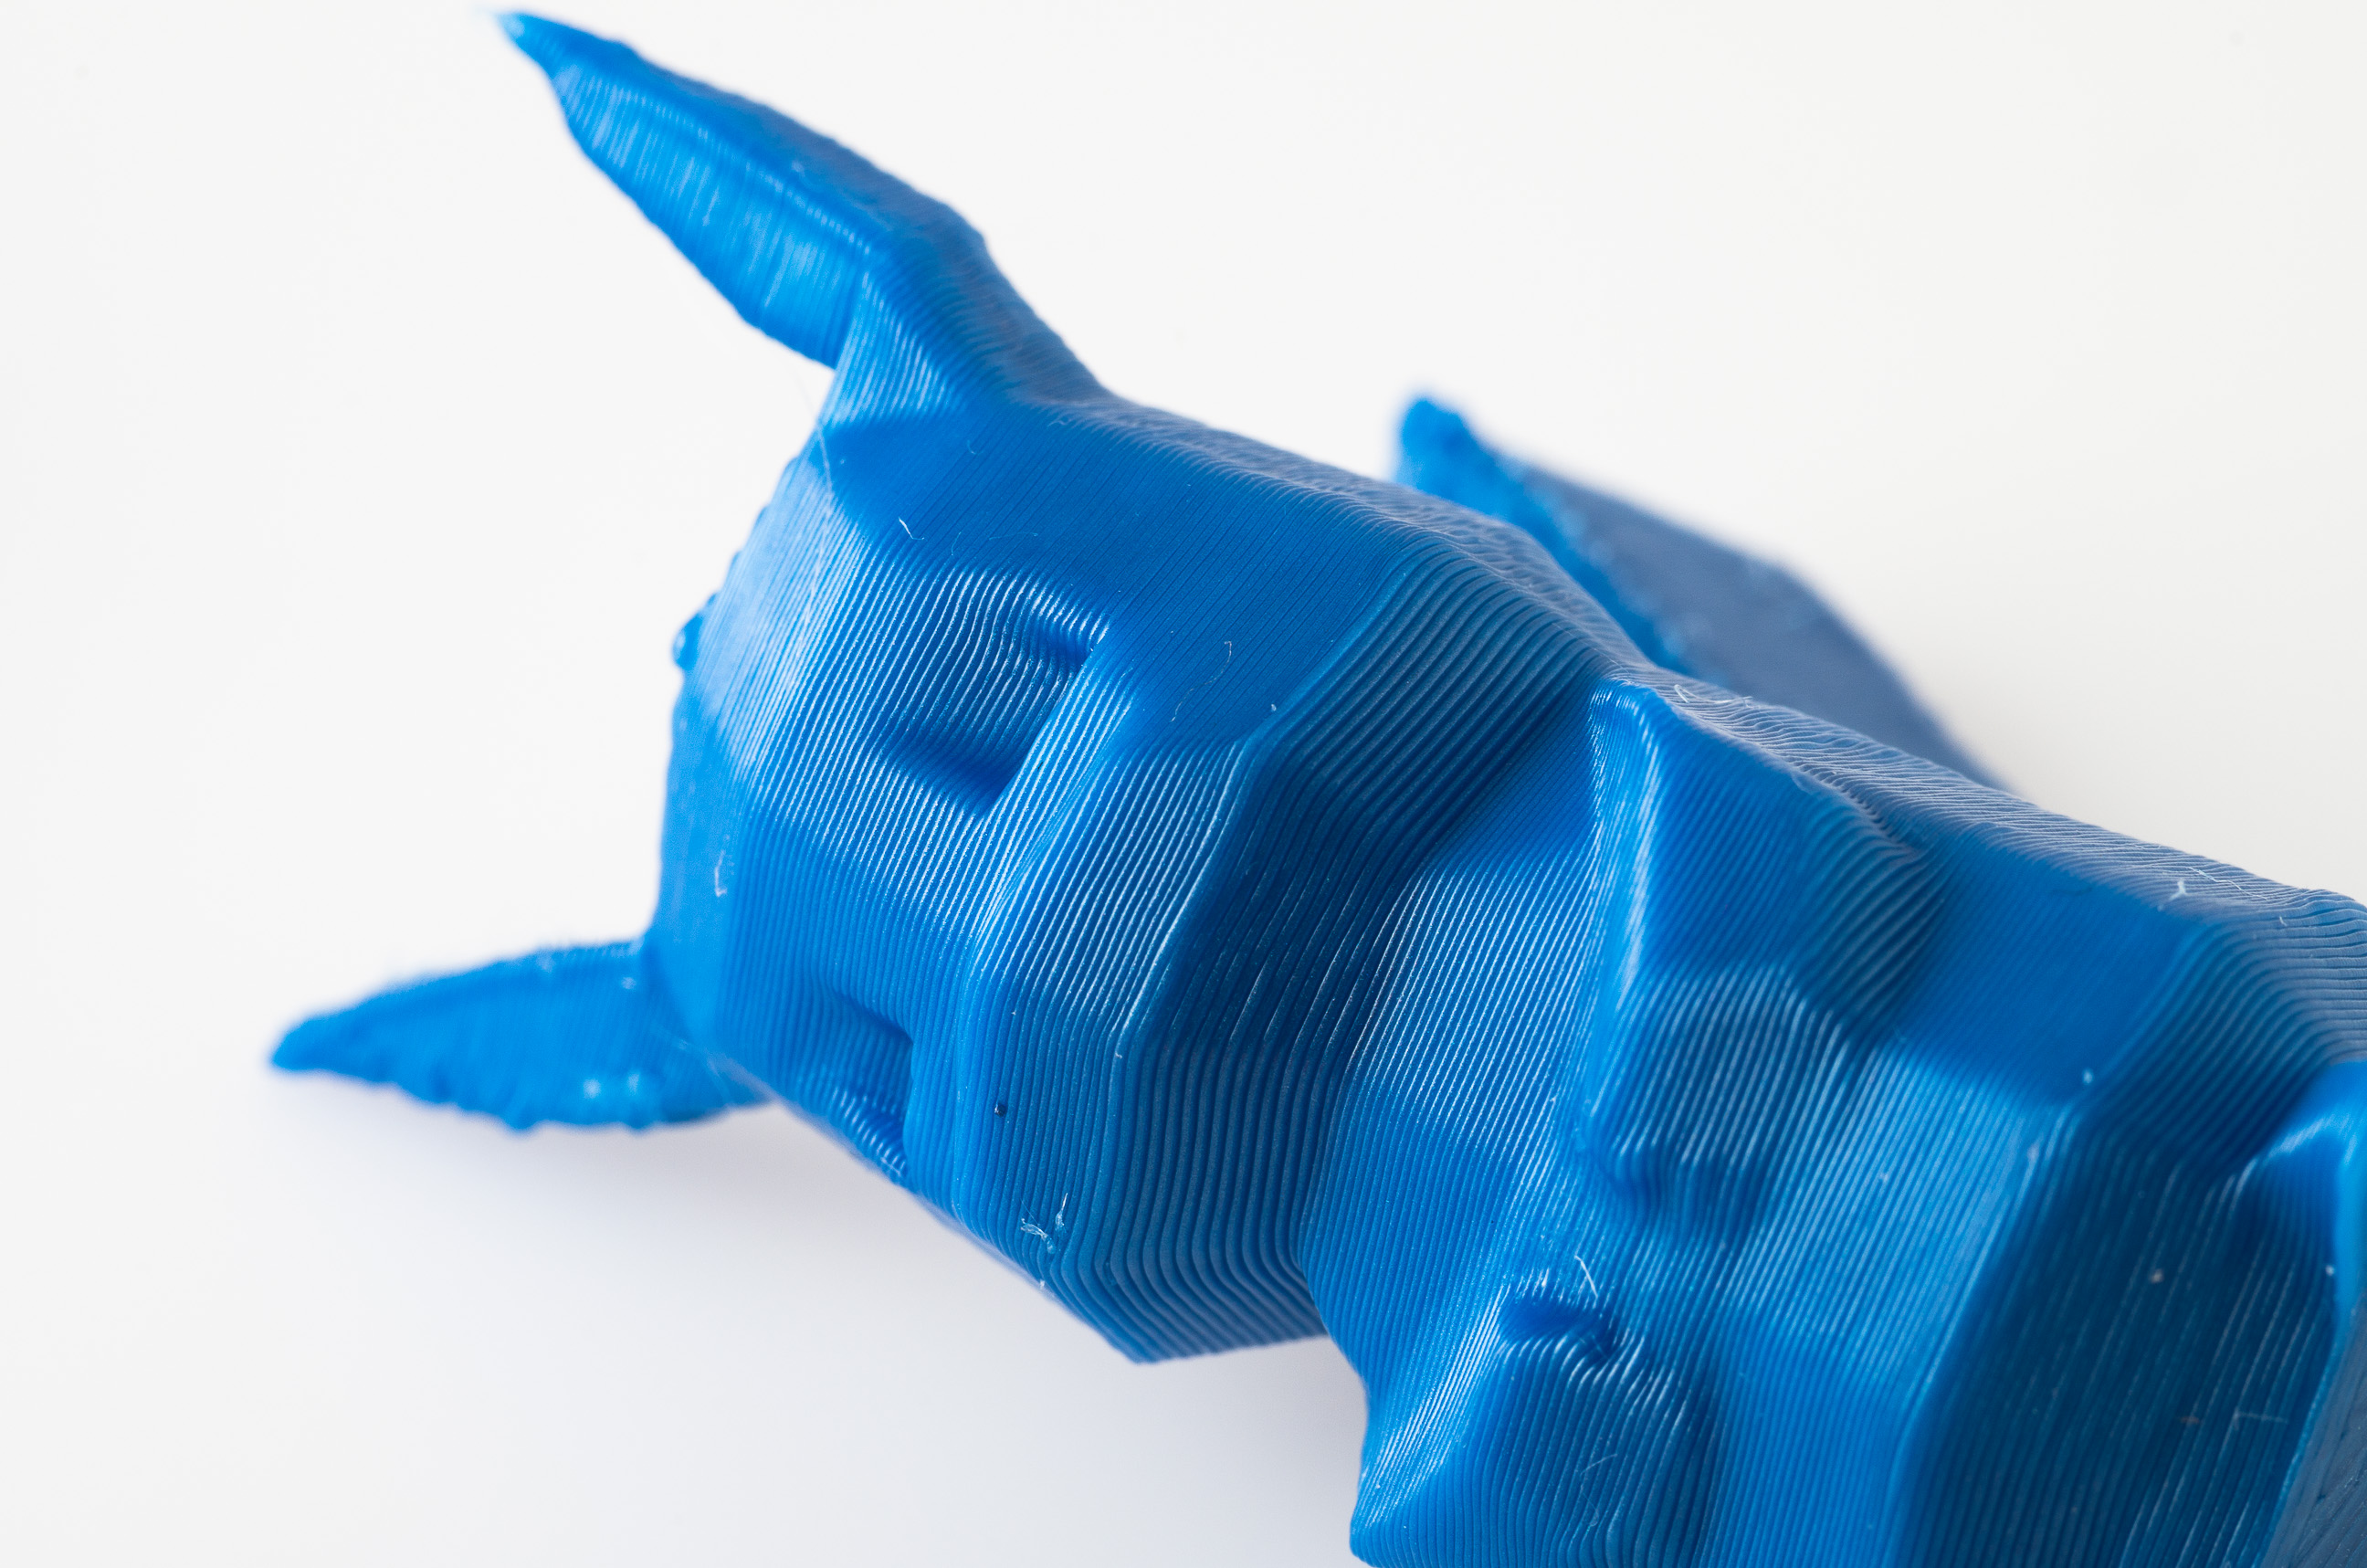
Better print quality – Print quality often decreases if you print on top of layers that haven’t solidified yet. If the previous layers are still rubbery when the new one is placed on top, you’ll often see artifacts like the ones in the pictures below.
Better overhangs – Part cooling often prevents or reduces drooping in overhanging sections
Better bridging – Without part cooling, bridges often droop, aggressive part cooling will let you bridge over much larger gaps. This isn’t just useful for models with horizontal overhangs, printing solid infill over sparse infill works better with cooling.
Better spires – Tall skinny objects often don’t print well without part cooling, they end up a blobby mess. Without part cooling, you often have to resort to using a minimum layer time (and have the nozzle idly oozing filament) or print multiple objects (which can result in stringiness).
Faster printing – The faster you print, the faster you need to cool the plastic to ensure the previous layer is solid before you add the next. This is true whether you’re printing faster though faster motion, wider extrusion, or thicker layers.
Stronger prints – This one is a bit counterintuitive, part cooling itself doesn’t make the parts stronger (in will usually reduce the strength of the interlayer bonds). But this is only true if you maintain a constant temperature. If I want a stronger print, I don’t reduce the cooling, I increase the print temperature (or the extrusion width), and it’s the cooling that allows me to do that without a decrease in print quality.
More flexibility with print temperature selection – Hotend temperature controls many other factors, including transparency, glossiness, even color with some wood filaments. To be able to use temperature control effectively, you need to be able to print at different temperatures. Without part cooling, it’s hard to go outside a narrow band of temperatures without a significant loss of print quality.
Test Results
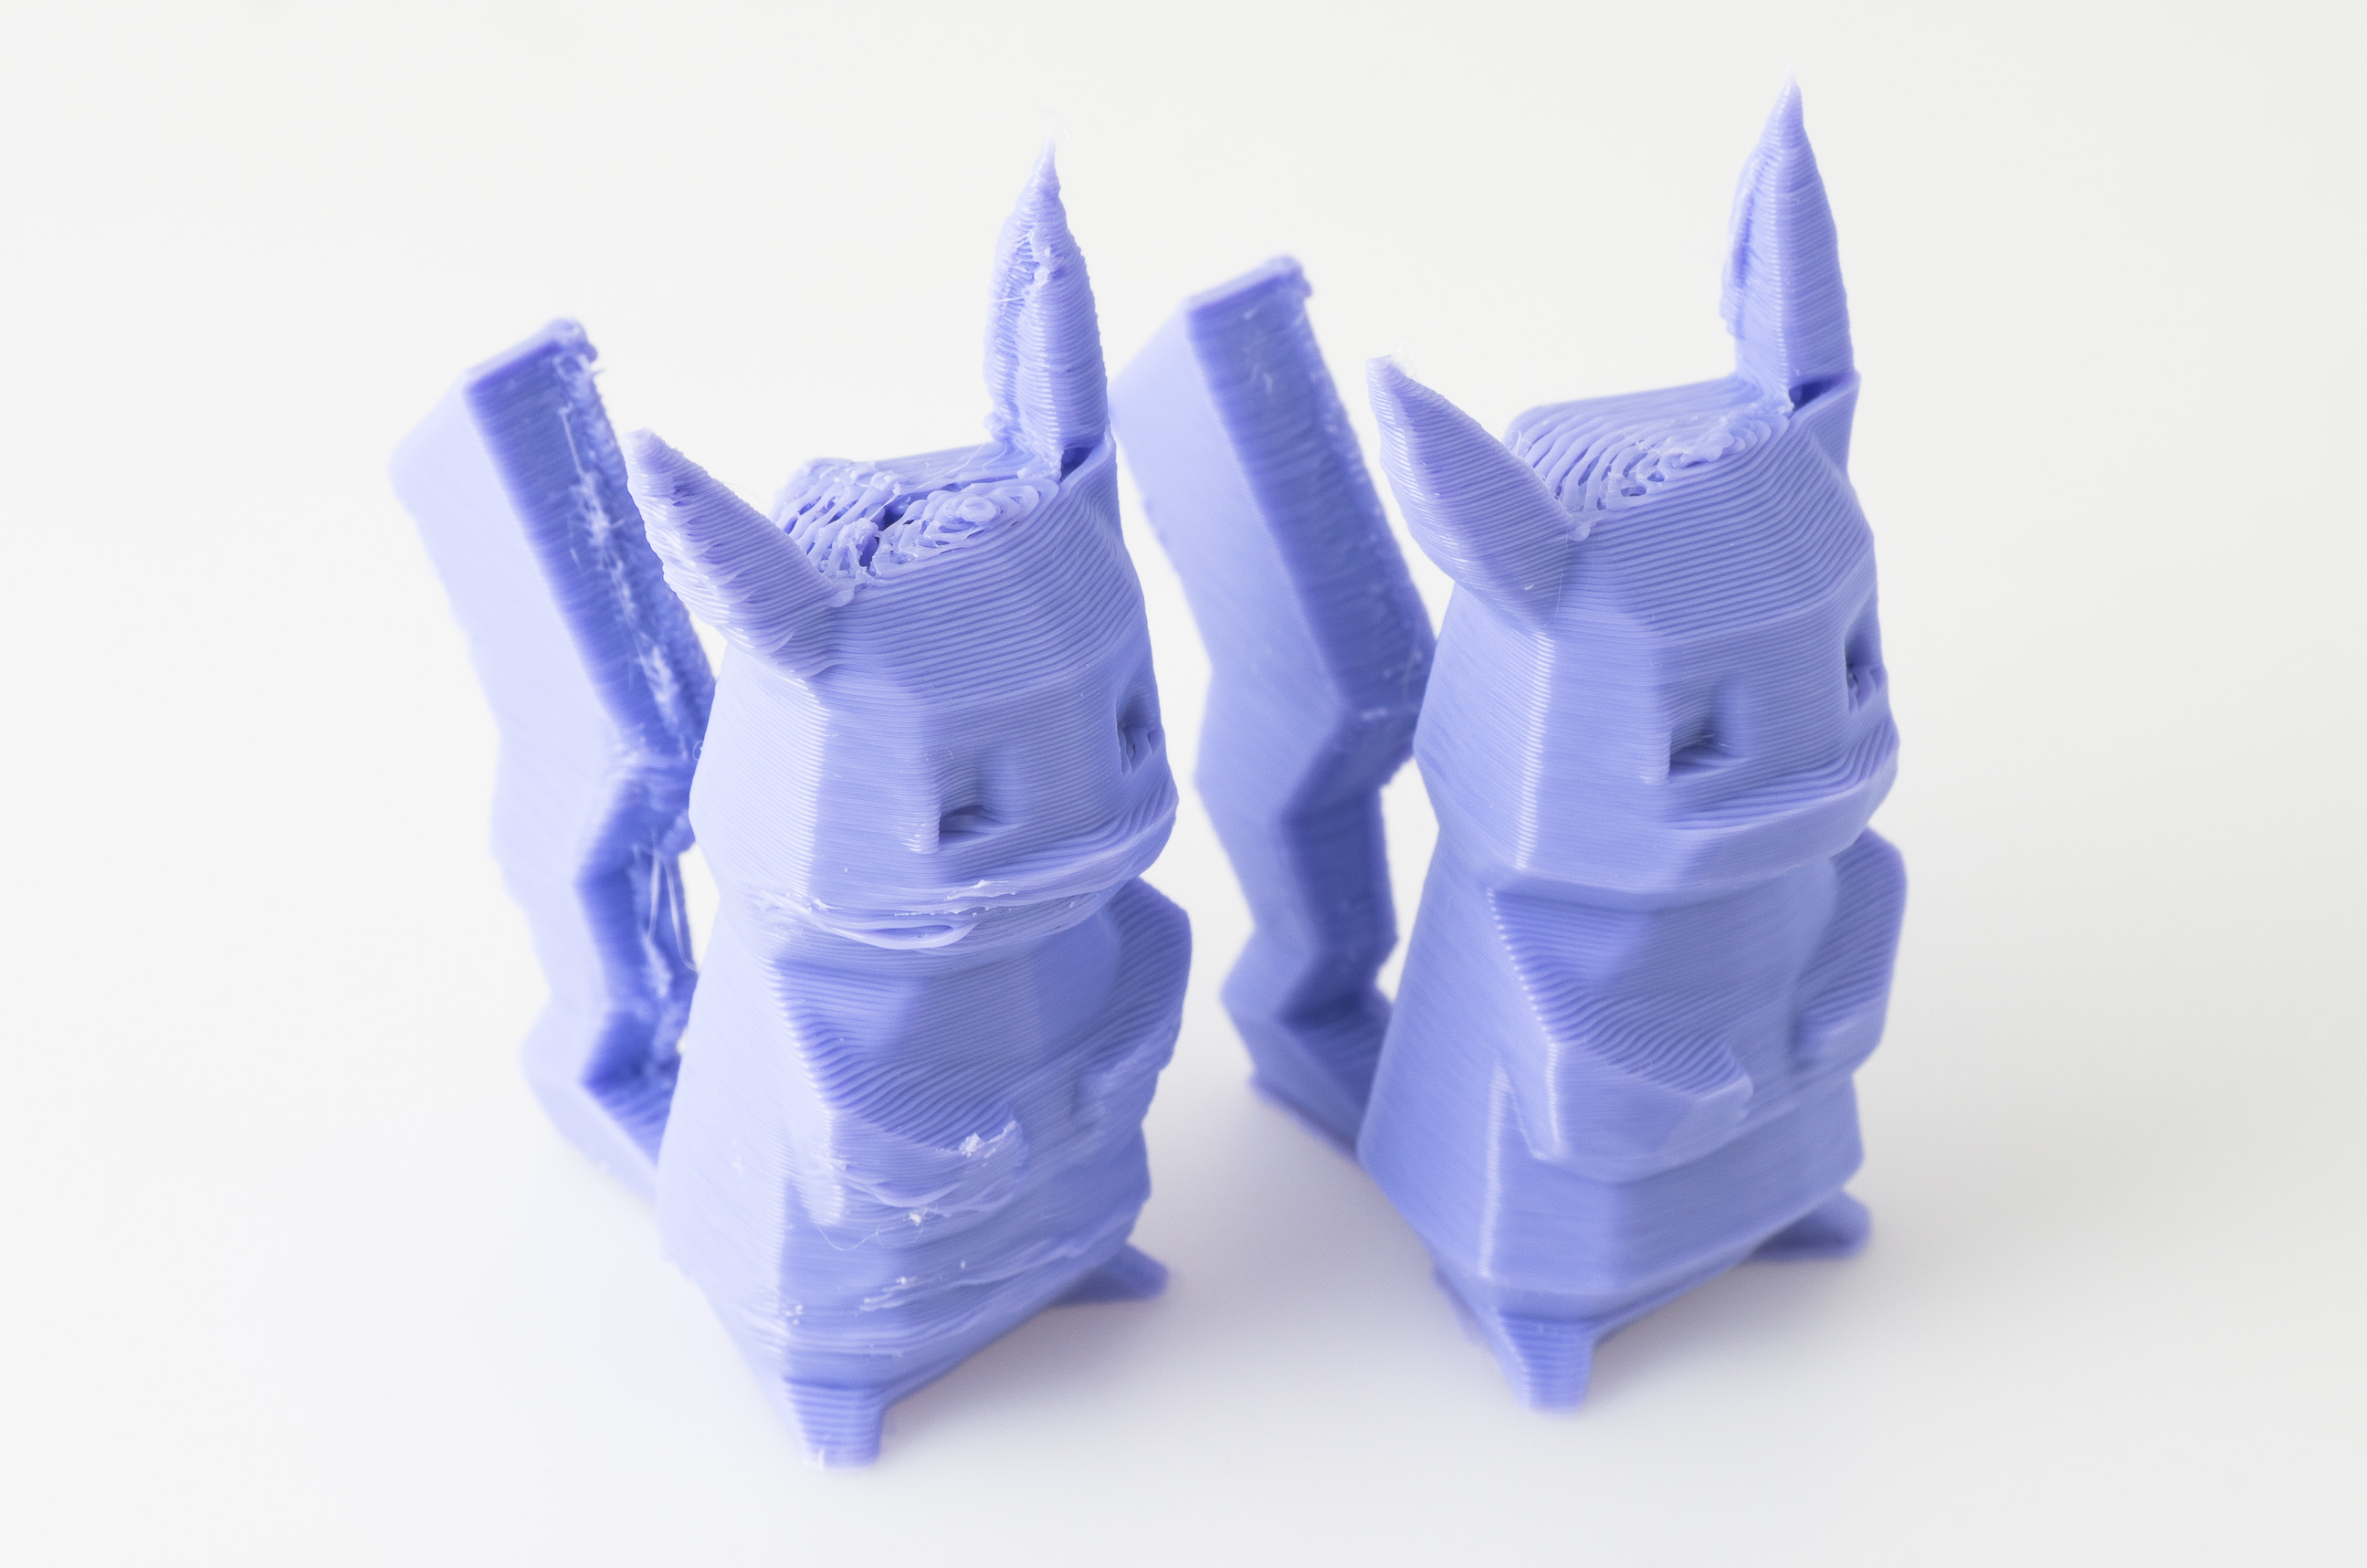
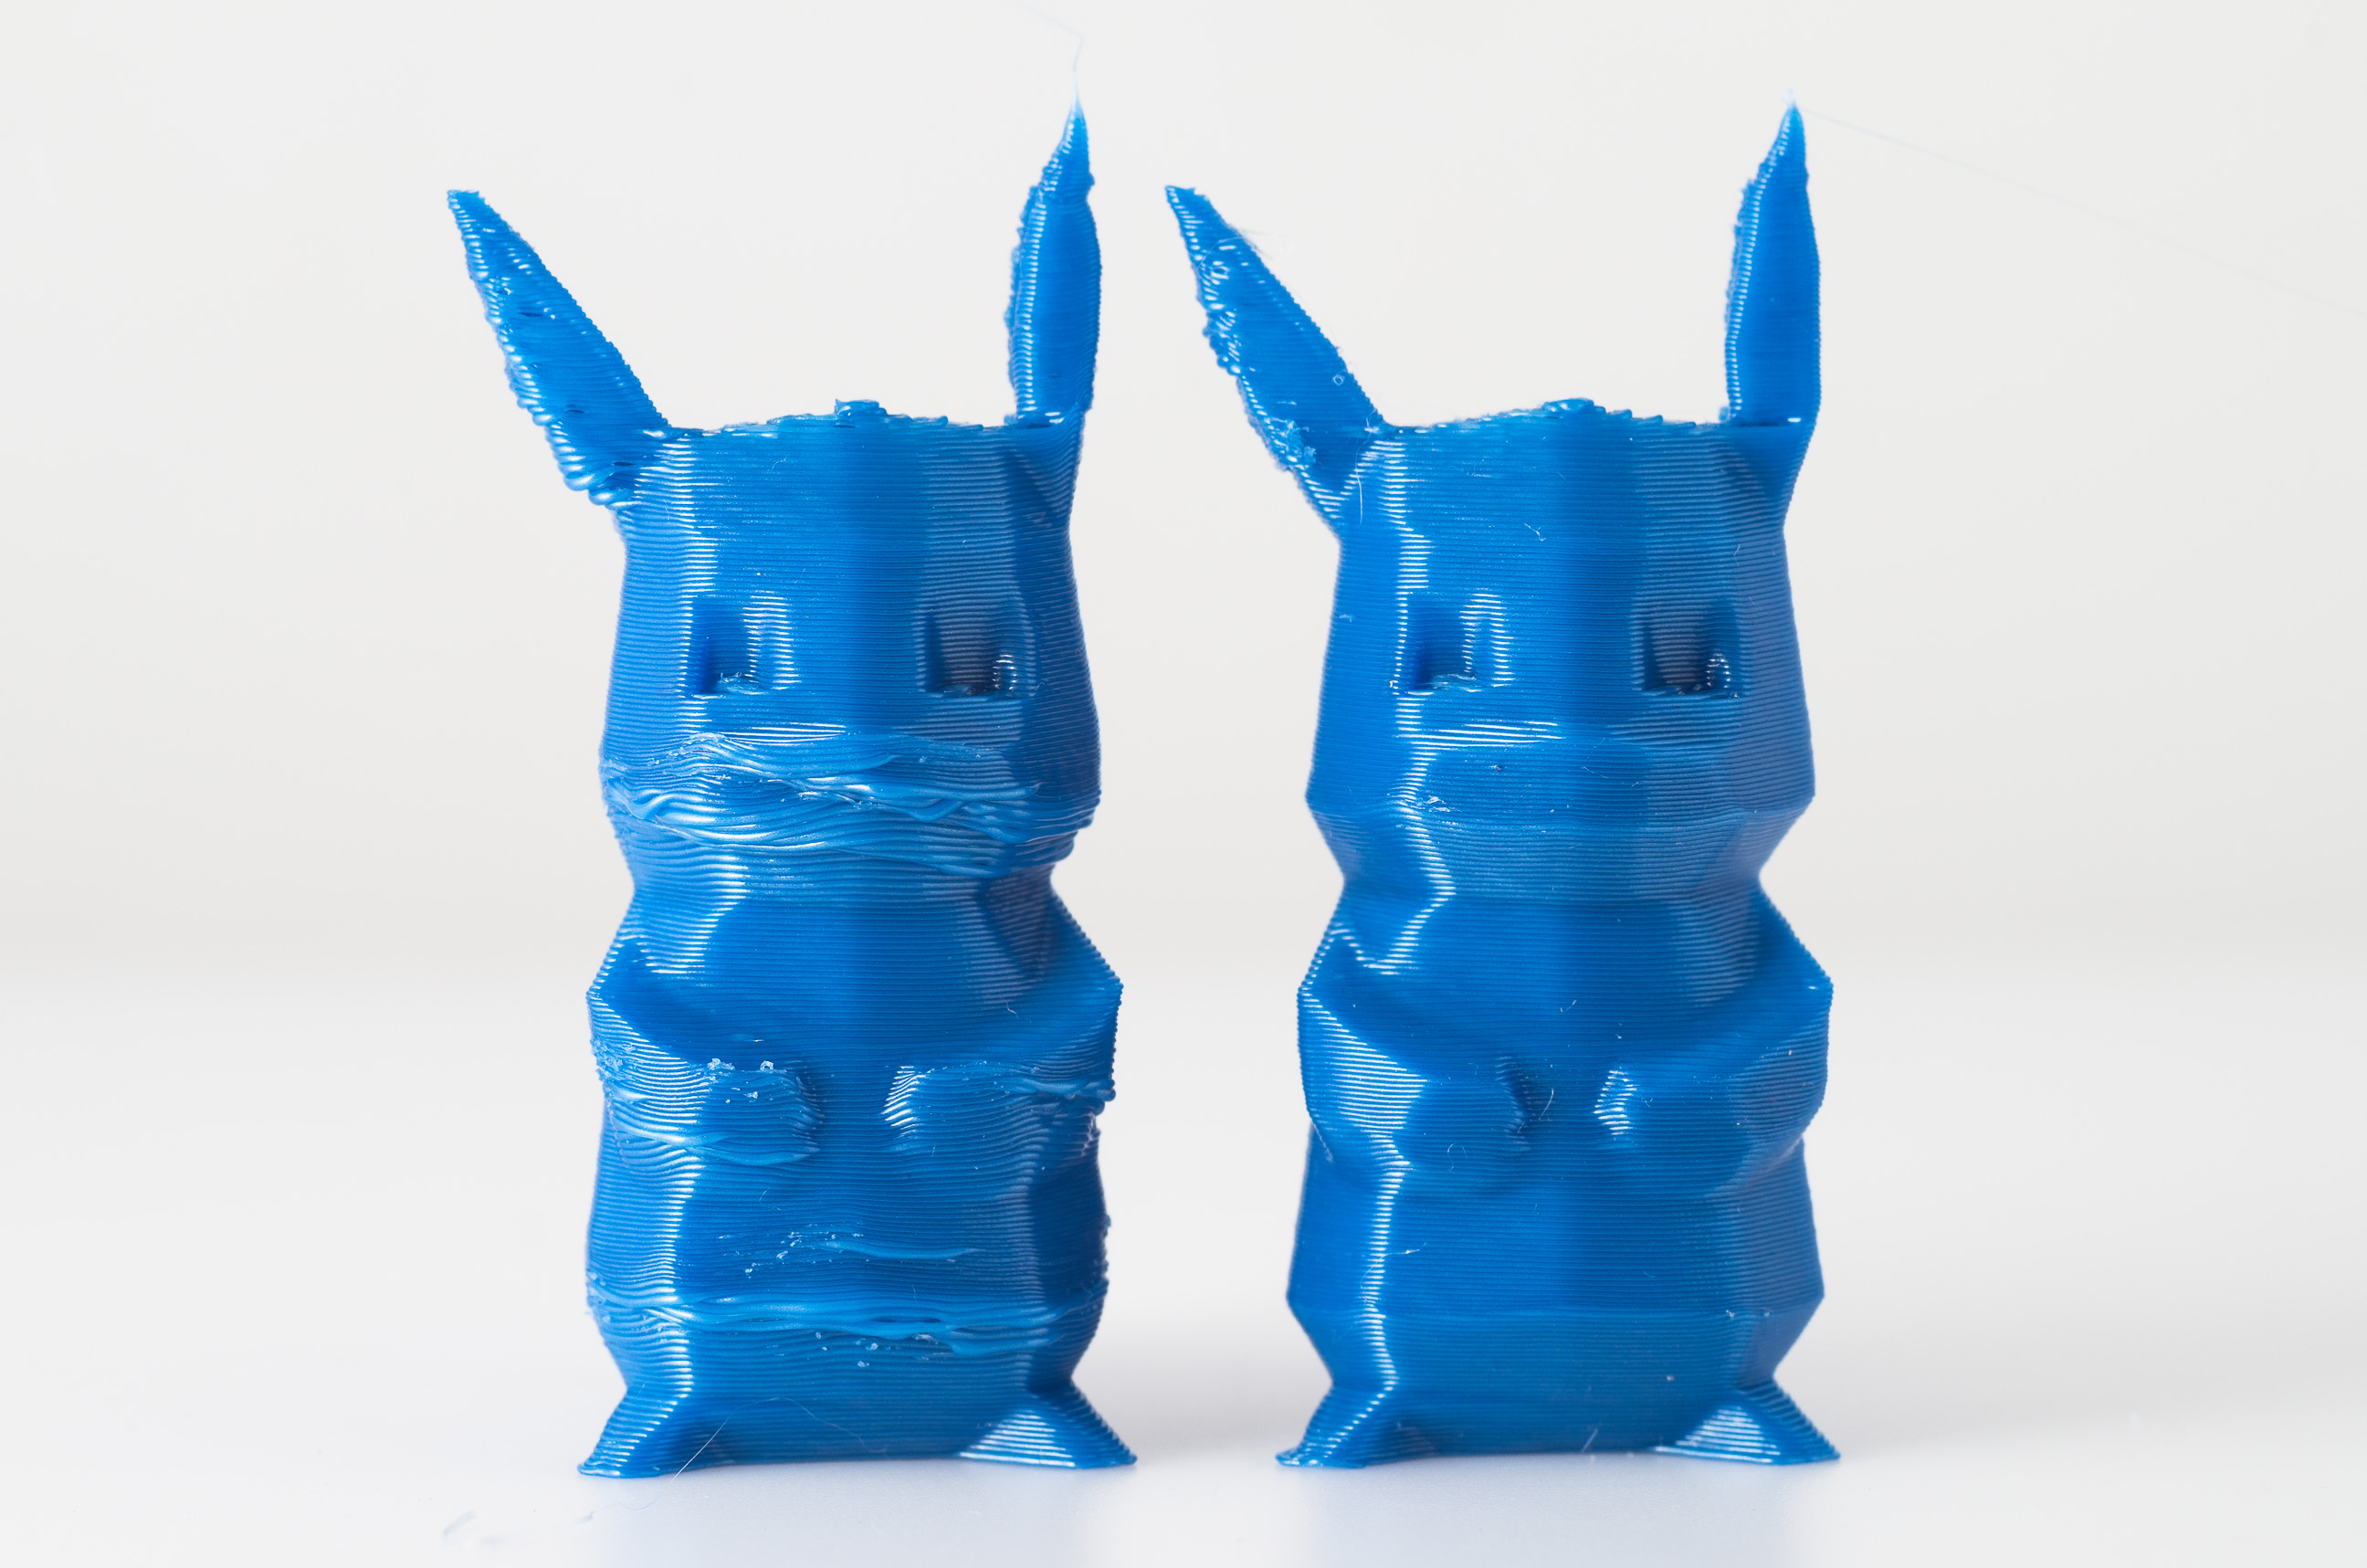
The choice of model, filament, and settings are designed to demonstrate the effects of the part cooling (overhangs, opaque filament, short minimum layer time, etc.). There are many cases where the difference is insignificant, or favor running without part cooling. If I was doing a real print without part cooling (not just running tests), I would do other things to compensate for the lack of cooling. For example, I might print two at a time to give the layers more time to solidify, use transparent filaments so any defects are less visible, etc.
Models printed without part cooling are shown on the left, models printed with part cooling on the right. Blue models were printed at 175°C and lavender models were printed at 195°C (these are the temperatures send to Tiko, the actual temperature may be, and I suspect are, very different). The gcode used is identical between the cooled and non-cooled prints. Click on the pictures to see a larger version. These prints were sliced with Simplify3D, using Atomic Filament / Naturework Ingeo PLA.
all of the pictures below are of Low-Poly Pikachu by FLOWALISTIK


Part Cooling and the Tiko Slicer
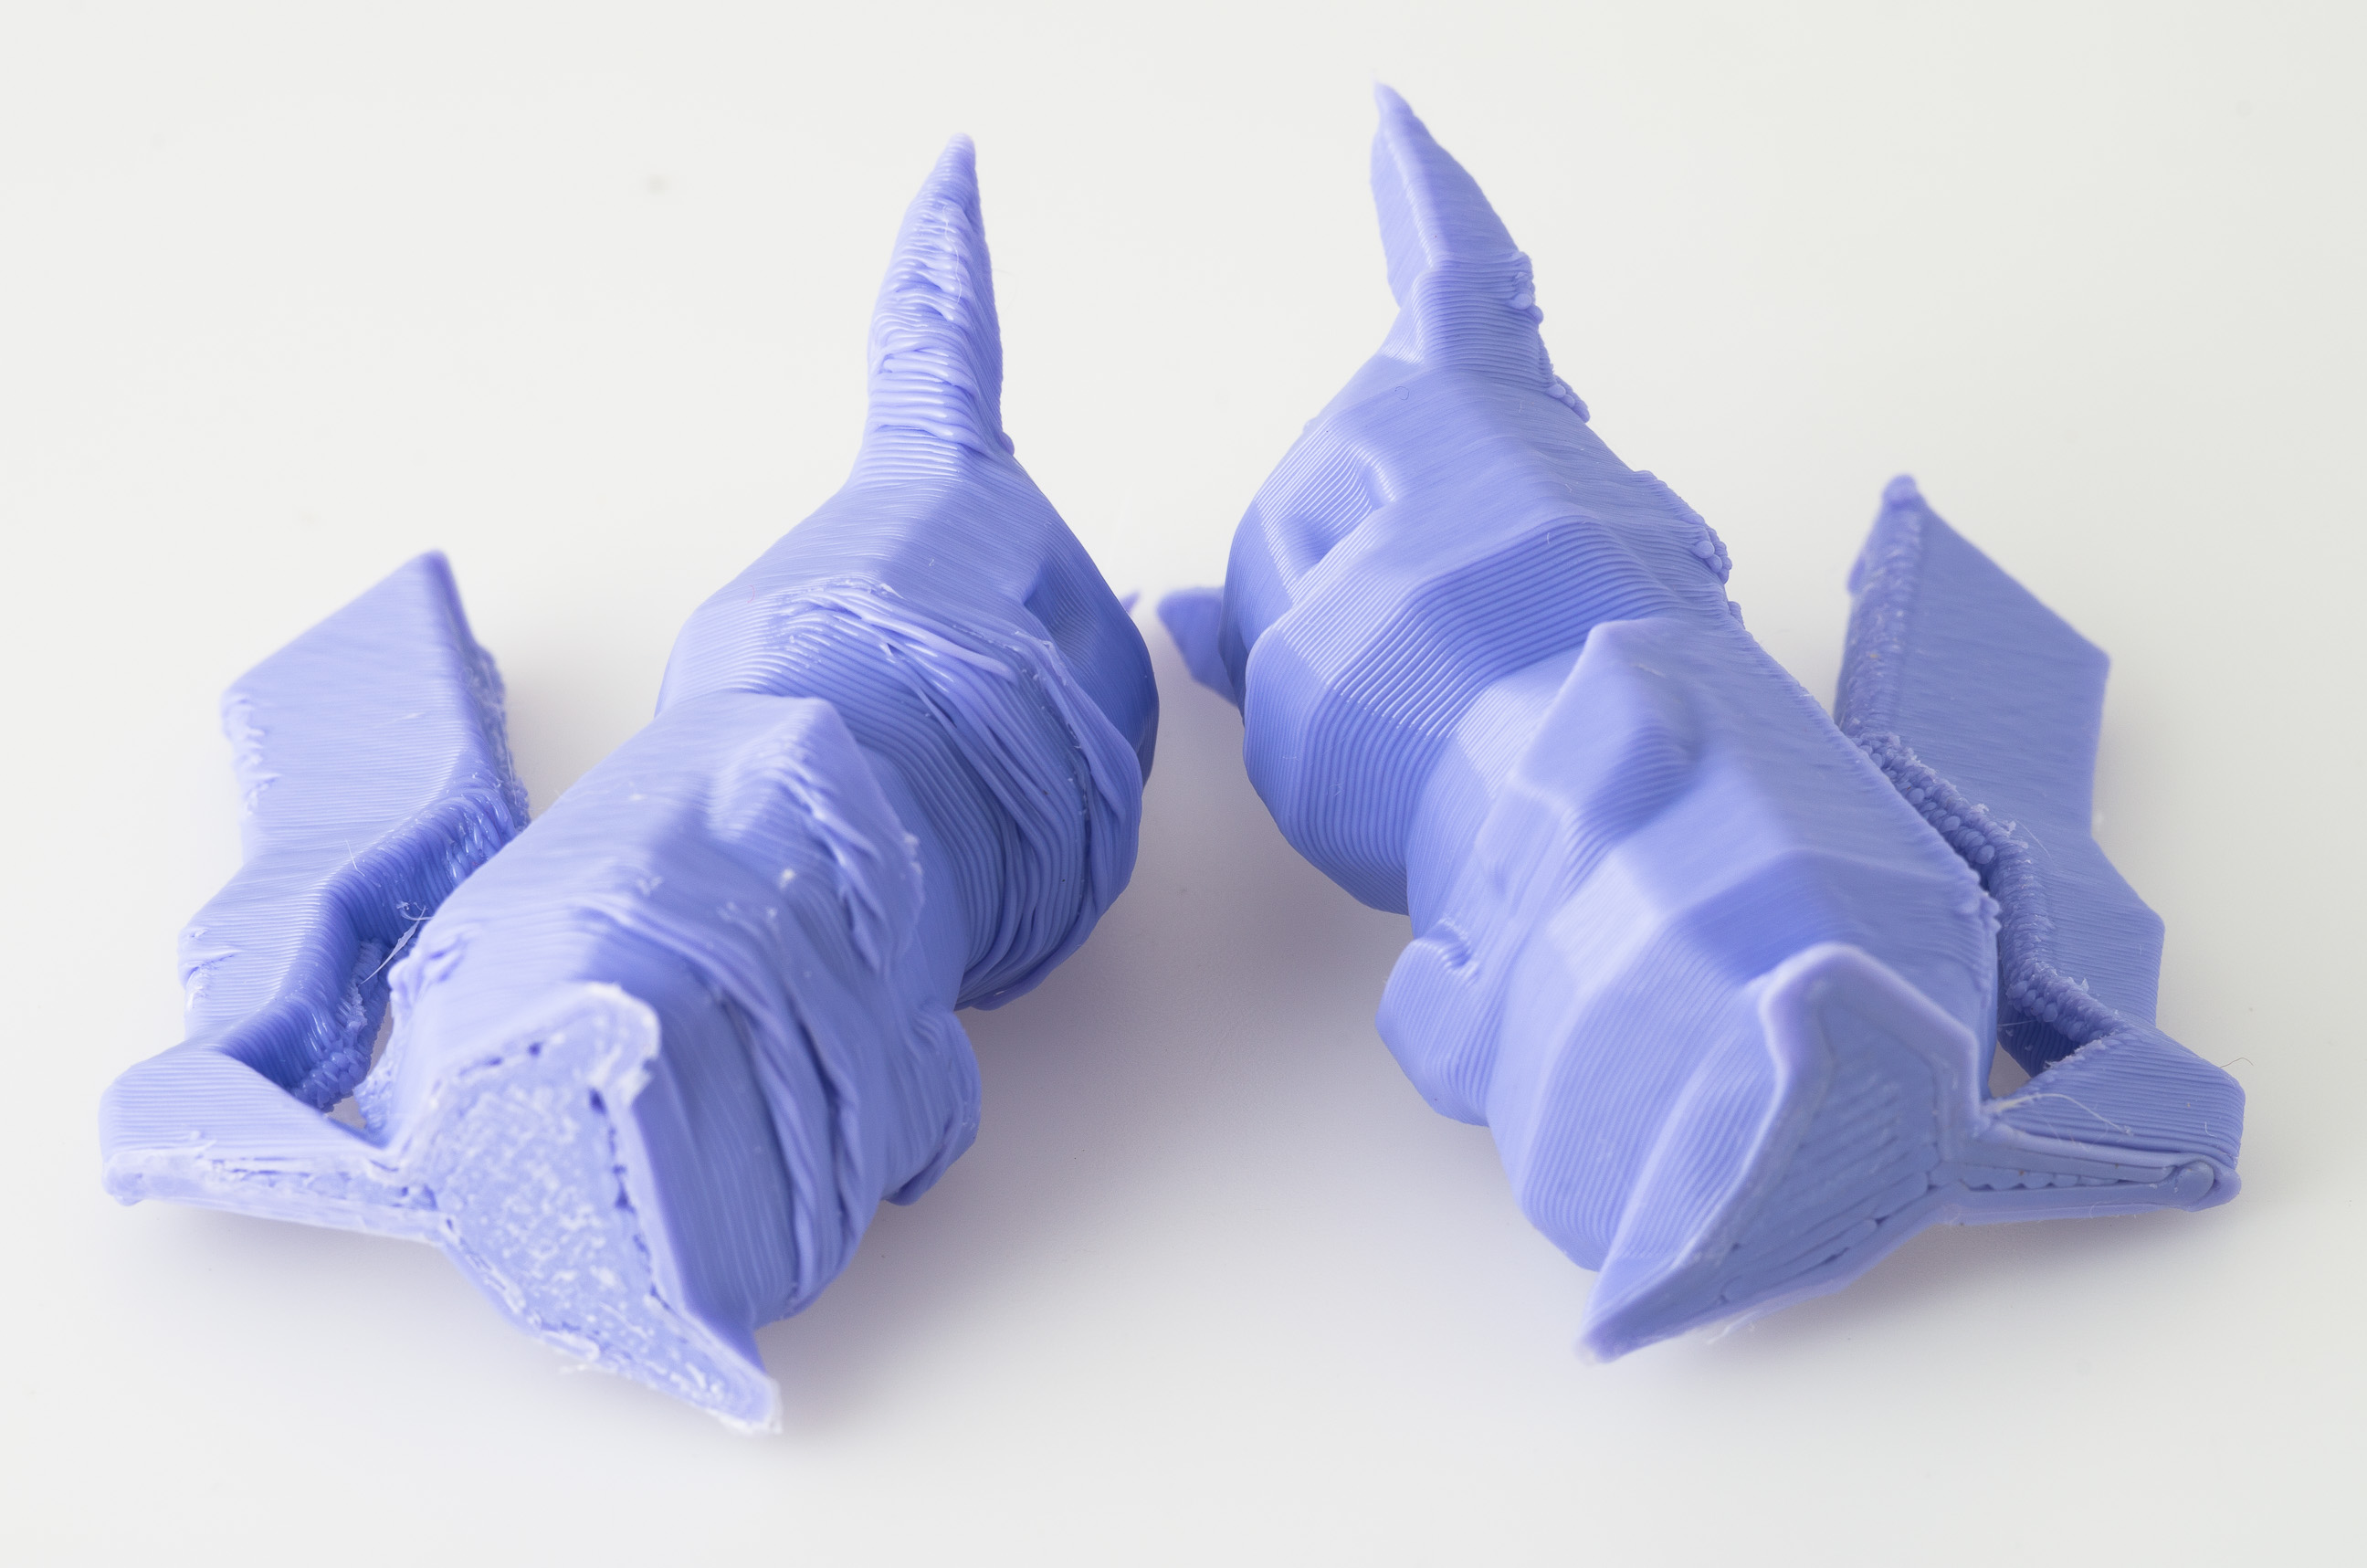
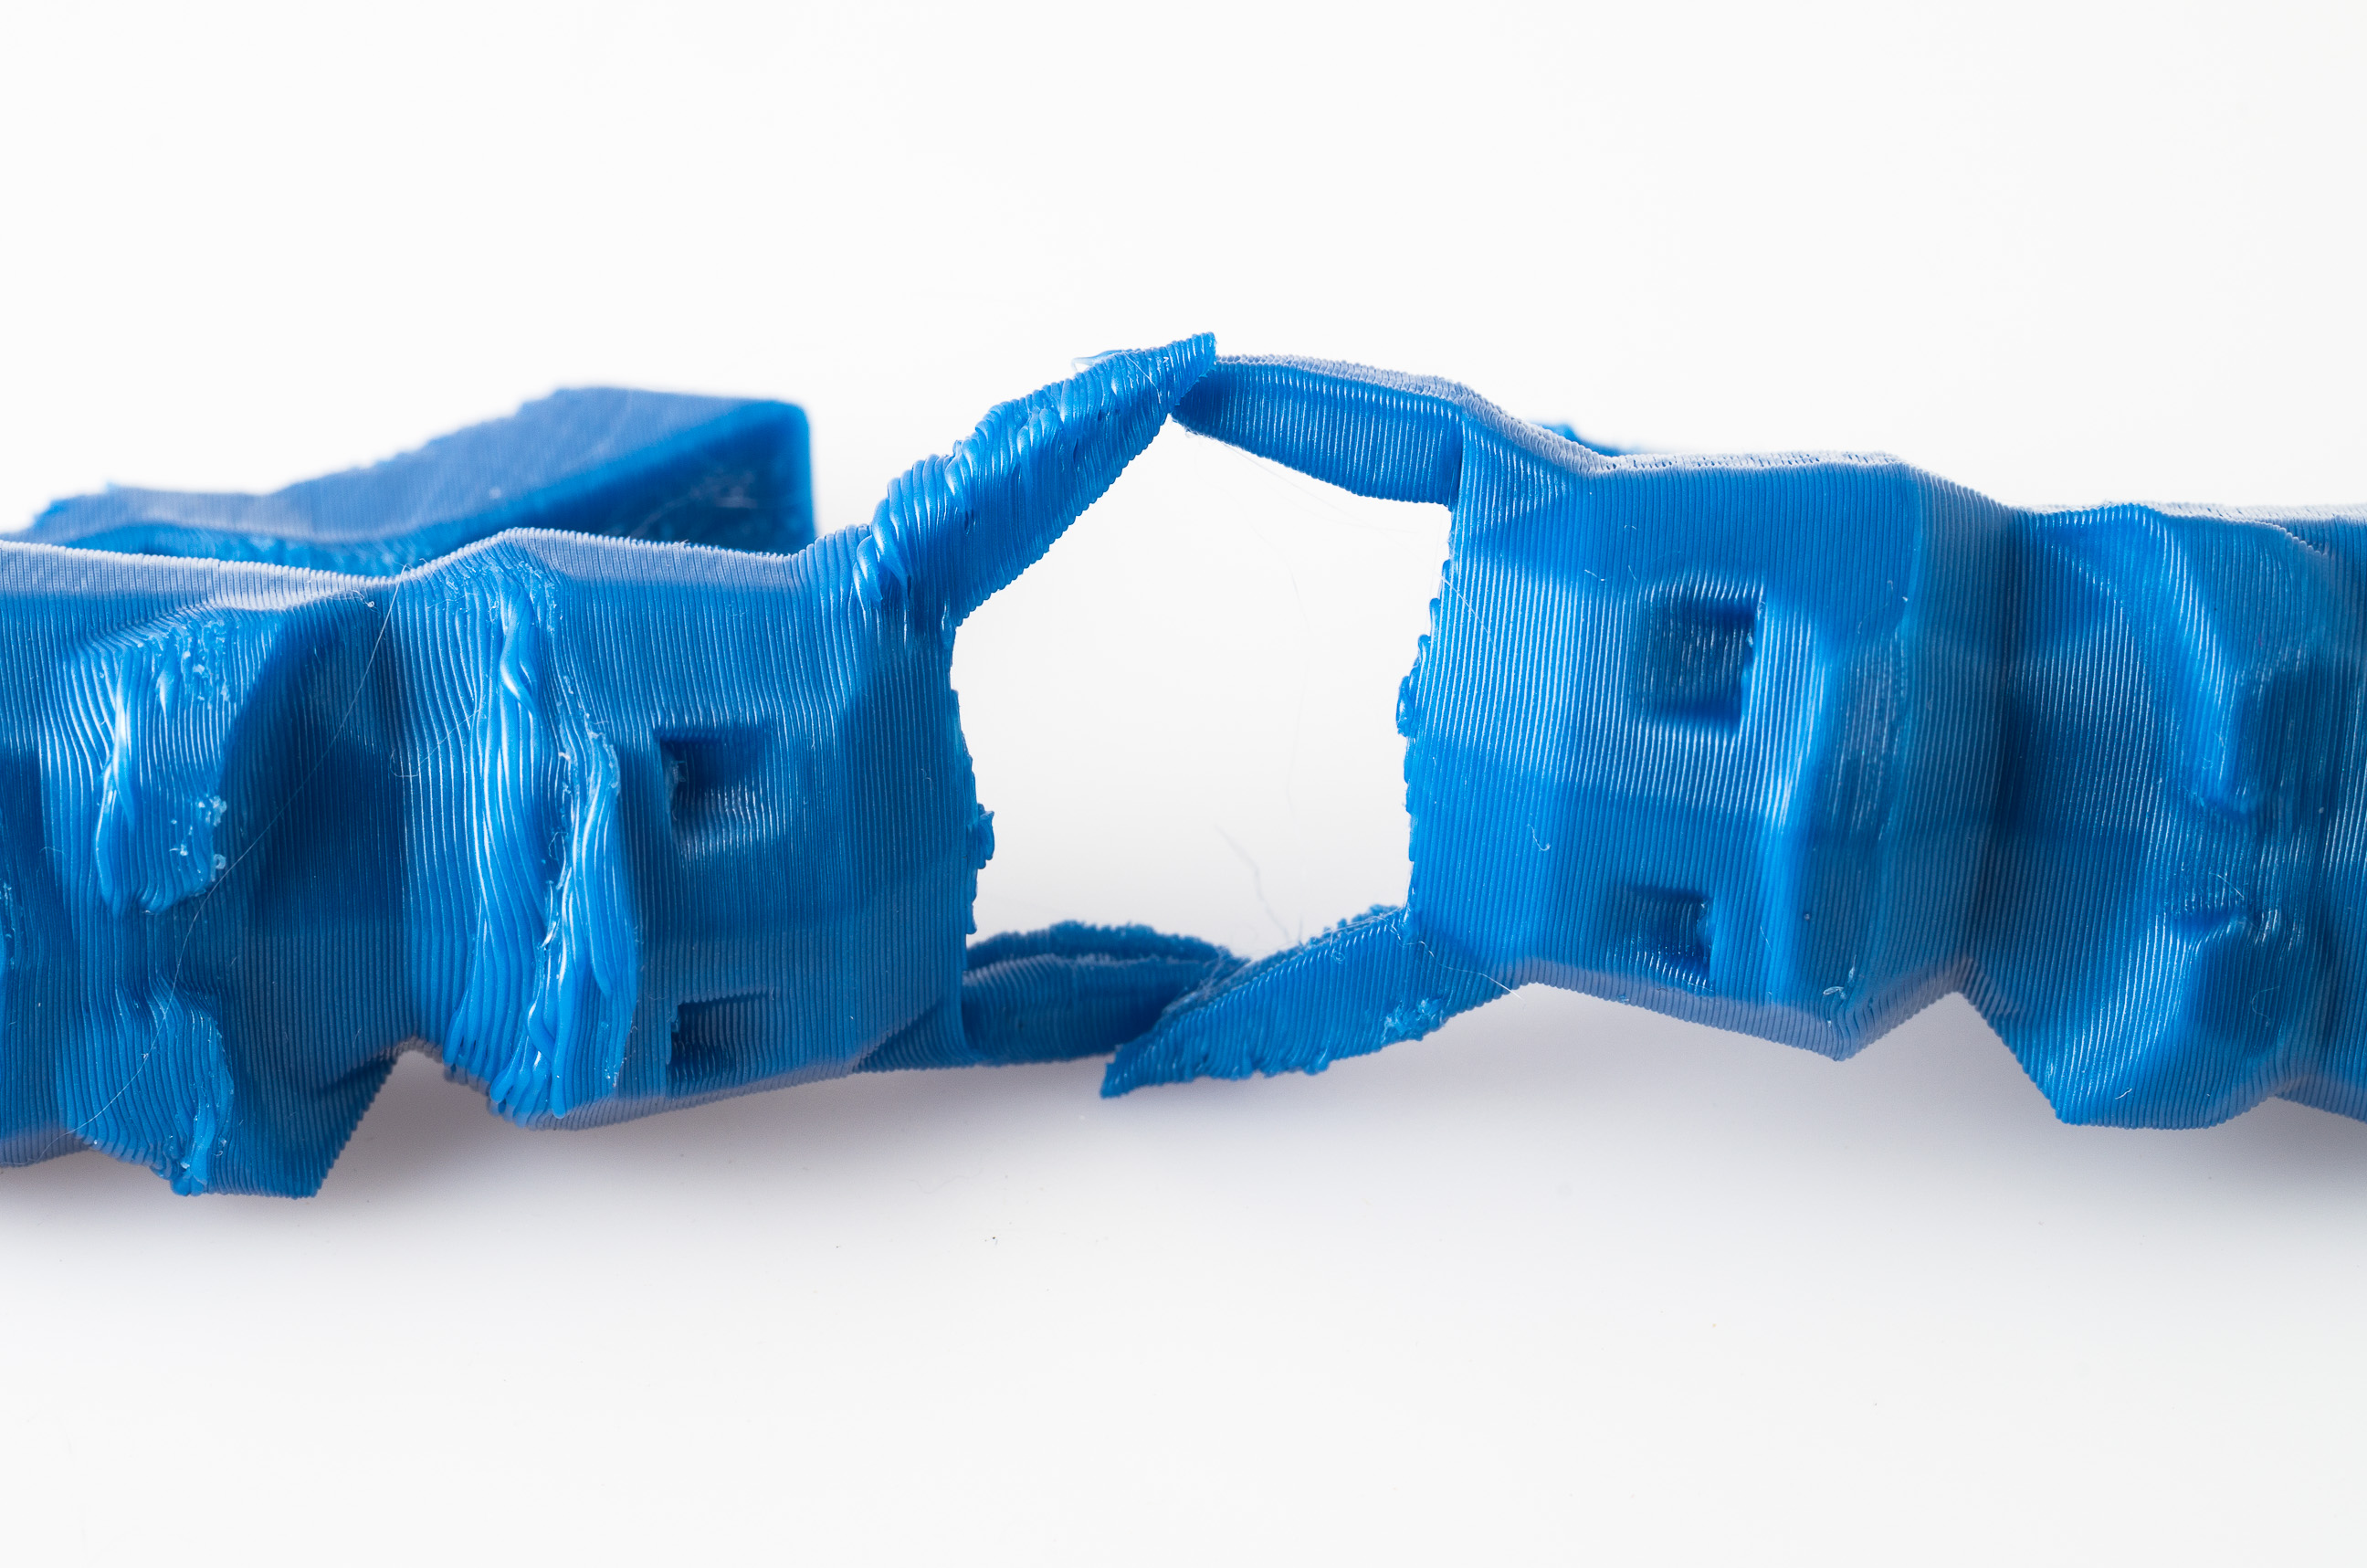
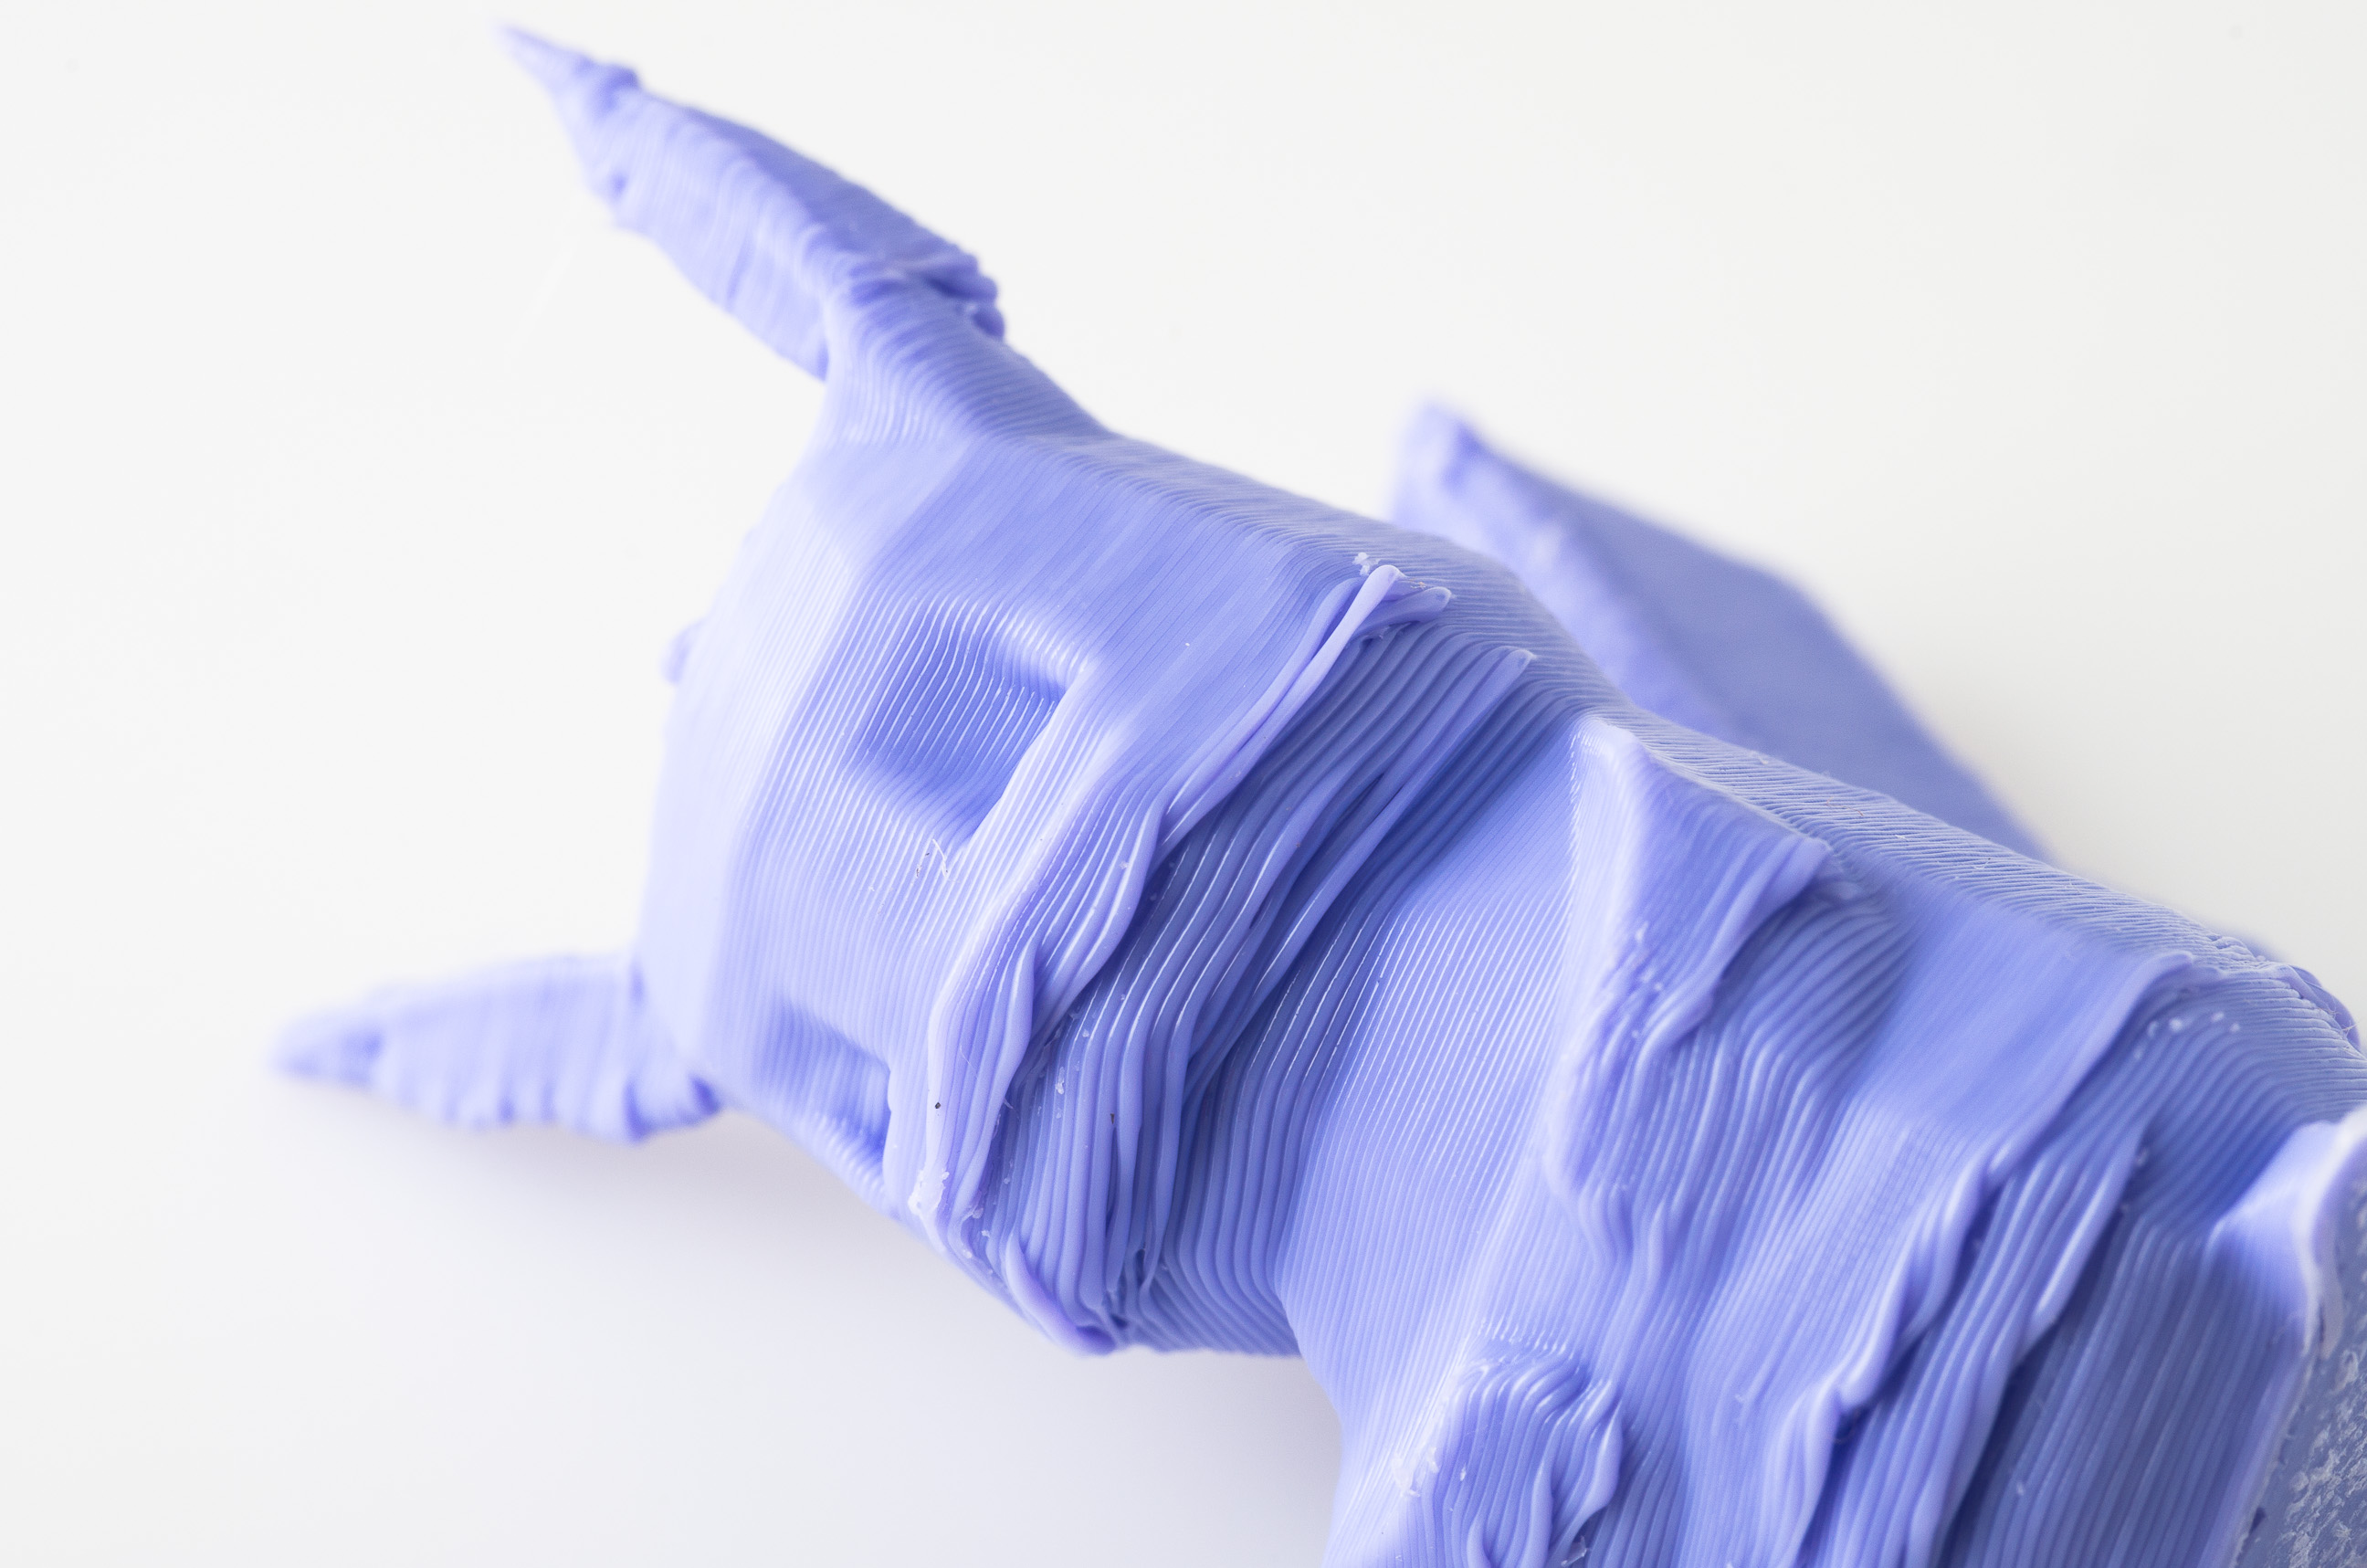
When I first integrated part cooling into my Tiko, I ran into a lot of problems with layer shifting (leading to the morbid results you see below).
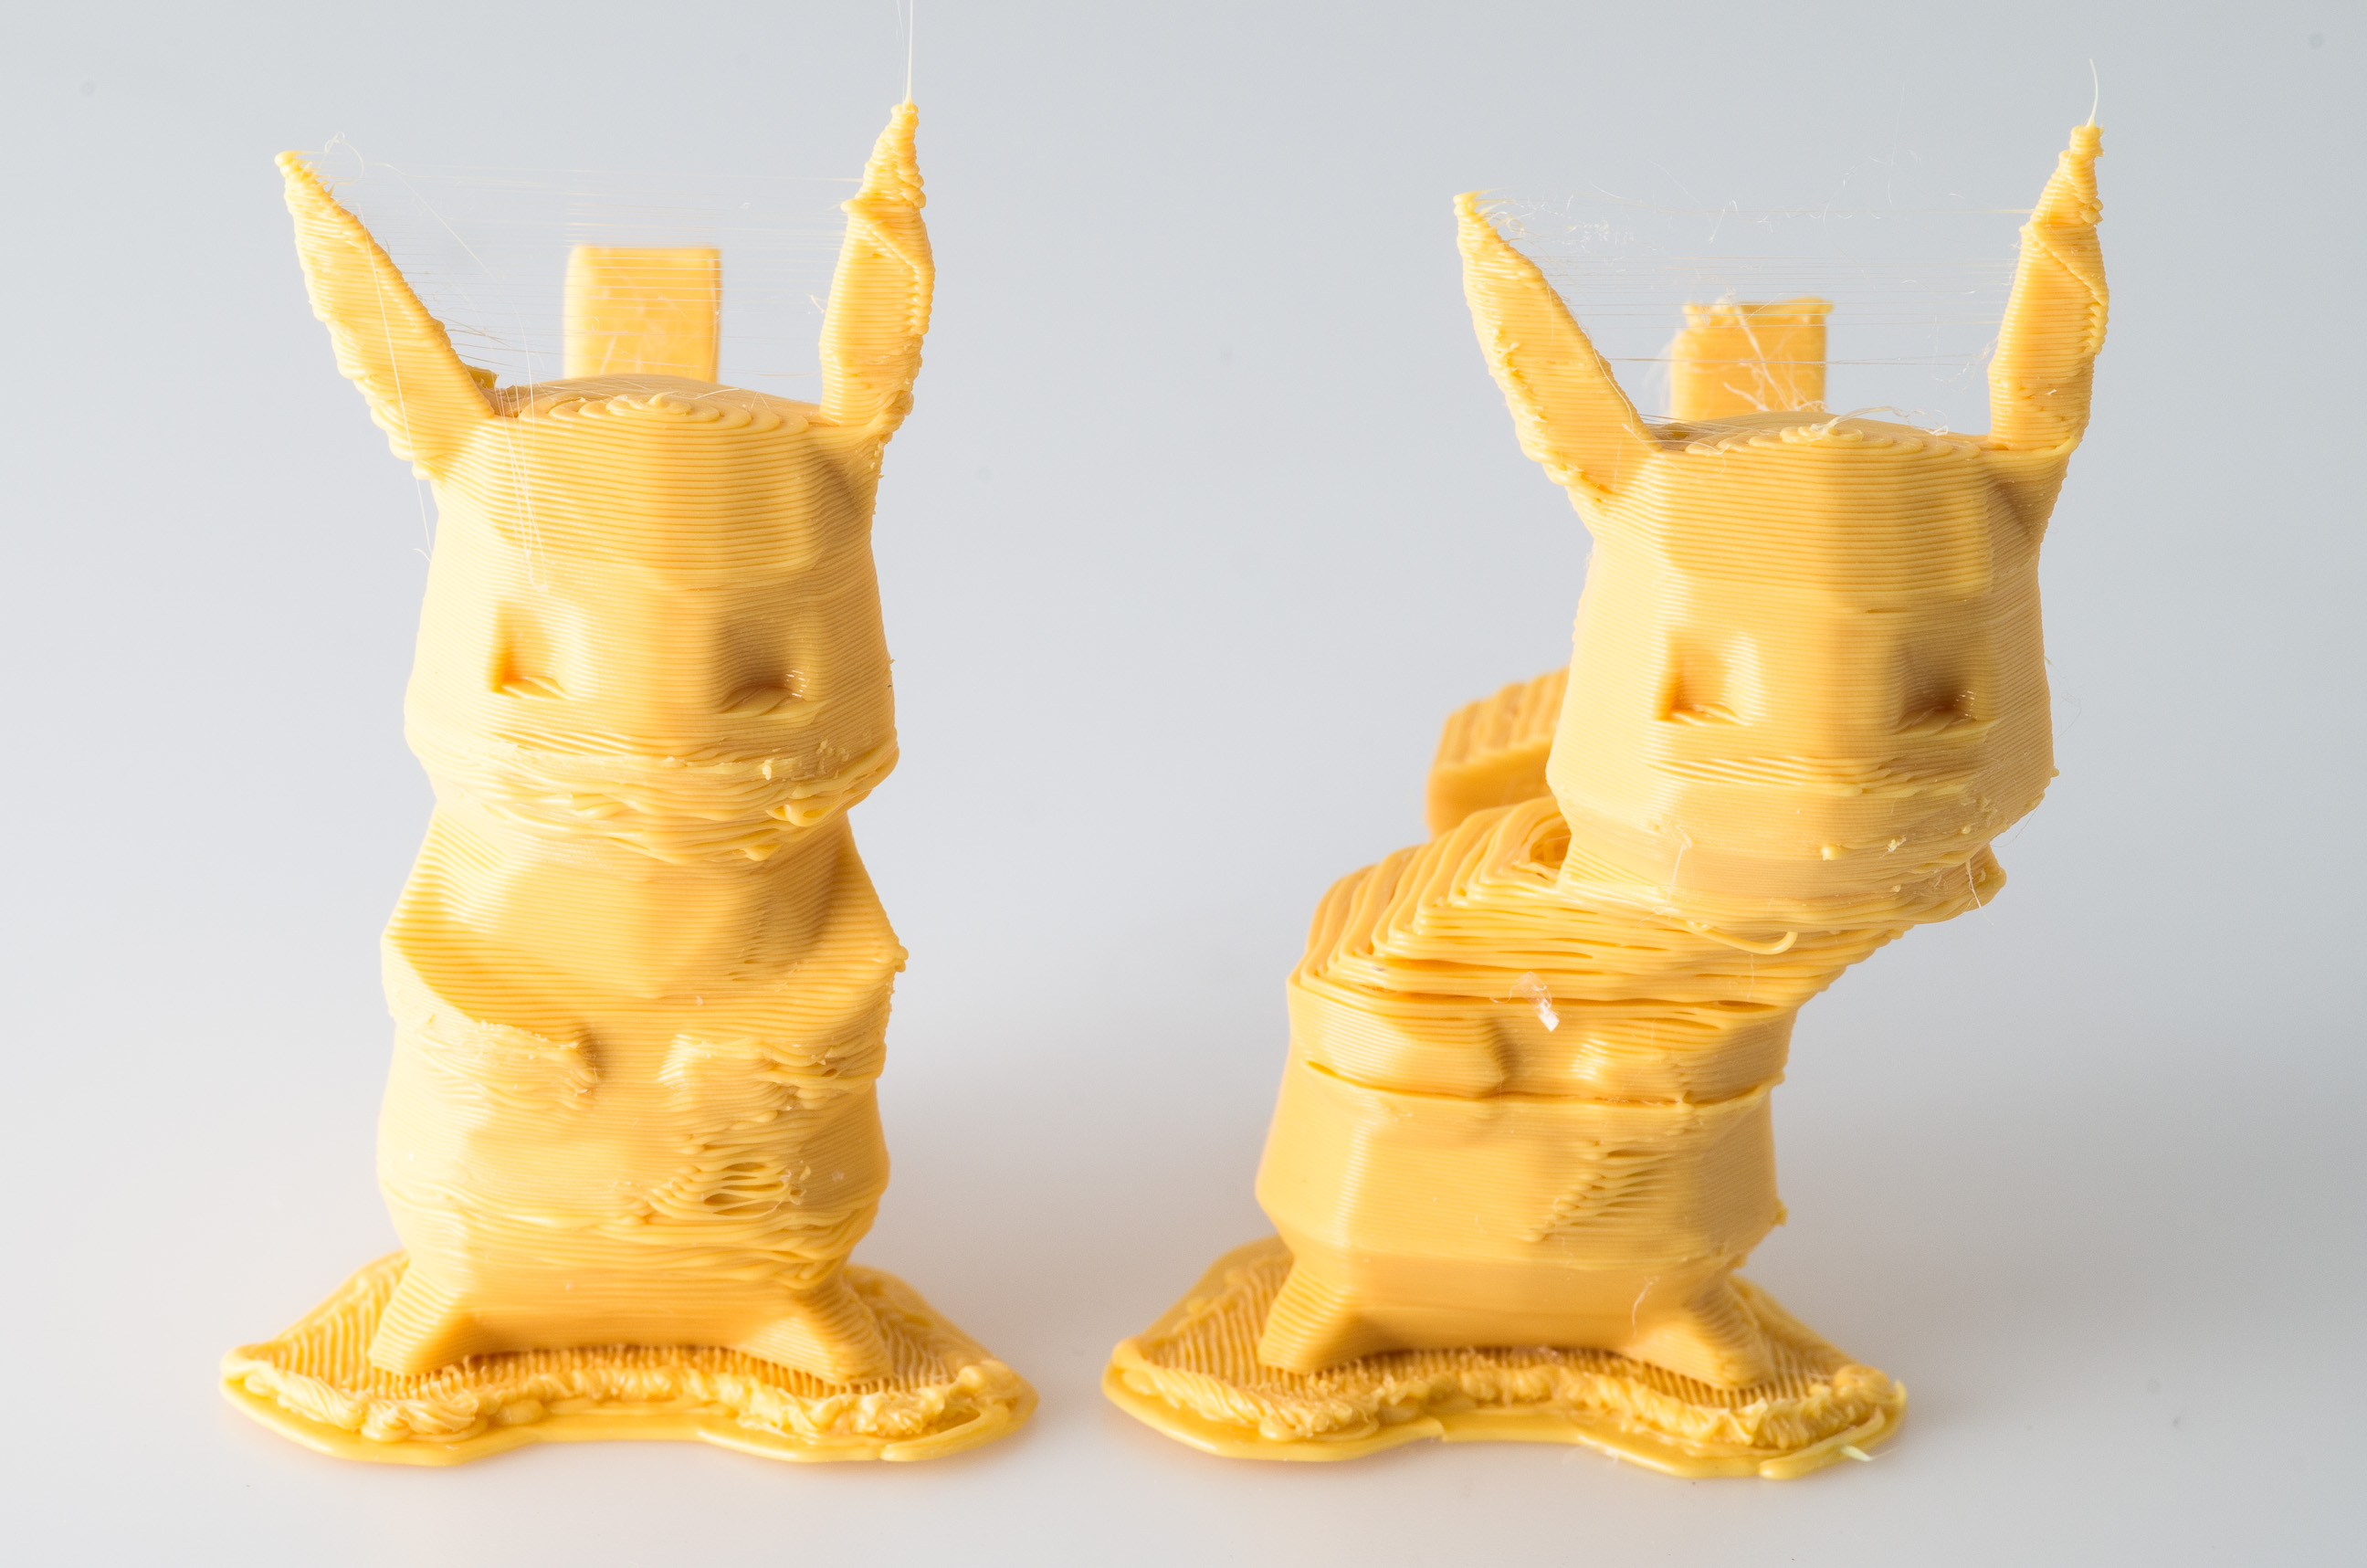
It seemed like layer shifting, while working to cool the previous layer as expected, was also putting more strain on the motors. I’ve been doing more testing to see if I could identify what specifically is causing the problem and now I can’t reproduce it (I tried 6 different brands of filament). So I don’t know why this was a problem before, it’s very likely that it has nothing to do with the Tiko’s slicer and is something I was doing wrong. If I ever figure it out, I’ll update this post.